Garden Install Reveal

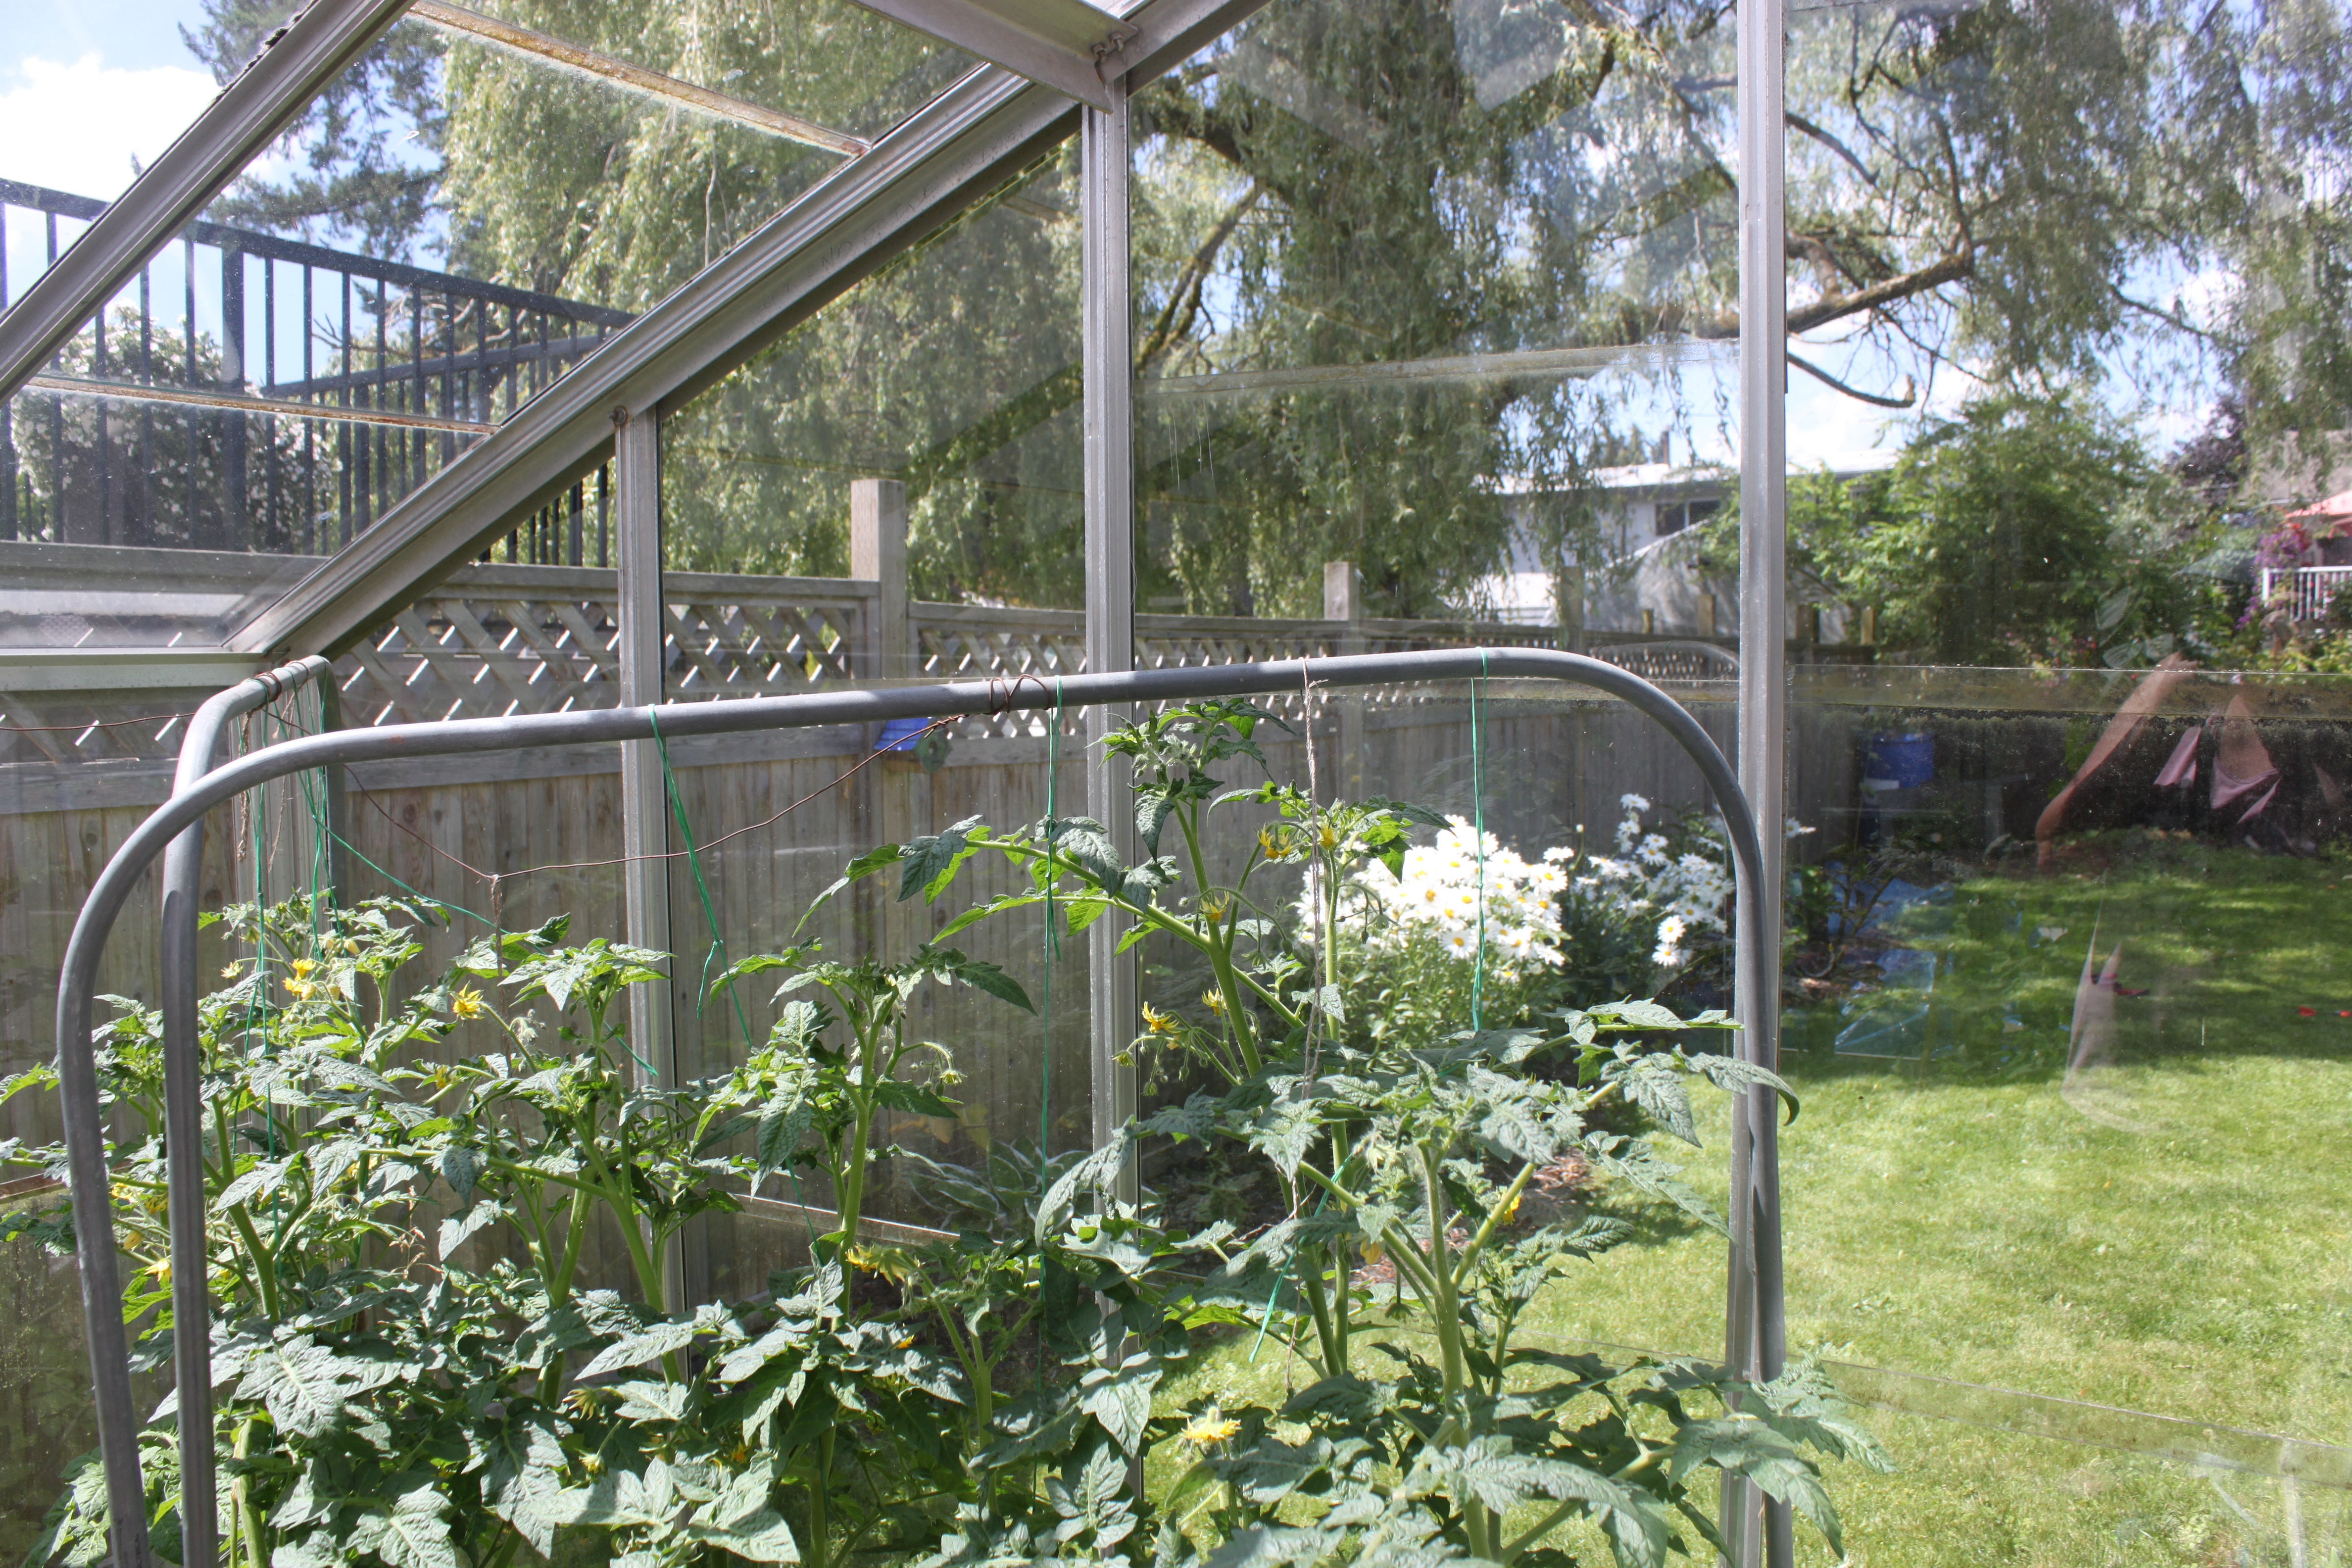
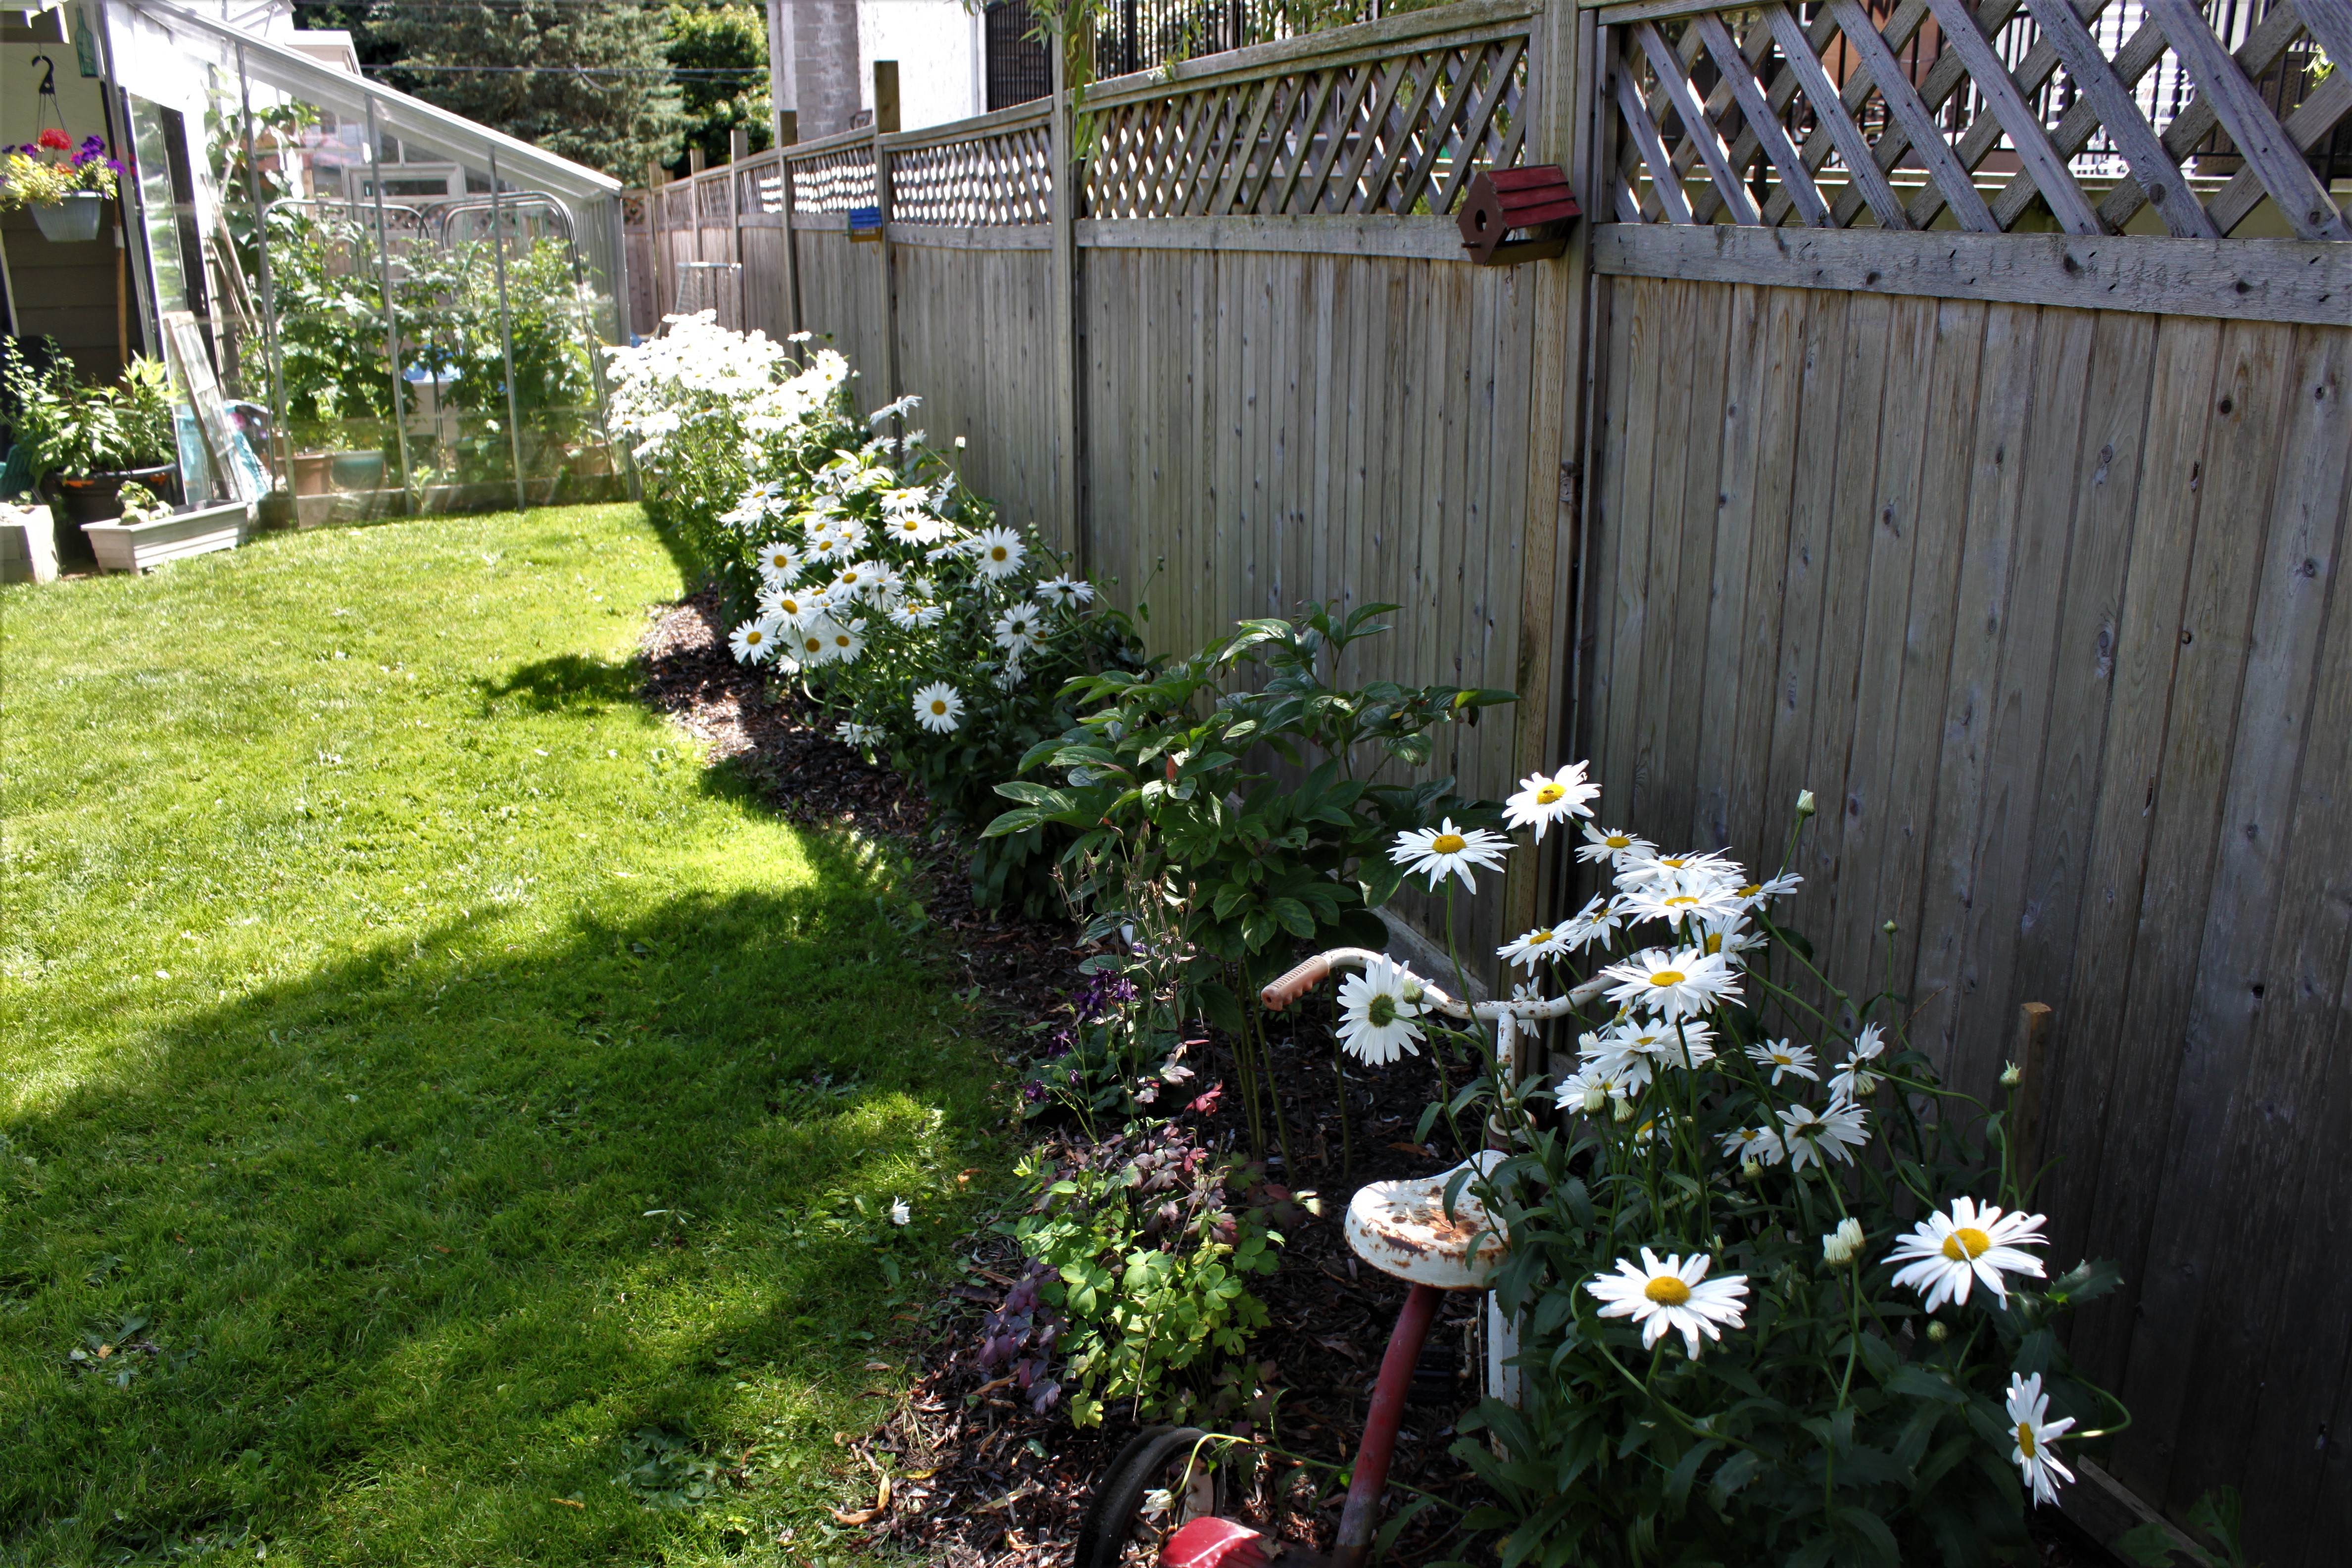
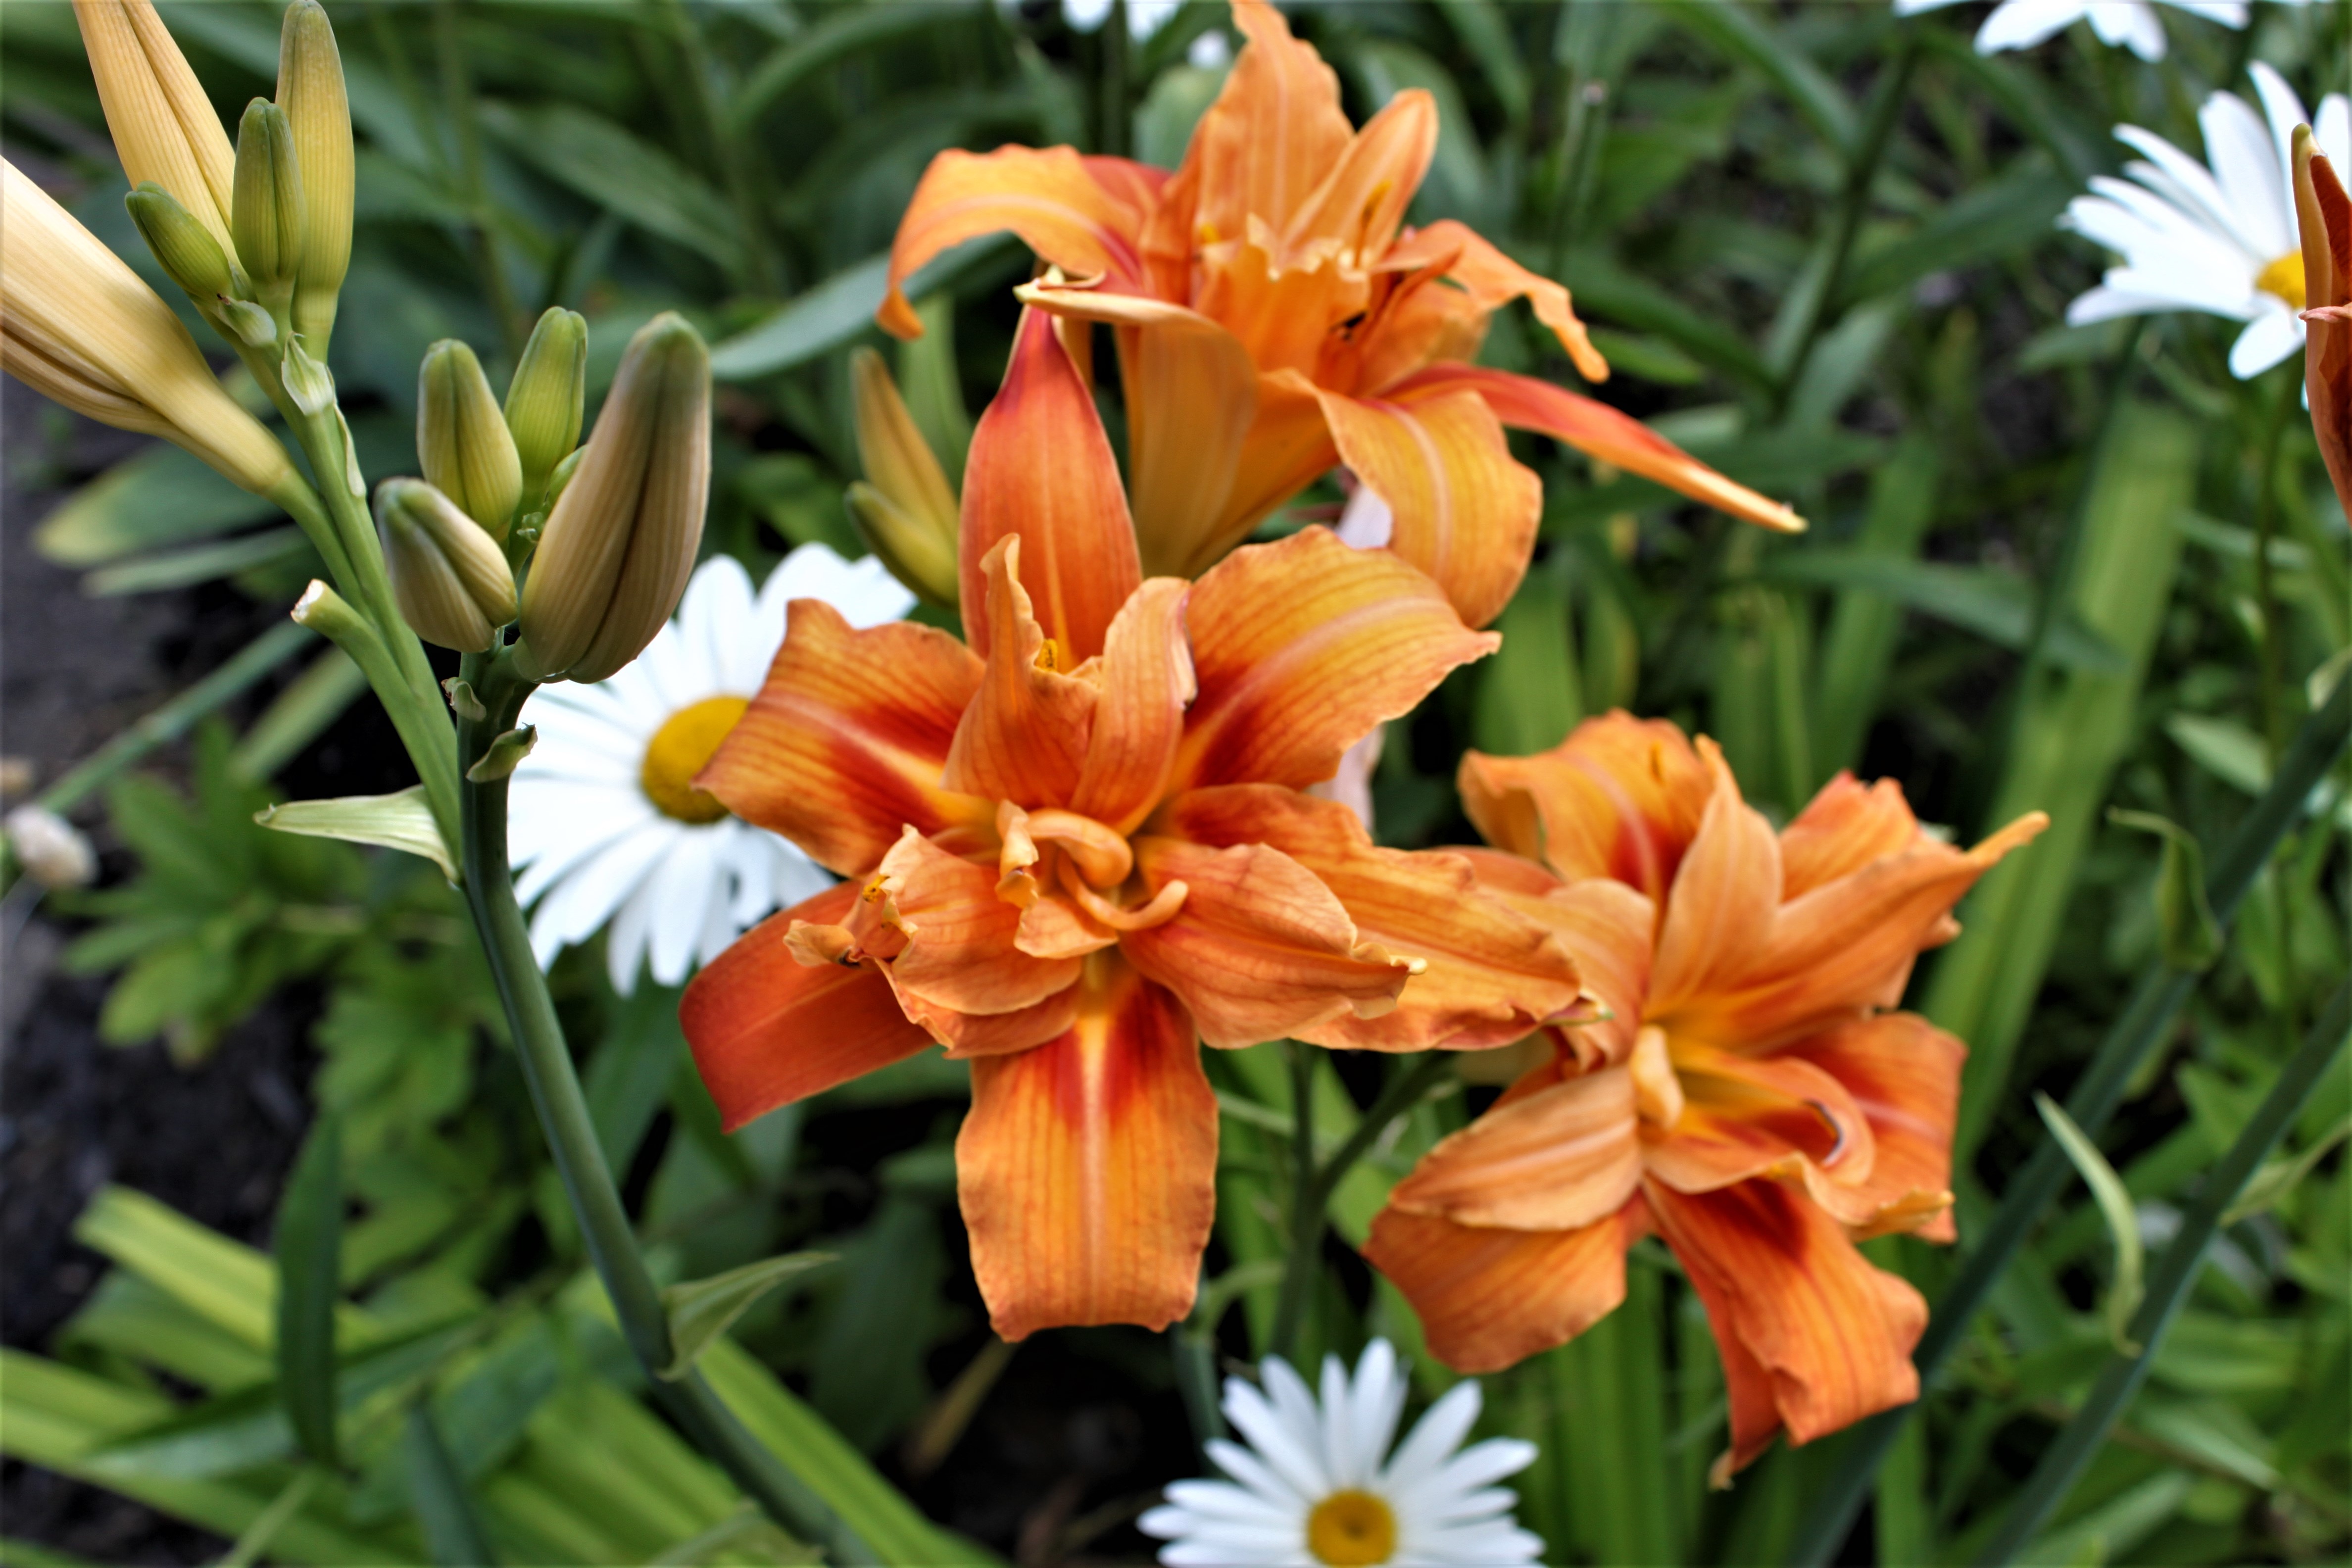
I’m beyond excited to share this with you. This has been such an adventure and a joy to be able to do this. This summer I’ve be looking after 7 different gardens. This is one of them.

For the month of July, I did my first garden design and install for a client.

Before

I don’t have the best before photo’s as I was already previously working to help get the garden prepped for a landscaper, that never showed up.

I shared with her that this is an area I want to grow and expand as a home and garden blogger.

She agreed to let me do a redesign and I got to work! Together we worked out what was best for her garden. Here’s the result!

The garden had lots of overgrown boxwoods and lilacs. I’m grateful I had help removing these!

Here’s the other garden with more of them. To give you an idea how tall these are, they are at my shoulder height.

Not the best quality, but you can see had these not been nicely trimmed for many years how old these are.

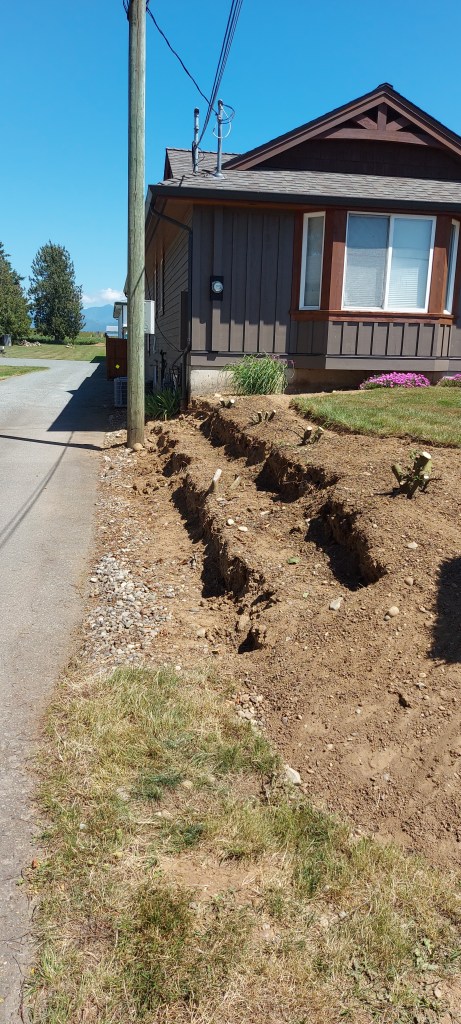
A retaining wall was removed (by a family member). I cut back the California lilacs that used to be here. They were pretty much all dead. I had come to the realization I would rather deal with blackberries than those bushes. As you can see by the picture, they were very tough and strong.

Yes, there is a wheel barrow under all that. This was quite the trek to the green waste pile. My arms looked like I had a fight with a cat!

Here’s one last picture of the garden where another retaining wall was removed.

After

After lots of research and checking out local nurseries for FULL sun plants. This was a challenge, it’s later in the season and we were able to get it done. Just in time for an event they were hosting.

I still remember the first time my client smiled seeing the plants finally disappearing and how different her front yard was looking.

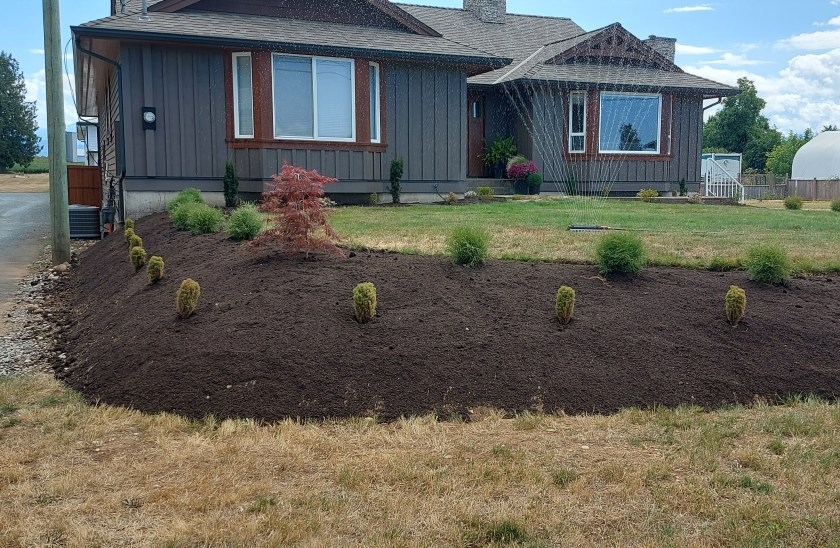
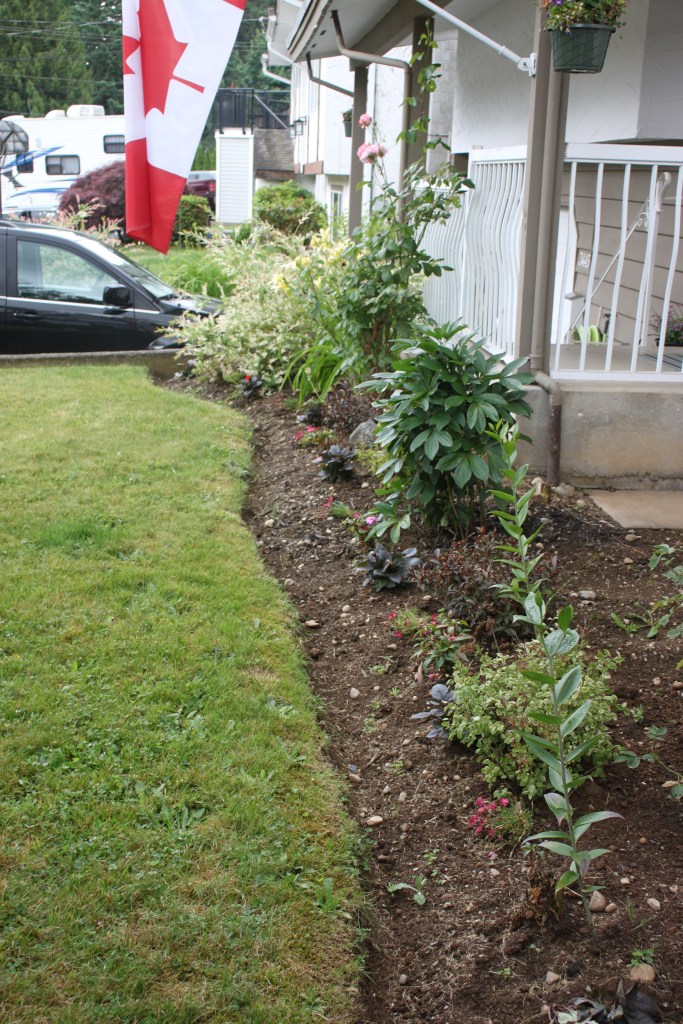
This photo was taken just after we finished the top soil install. What a difference!

My goal was to highlight her house. It has a similar feel with the the rounded cedars, but they won’t grow as big as the boxwoods did.

Here’s a small BEFORE shot of the same angle.

Before I pitched a garden redesign, I forgot to take a more clear before shots. Sorry some of the photo’s are blurry. Cell phones don’t always take the best photos.

I’m really happy for this turned out. The plants are small at the moment but they will in time grow and fill out.

The side of the house also got a refresh with topsoil.

So that’s it! I do hope that this post was fun to look through. I’m a sucker for a good before and after.

I’m grateful for the all the added help I had to make this project a success.

As mentioned above, this is an area we will be expanding on. More info will come soon as we work out the details.

Have a great day and Thanks for following along and reading my blog.

Carrie Plantinga

Garden Tour – 2023 – Zone 8b

Hi, Welcome to my blog Notefull Living. Today I am sharing my full garden tour. We are in the Fraser Valley in Zone 8b. My garden has been a huge part of my life that’s brought me through many tough times. Amongst all that, now I can see how far I’ve come and it brings great joy to me.

Backyard Gardens

Here is my Memorial Garden for our Daughter that passed away from a second trimester pregnancy loss. This is the first garden I worked on on our property and it’s dedicated to her. I fully missed capturing the white peonies blooming. This year we added a red Clematis. When this is in full bloom I can have better pictures of it.

I’m standing in the same spot for this next photo. We have a greenhouse (update coming soon about that). There is a nice covered patio over where I keep all the herbs in pots in a container garden.

I also love this view in seeing the veggie garden in the raised beds in the back.

I’m so happy how this turned out this year. BUT we have a huge issue with this and I have to change this AGAIN. Our neighbor cut down a willow tree and we lost ALL our shade that made my herbs grow amazing in this spot.

The second big issue is our new dog is peeing all over the pots on a steady basis. You can see the staining on the pavers. So this is all going to be changed again.

Here is another view. You can see where he’s constantly peeing and the pavers are wet.

So this space is going to become a blank canvas! What would you do with a covered paver patio? Love to hear you ideas in the comments.

I’m adding more patio planters and I’m excited how they are coming along. You can see memorial garden in the background.

Veggie Garden update!

As much as I’m Zone 8b and should be in a good gardening zone my garden is always slow to get started and then takes off. I’m waiting for the take off here shortly.

Well, My strawberry bed completely flopped and I have to pull it all out. I’m happy with the new trellis we added and this is the new raised bed that we added. I’m excited for this garden to produce more food for our family.

One of my favorite views is to stand on the deck and see the garden. Our kids made these planters at my husbands work for a kids make a planter day.

Front Yard

I’ll admit, I have yet to share much of our front yard. We’ve transformed so much of our backyard.

Not everything is in bloom when I took this but in time this will fill in and look amazing in the years to come.

This garden is actually fairly new. I got rid of the garden beside my driveway and expanded it here.

Our home is the average 1970’s cookie cutter in it’s heyday. Practical family home that has a simple, not all the bells and whistles like they make houses today.

I’ve been using my stairs as a way to change things up for the seasons and for spring and summer, pots and a collection of watering cans looks great.

That’s the end of this years garden tour. I hope you enjoyed it and it brought some peace and joy to your day.

Until the next blog post.

Carrie Plantinga

Home and Garden Blogger

Preserving the Harvest 2020

preserving the
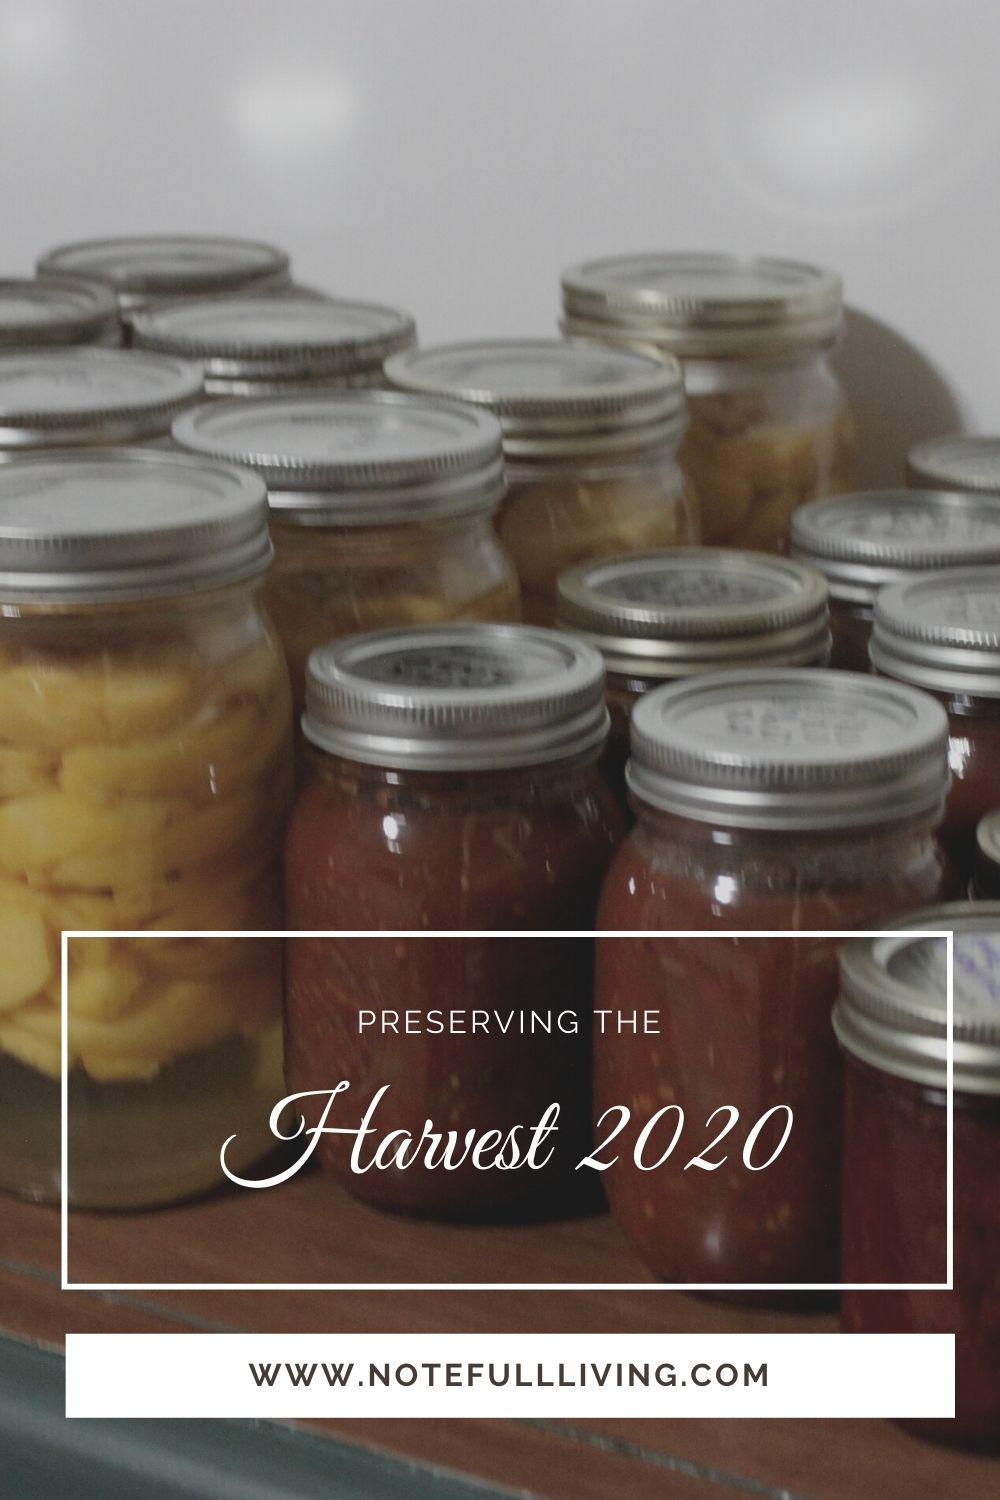
It’s September 2nd.  I’m still here.  Just super busy with getting a camping trip in and then coming home to my garden and bringing in the harvest.

For me this is the best part.  I love seeing the plants start and grow from seeds.  An added bonus, my husband went out and bought a TIMER with a splinter and my garden and greenhouse got water twice a day while we were gone.

I’ll write a post next year in how we set it all up.

You can watch our camping video here:

I hope you got a chance to get out this summer.

Garden Harvest + September =  CANNING SEASON

We stopped in Keromeos BC, Canada on our drive back and bought peaches and salsa making supplies. It’s a great place to go and visit if you live in BC.  It’s right next to wine country, how could you not stop!

Picking the Harvest

I’m so grateful.  My garden is STILL pumping out harvest.  I’ve done a fall garden as well this year and things are still growing strong. I must say though….the weather has definitely shifted. Fall is coming quickly.

IMG_0198

I think this is round 3 of Harvest that I got this year. Lots of Tomatoes – Kinda thought I would have more, but that’s fine.  LOADS of beans. I’ve been getting good at making Rhubarb juice and using that more smoothies. I sadly lost my lettuce, which we loved having fresh most of the season.

Since this photo, I’ve been able to get more yet. Plus small fall Harvest that I planted. I can’t get over how abundant this year has been. I still feel like a new gardener as there’s lots to learn but I think I’m starting to turn a corner.

Preserving the Harvest

Now that everything is getting ready to pick it’s GO TIME. I’ll be honest and admit it’s tiring to do canning and I’m only doing a small scale.

IMG_2052
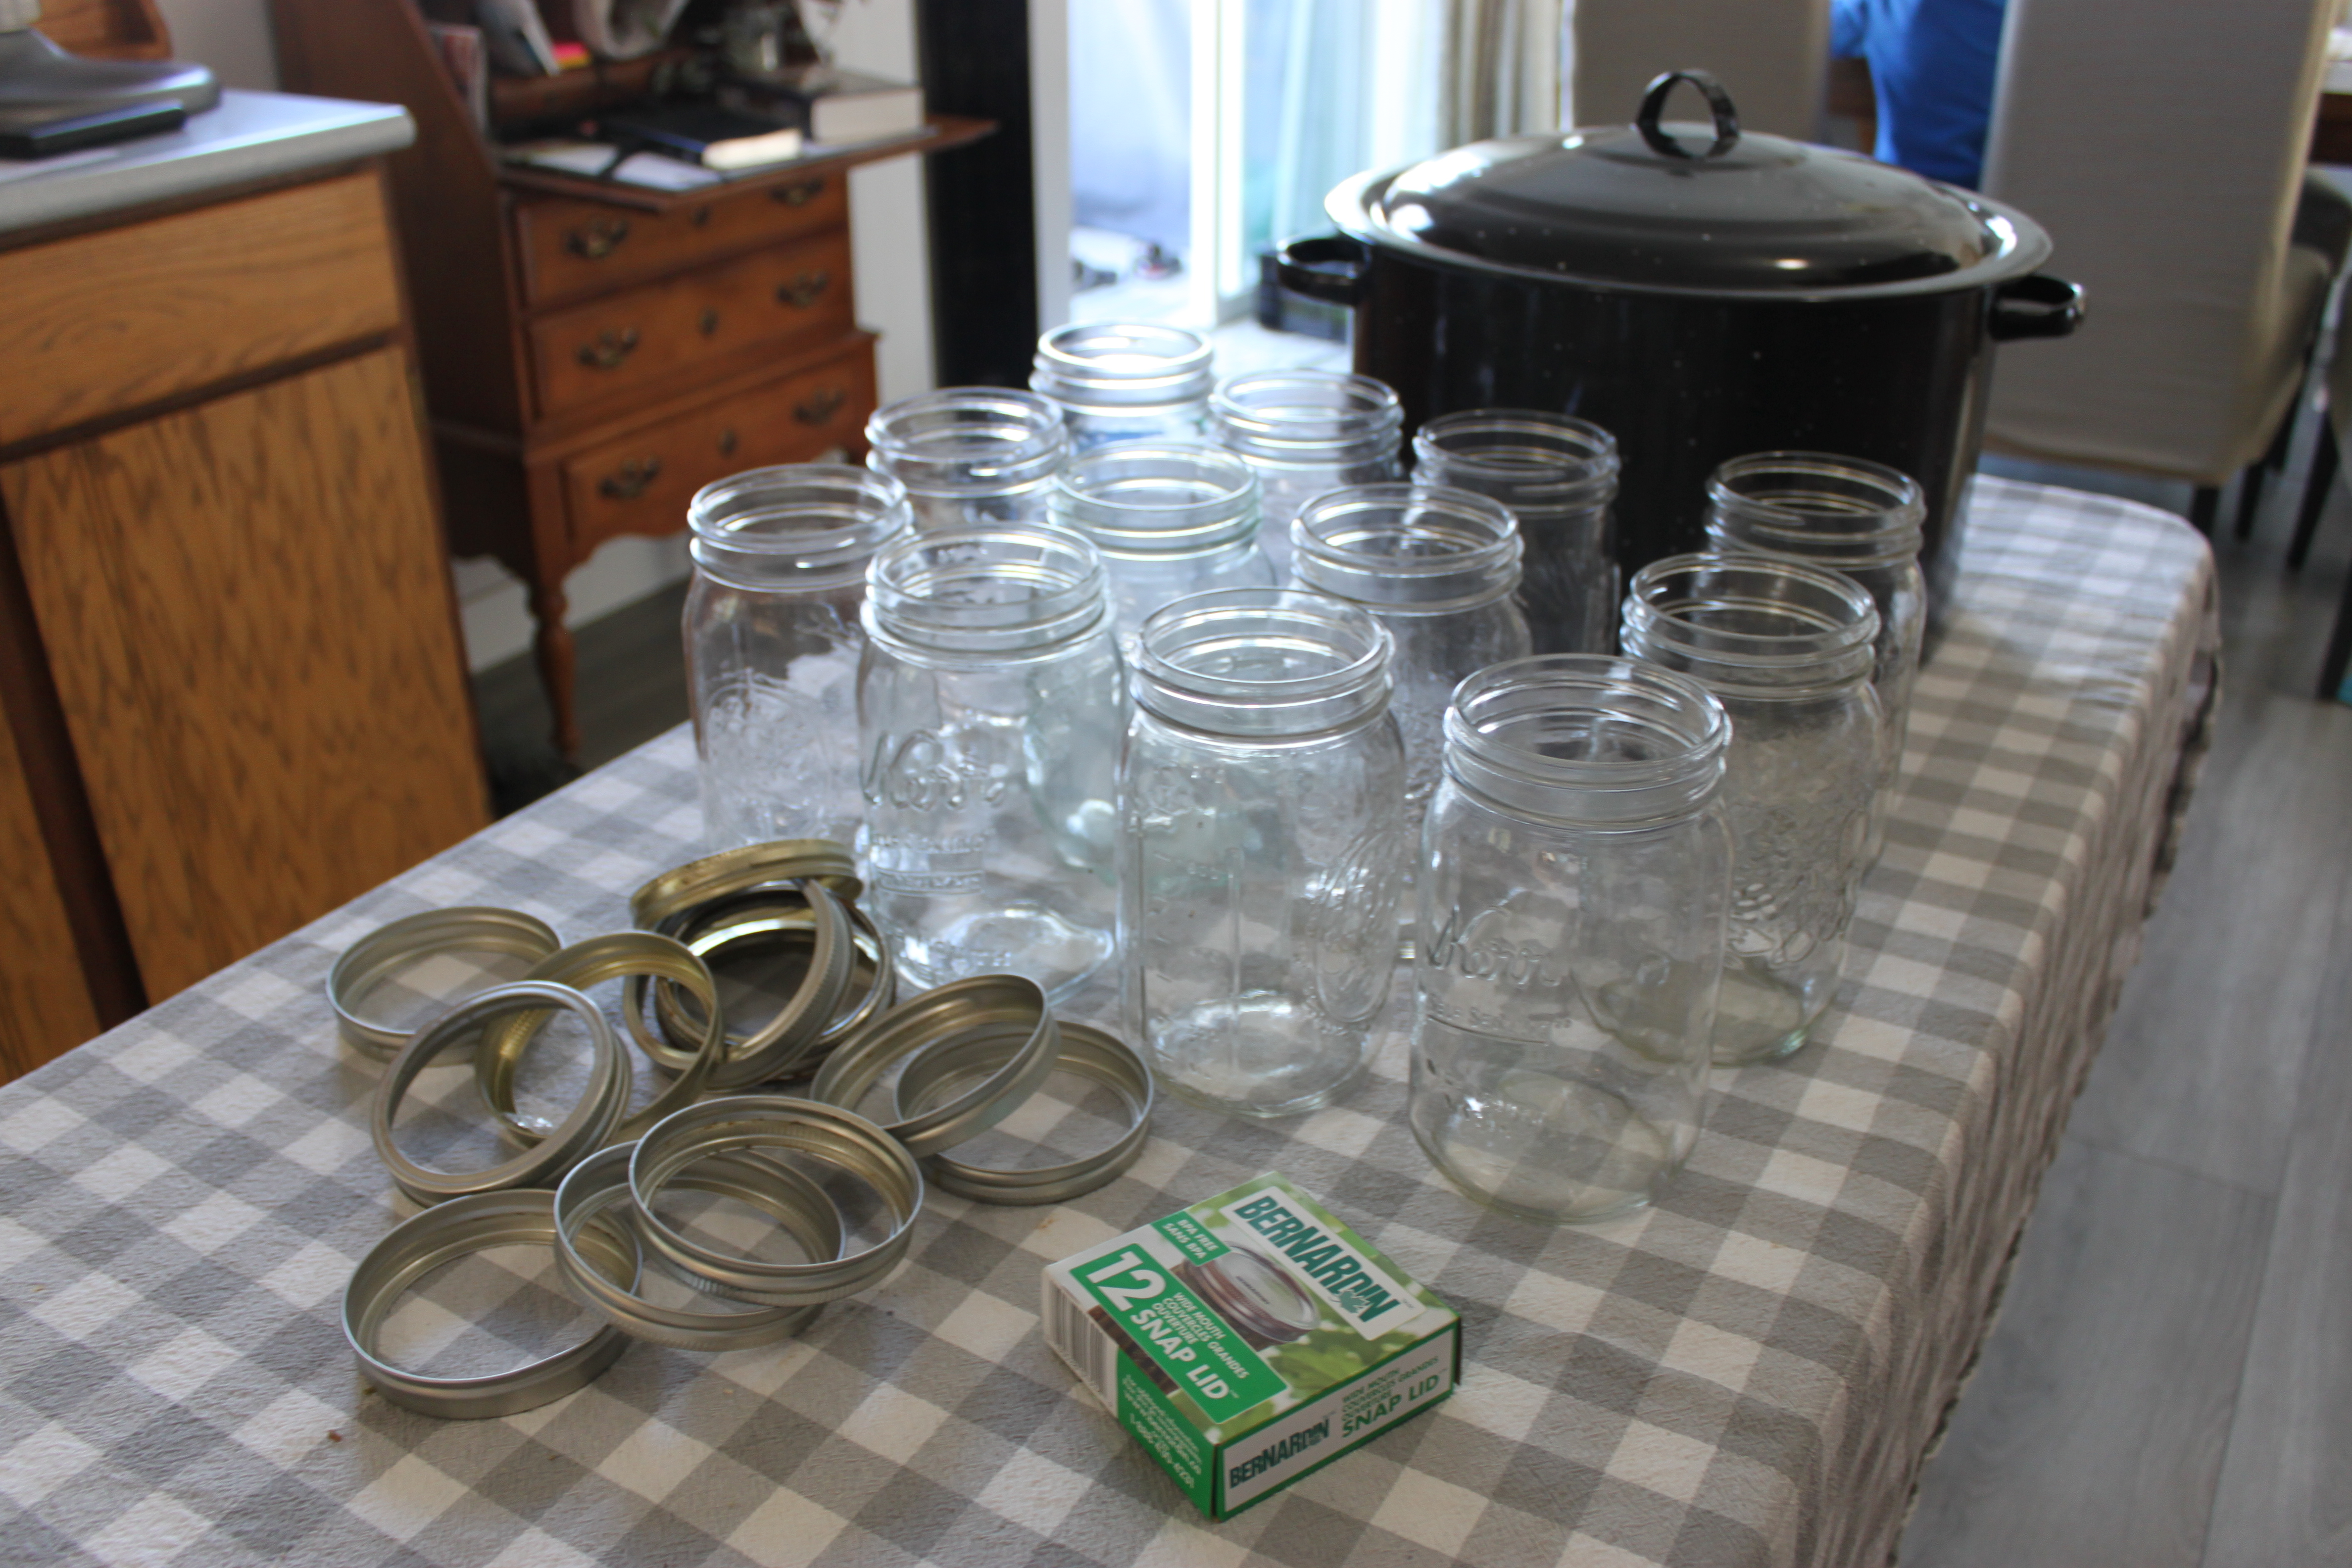
I get help.  I don’t do it all on my own. My mom has come over to help with the Apple Sauce (she has an awesome machine that I borrow), plus she came and helped with the pears just now.

61939602015__140C4C82-8A8F-48D2-821C-7FEBA57D89F1
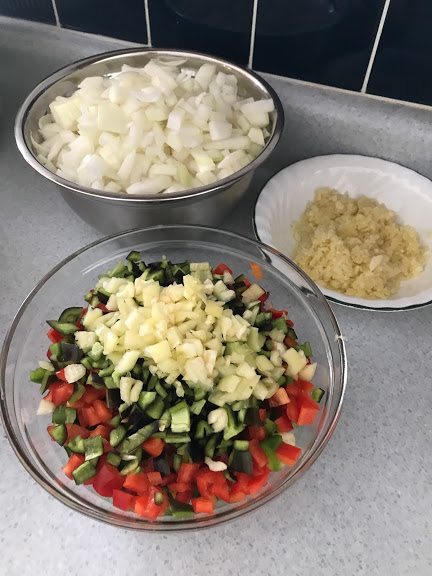
My sister in law and husband LOVE their salsa so she pitches buying half the supplies and we all do Salsa together.  My husband comes home from work and he comes for the adding spices part which he enjoys.

The Strawberry Jam and Beans my husband and I did, plus a friend came over and helped with processing the beans.

Do your research if your starting out.  It’s easier and simpler then you think.

Make sure you ask a friend to help whose done it before or ask to come over when they are doing it.

IMG_2123

We are working on our storage room again and I had to move all my canning at the moment. It made for a nice picture I think!

Here’s a video that I made for YouTube where I take you along with me.

Other ways we Preserve:

Just a last thing to note. We have often frozen most of our harvest with a vacuum sealer.  I usually have my blueberries, blackberries, beans and apples in the freezer.  As I shared in the video we have a whole pig coming so I’ll need the space.

We also have a smoker and in the future I would like to dehydrate the harvest as well.

Last few thoughts to leave you with.  I’ve been feeling strongly about being self sufficient or being more PREPARED in general. Life is getting more challenging and being prepared is more important then ever.

I’m grateful I have a simple lifestyle and don’t need lots of “things” to be happy.  It makes me very happy that I have some food to have on hand that was fresh and freshly preserved.

How about you?  Are you prepared if there is an upcoming food shortage?

Do you can and preserve?


Planting a Fall Garden

Planting a
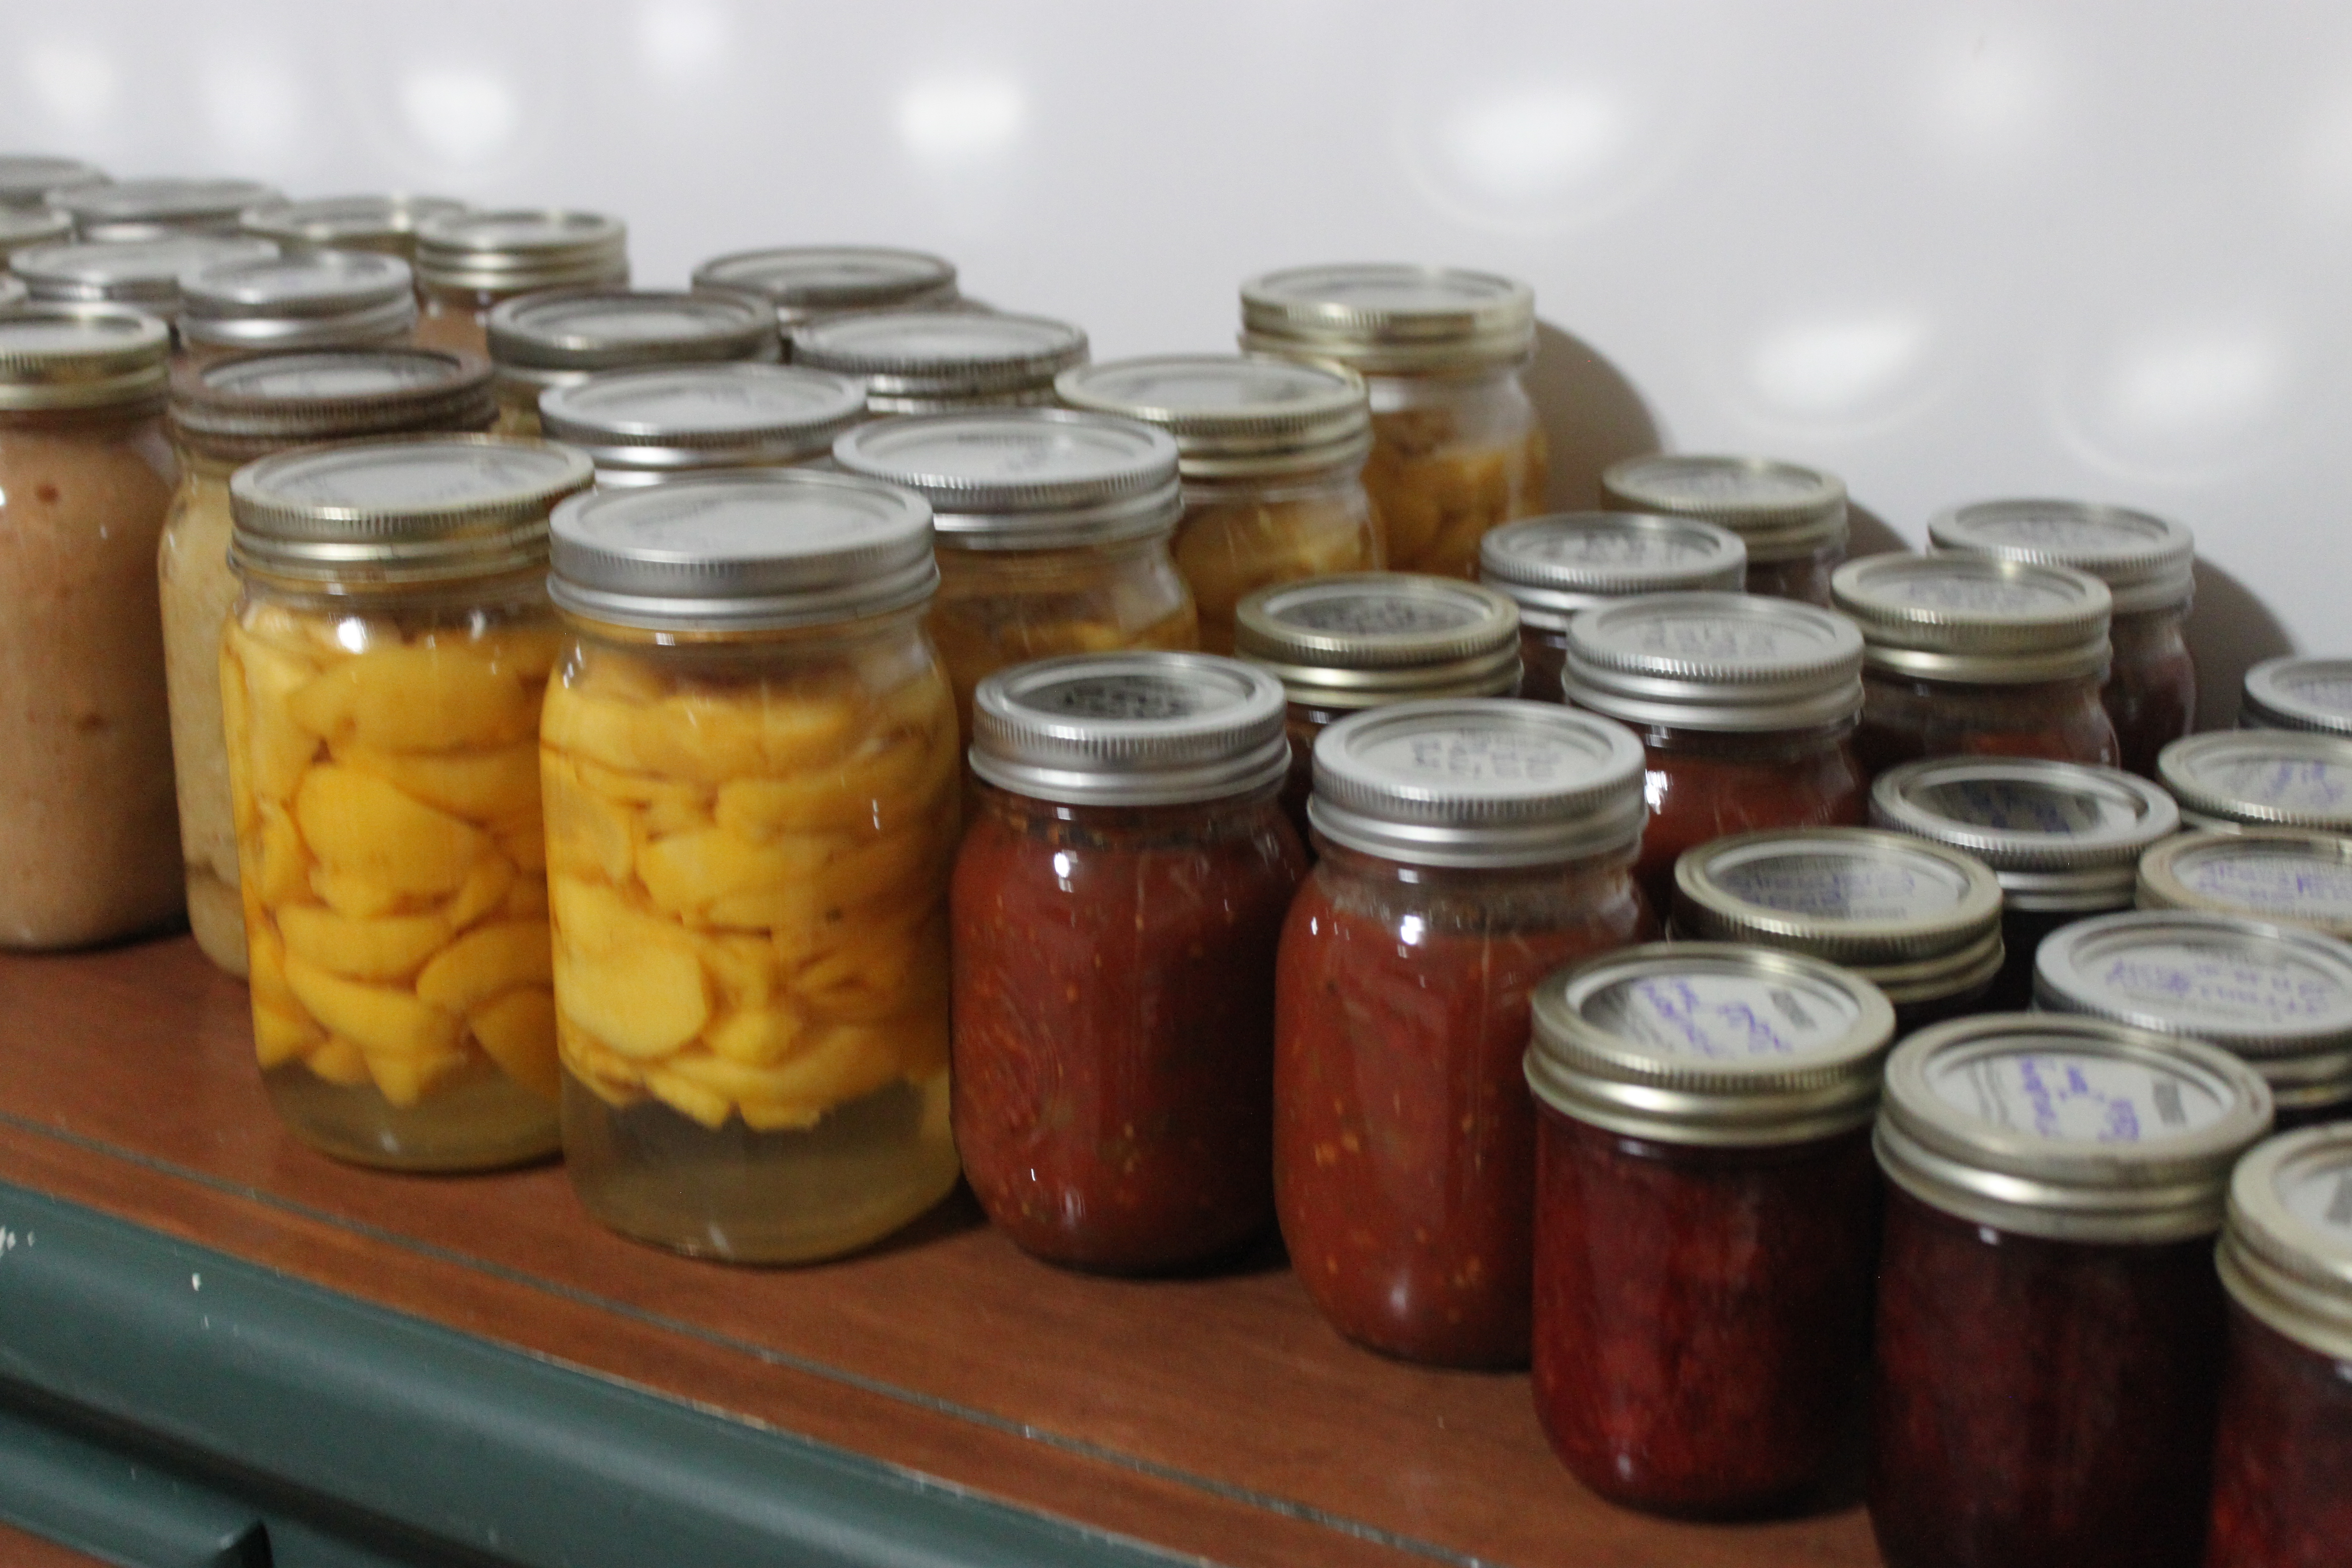
I’ve been working hard again this week.  As much as I’ve been gardening on a small scale for a couple of years, this year is different.

The urgency to complete my larger garden plan a year ahead is strong and I can’t ignore that.  Especially with this pandemic, I foresee bigger issues with food in the near future.

Something I recent learned is I can plant still for the FALL?? Maybe you already knew that.  I didn’t and I was excited to know that in my seeds collection I still had some of the seeds I learned about to plant already.

IMG_1949
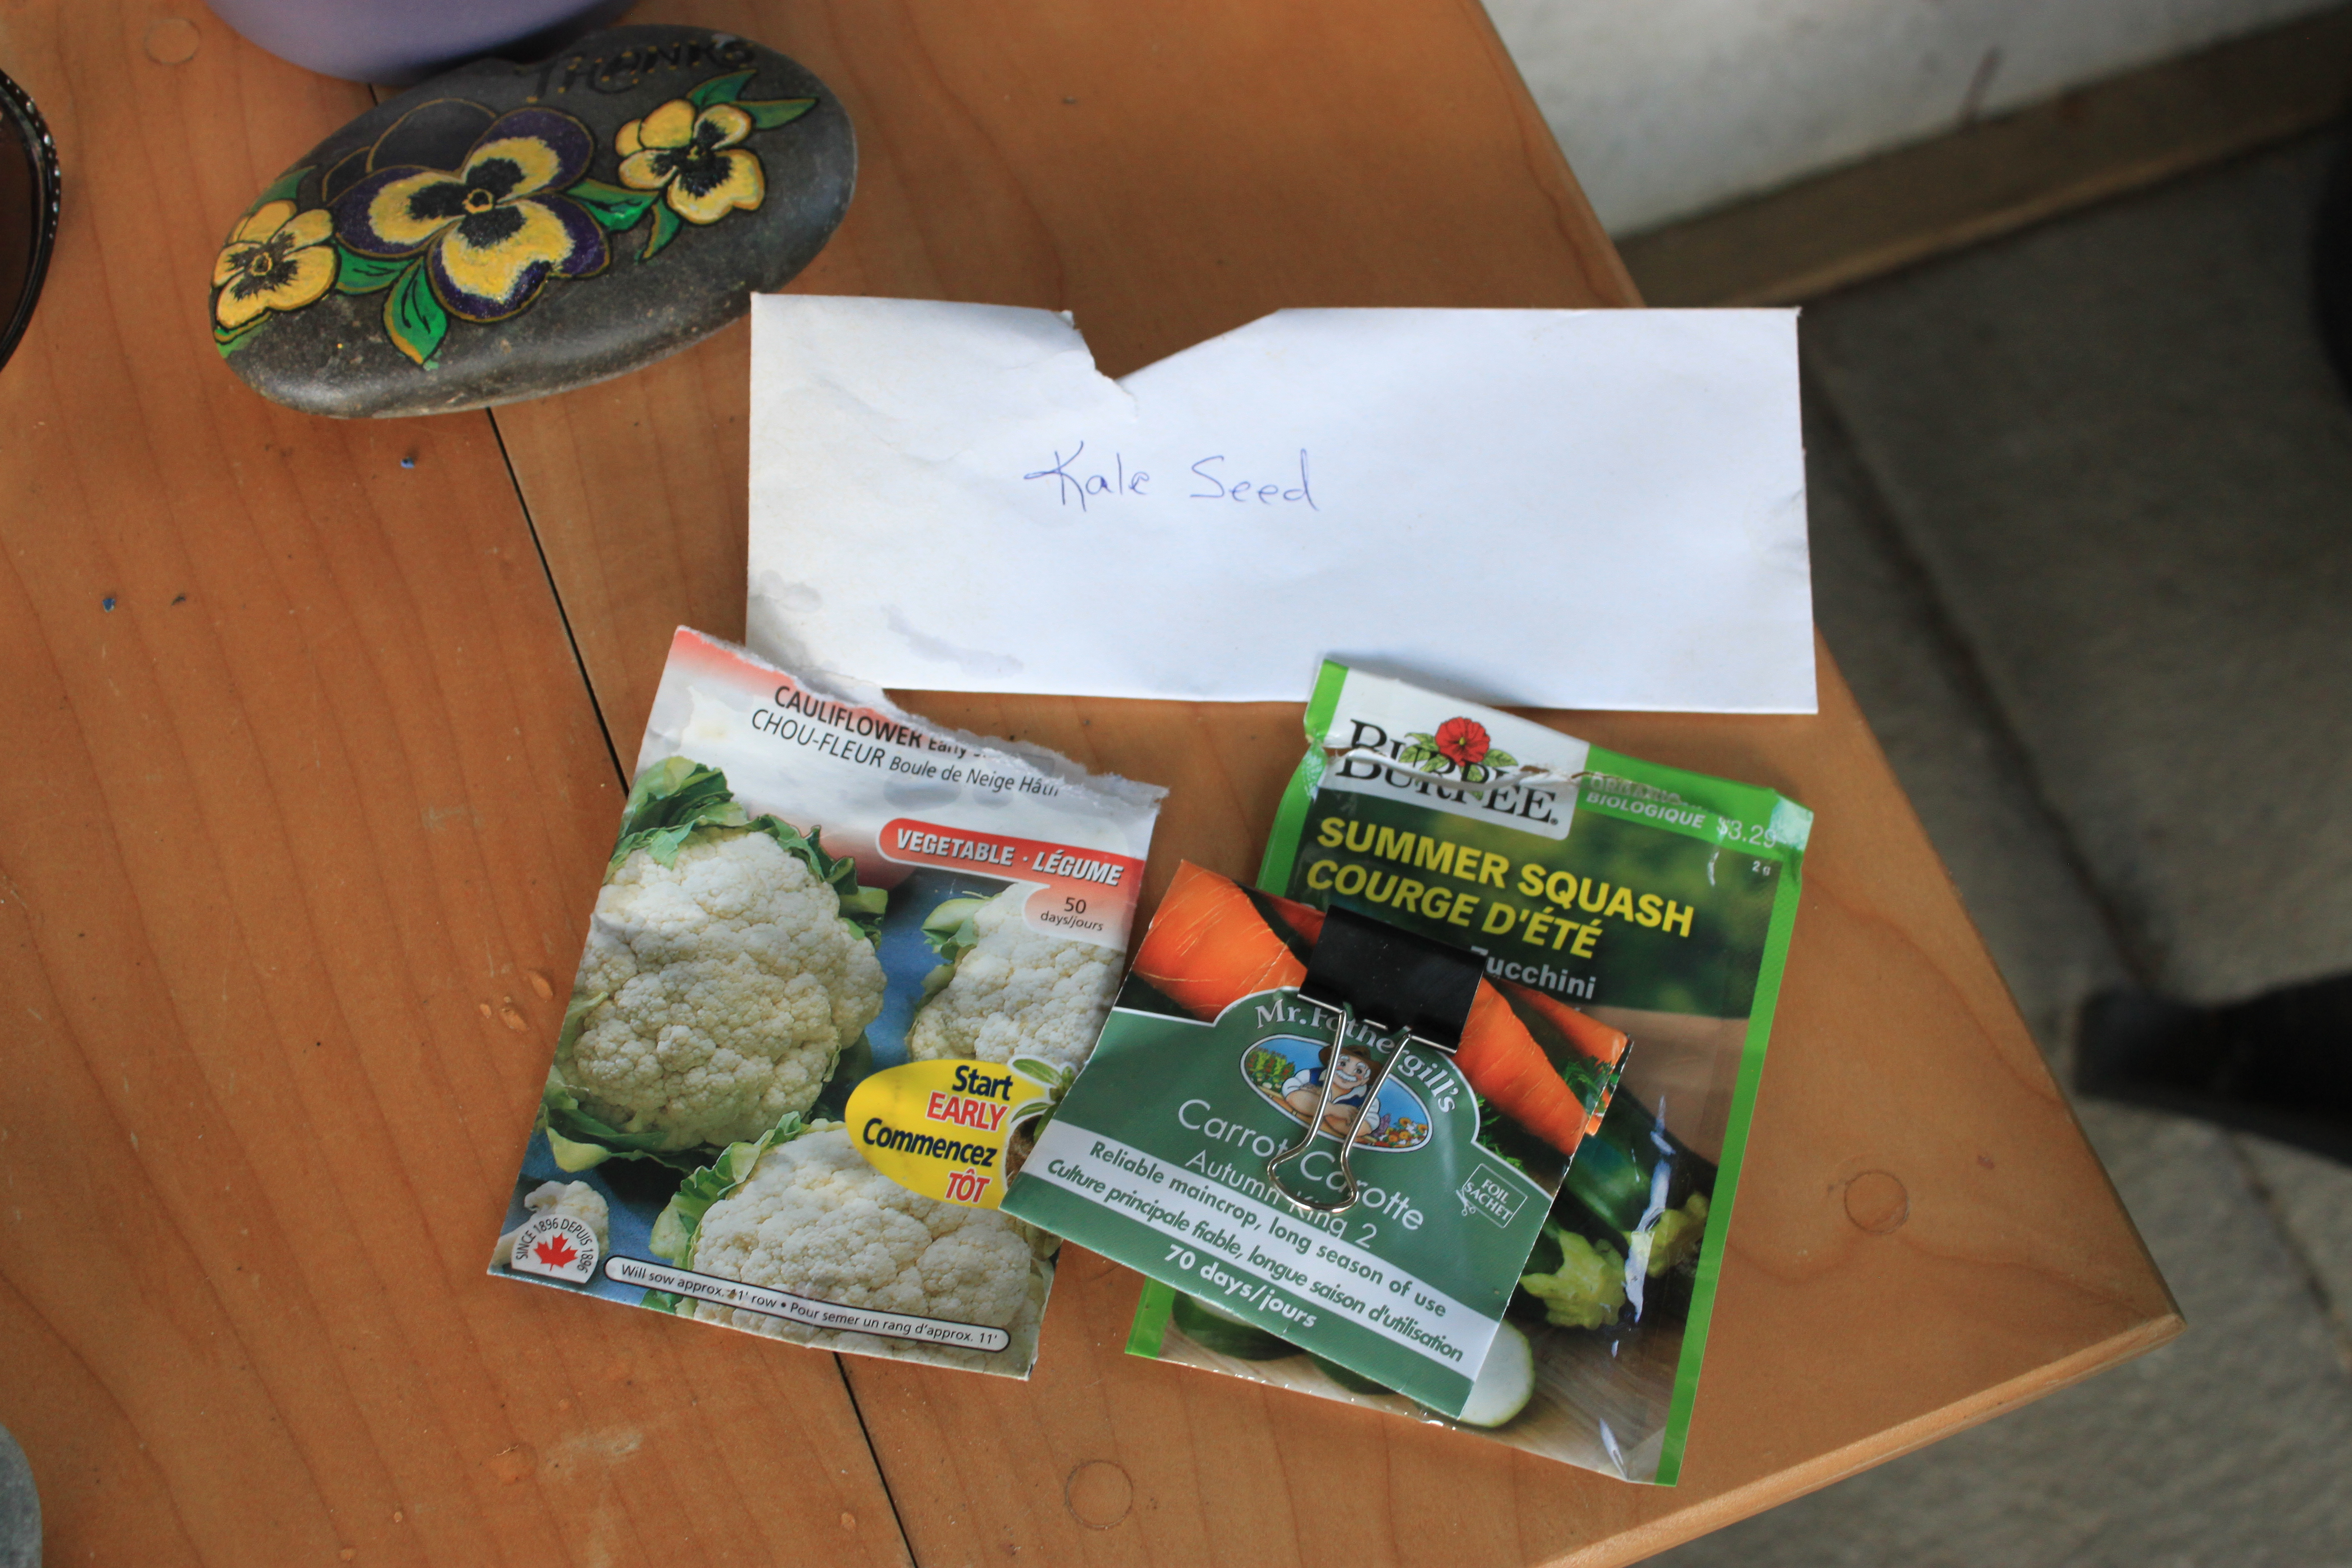
Lots of people are planting victory gardens and well, gardening during this pandemic sales are going well for seeds. I’m glad I had some in my stash instead of going out to the store to find there not any left.

Fall Garden Planting

IMG_1904
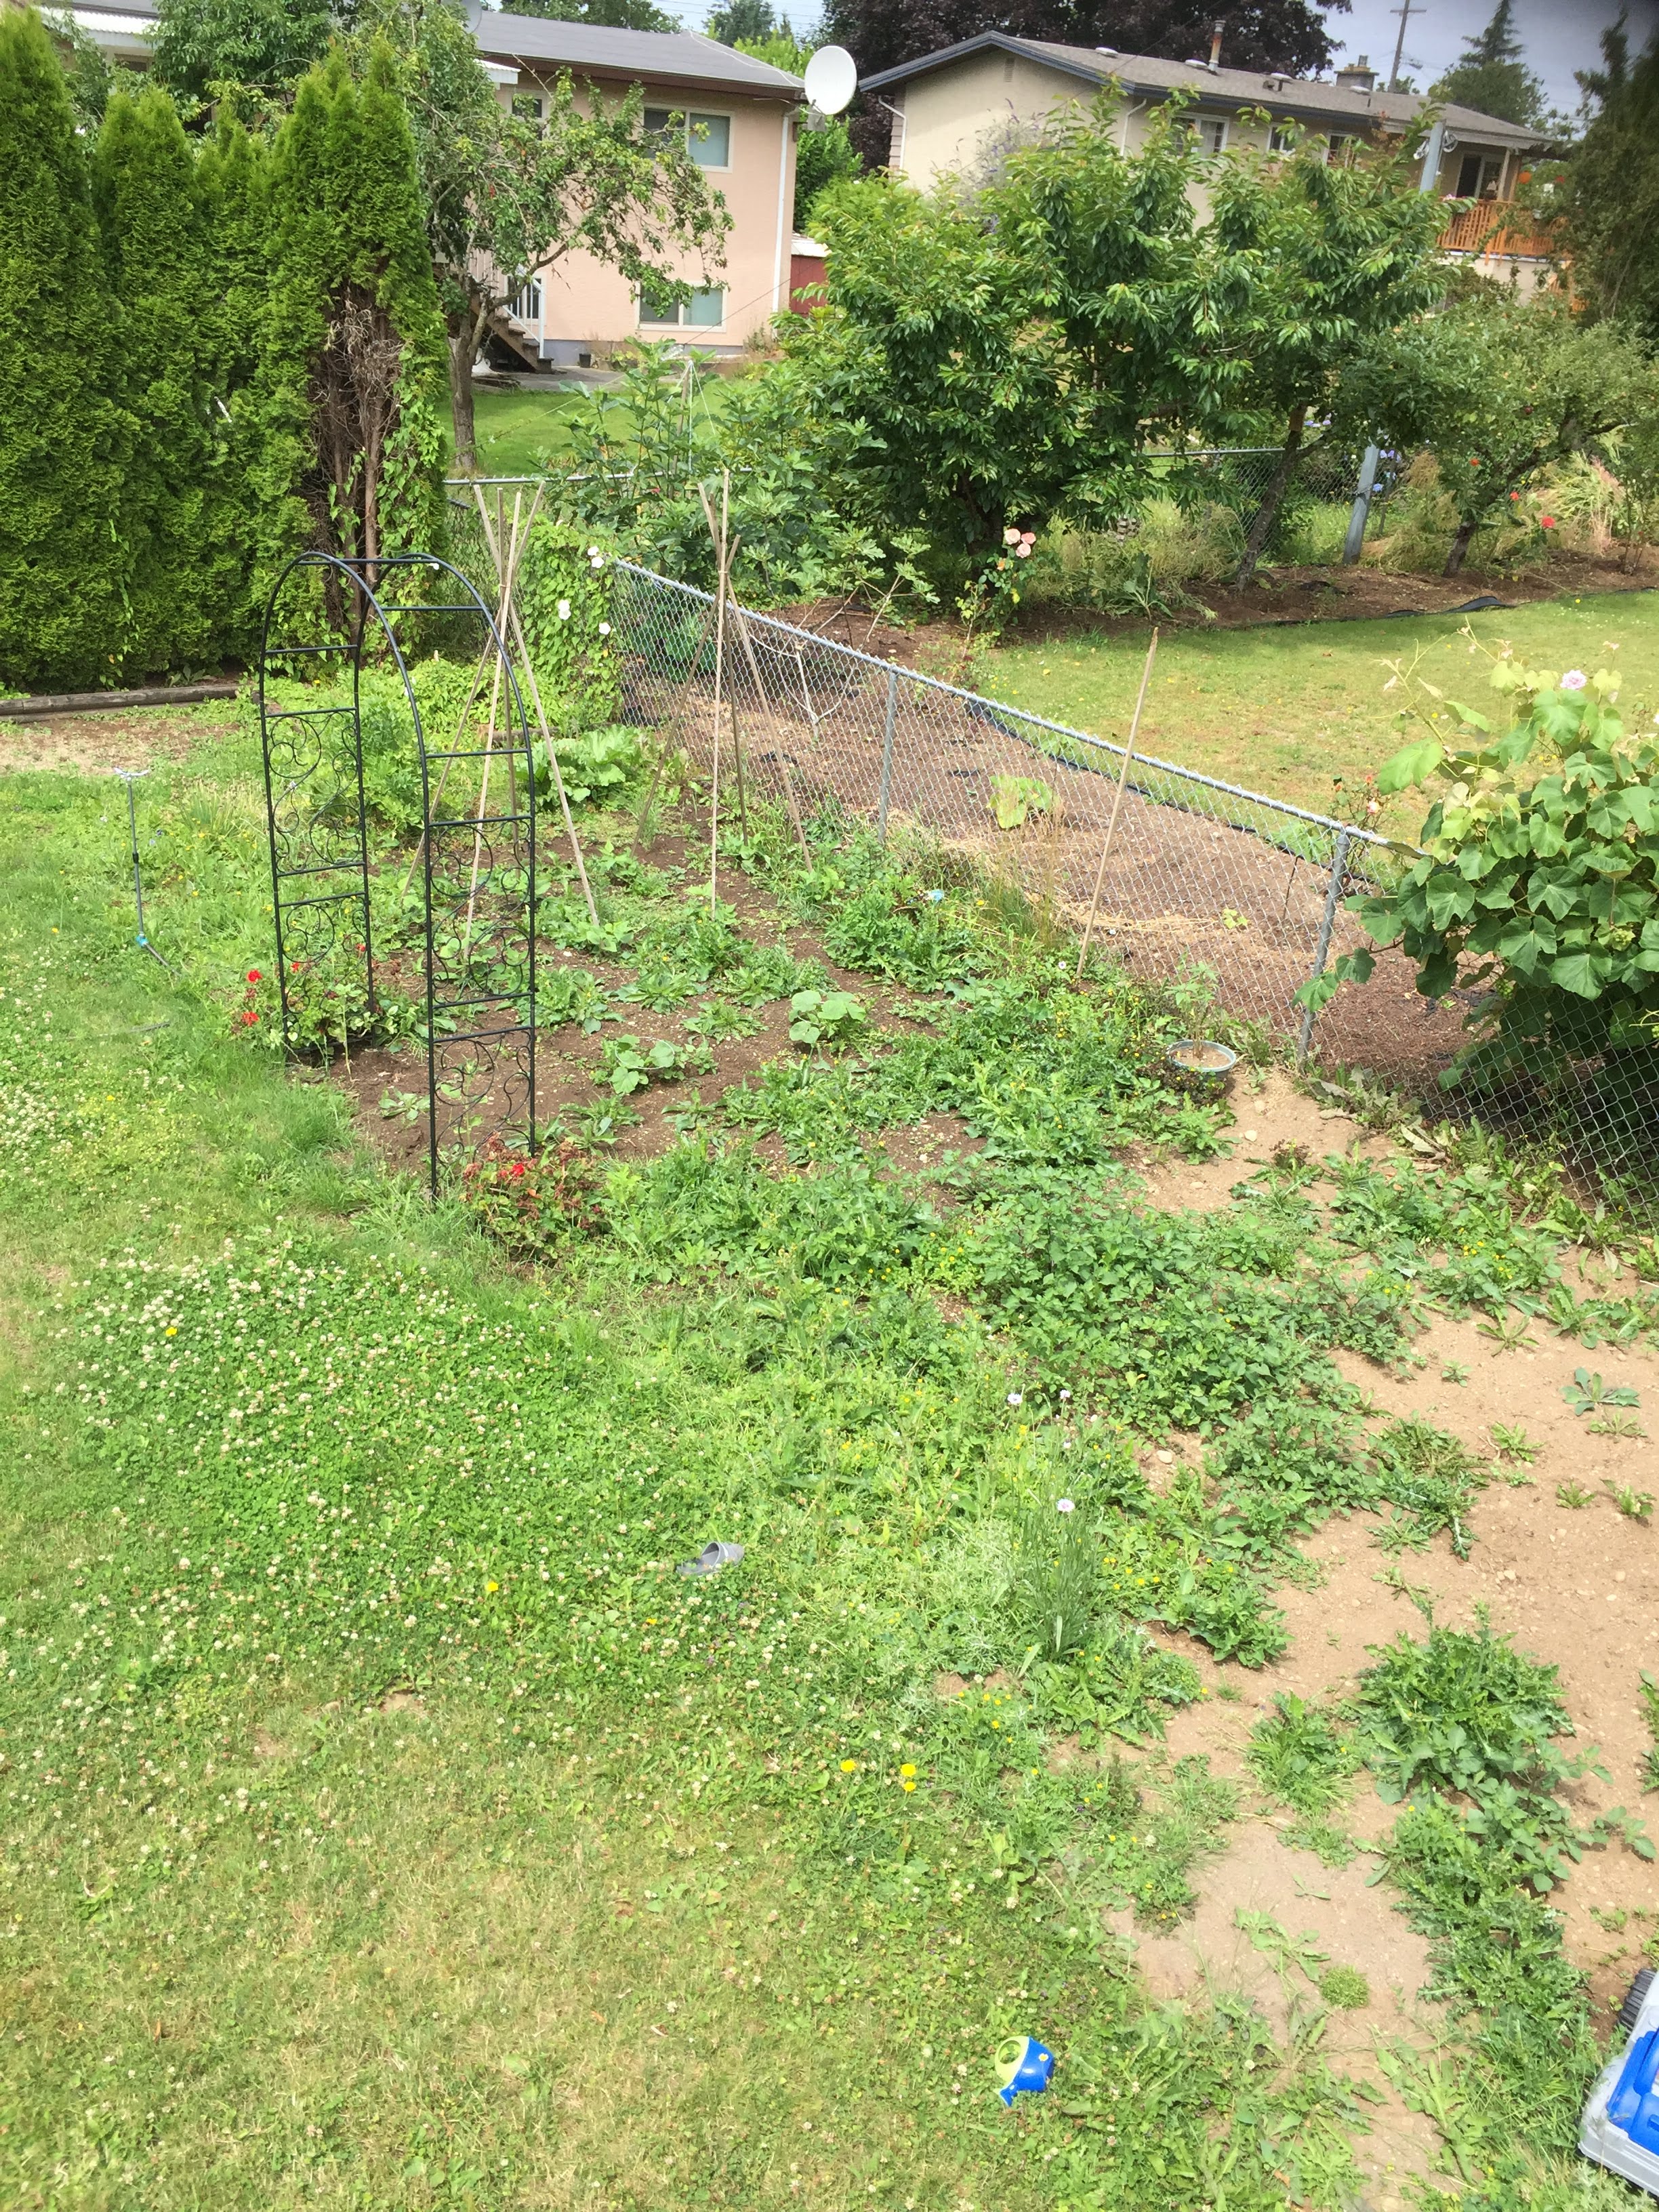
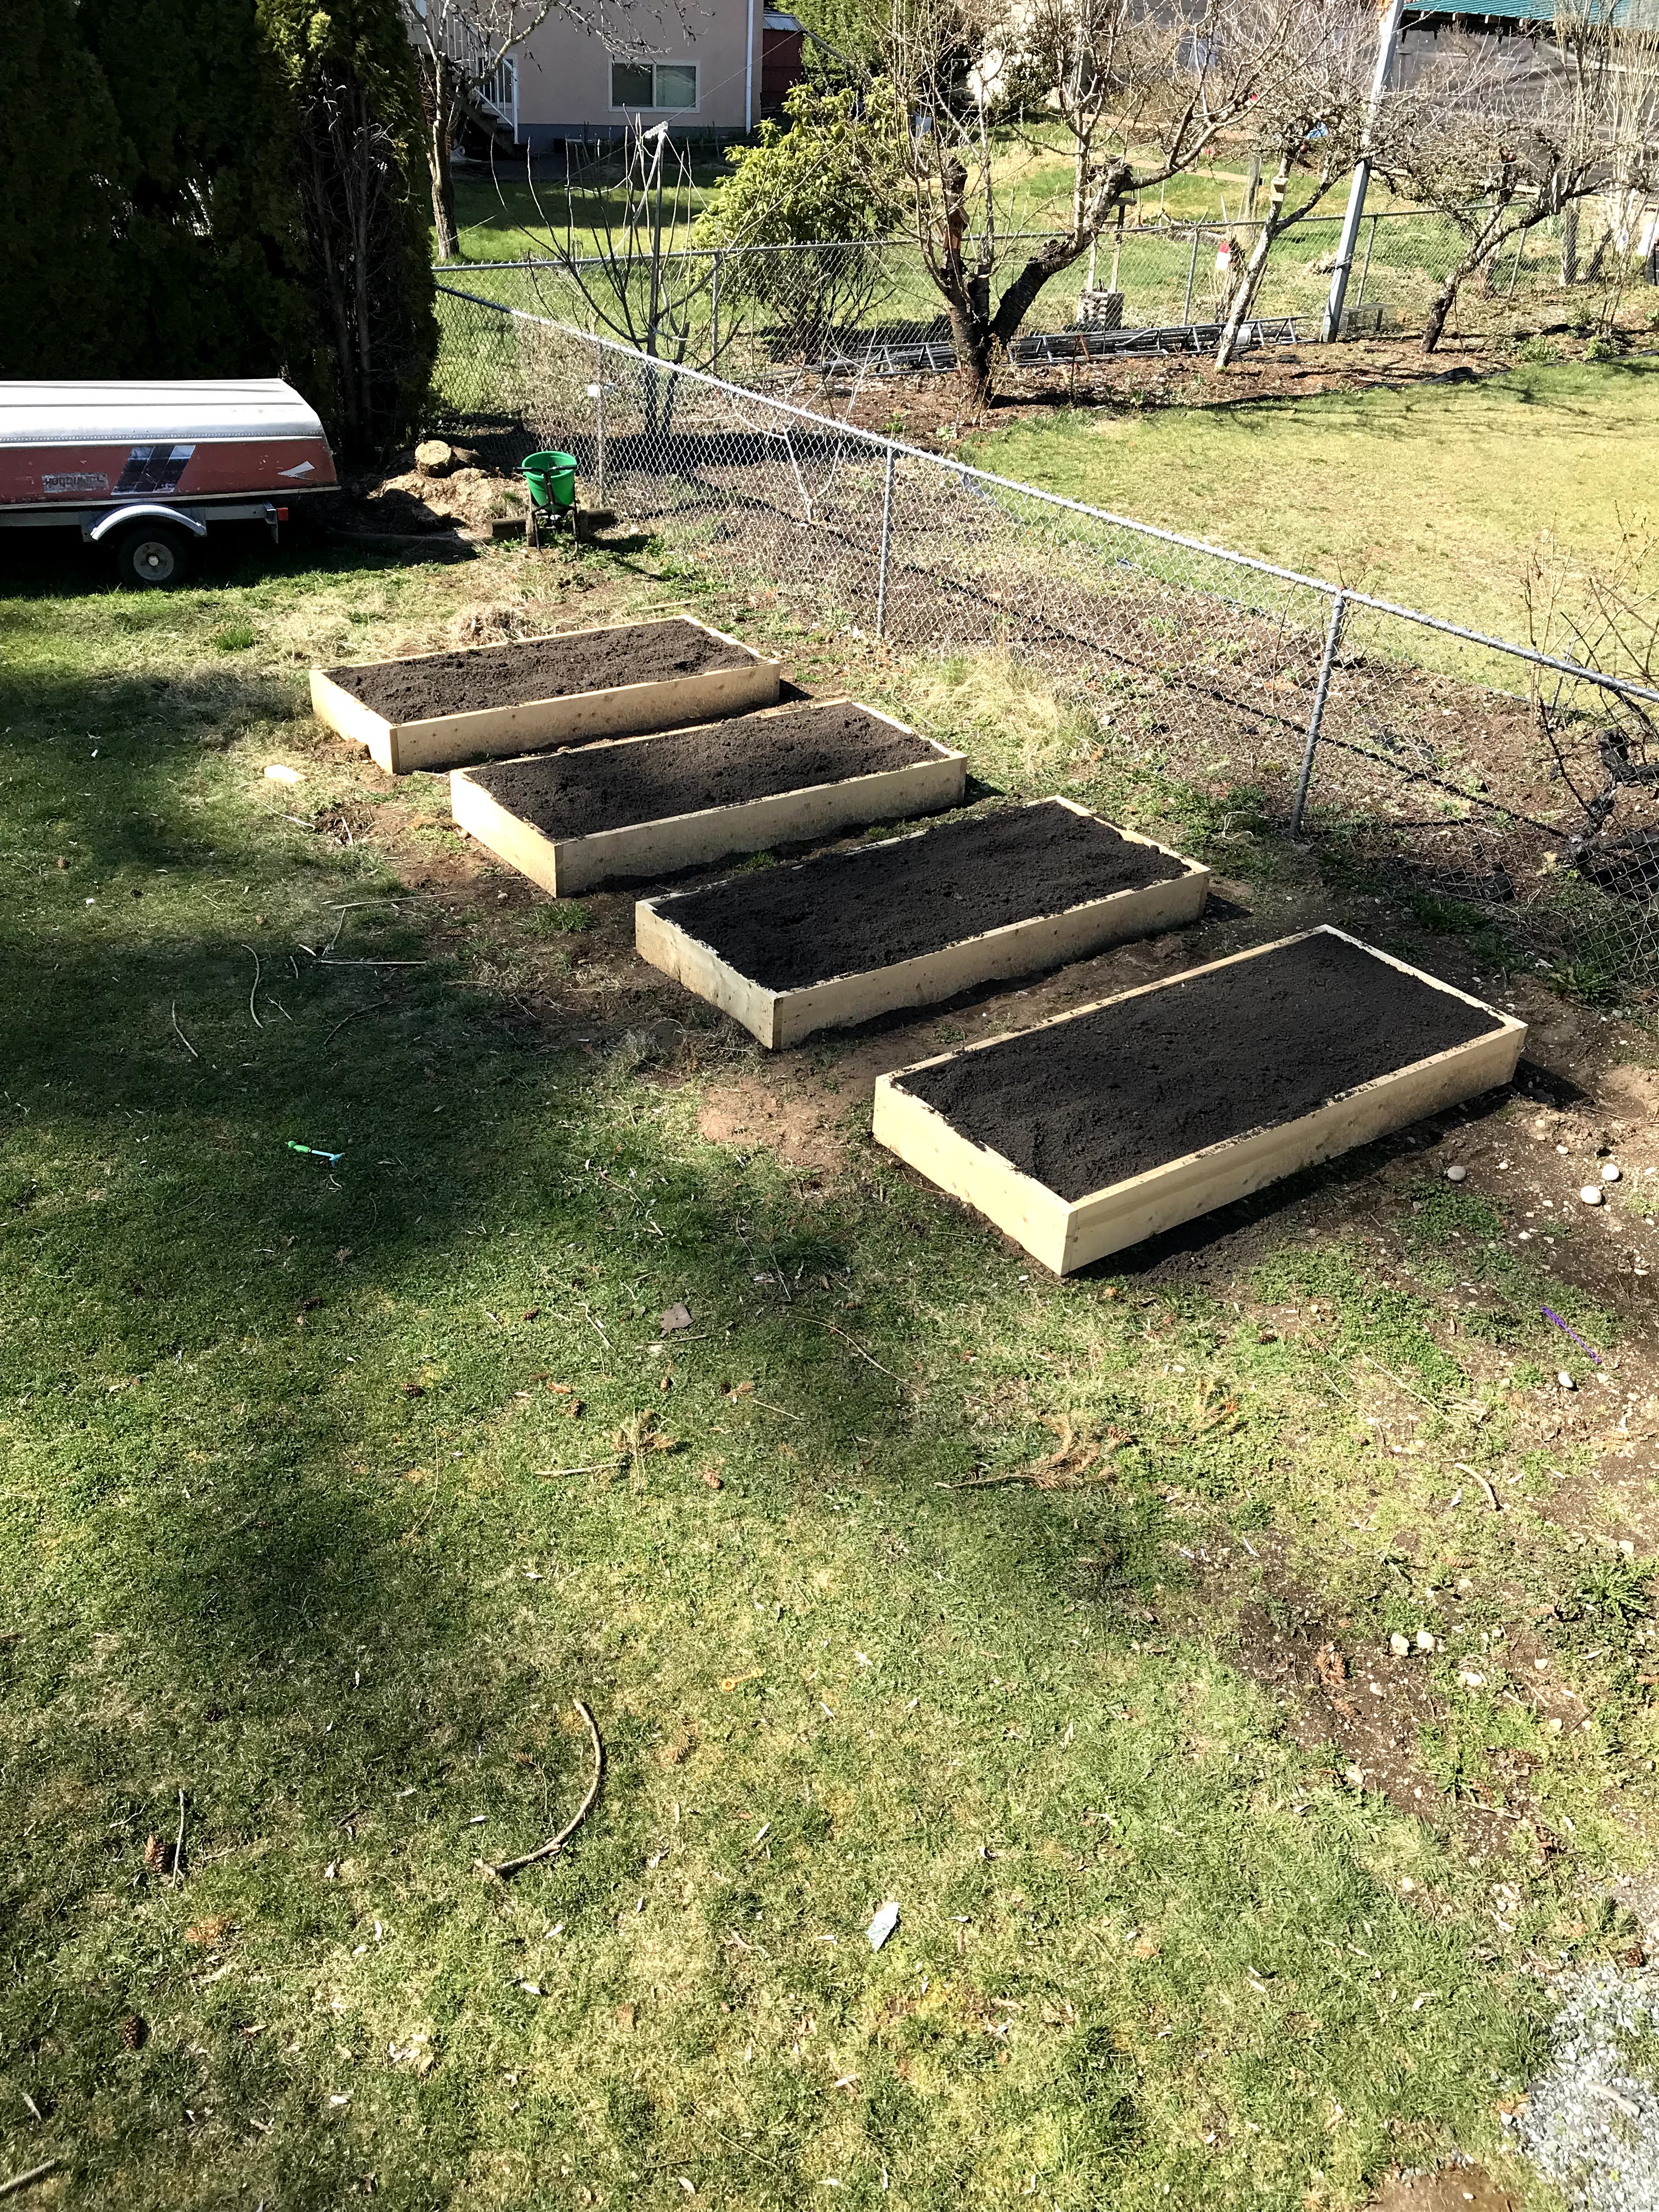
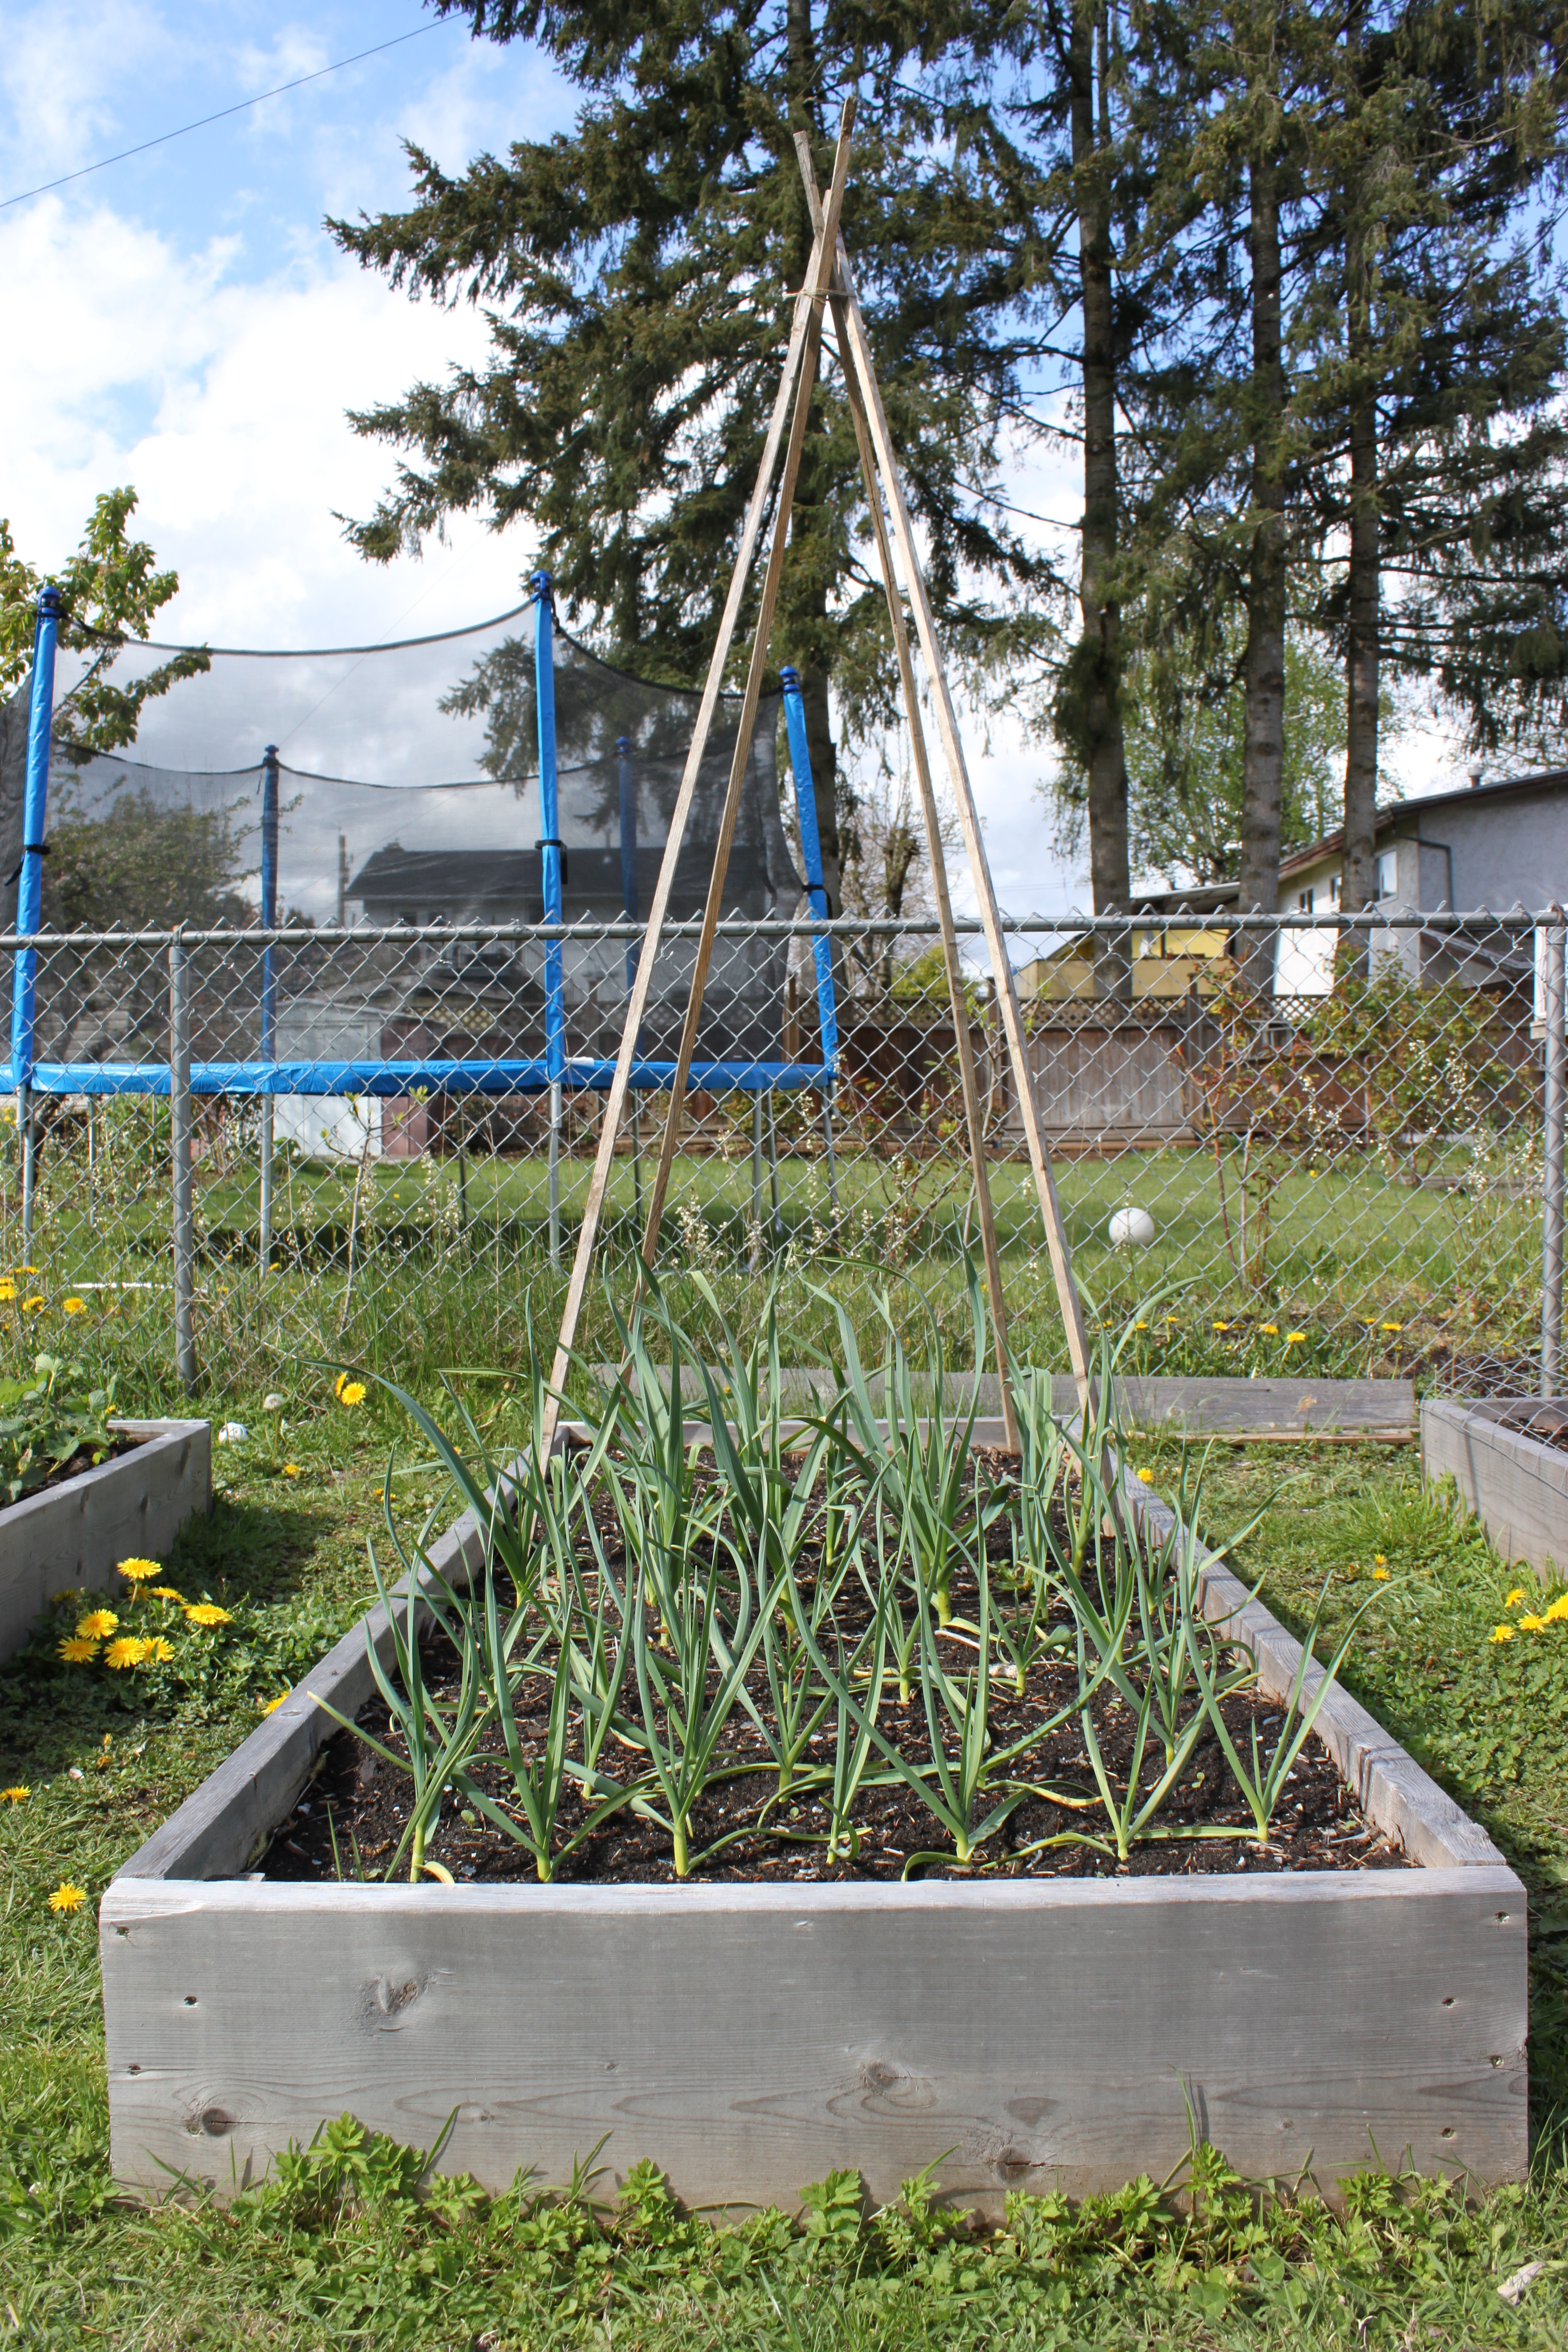
I harvested my garlic and had a lot of space in my box to plant more seeds. Plus I finally attacked my weed ridden back corner of my yard and got more seeds in the ground!

IMG_1909
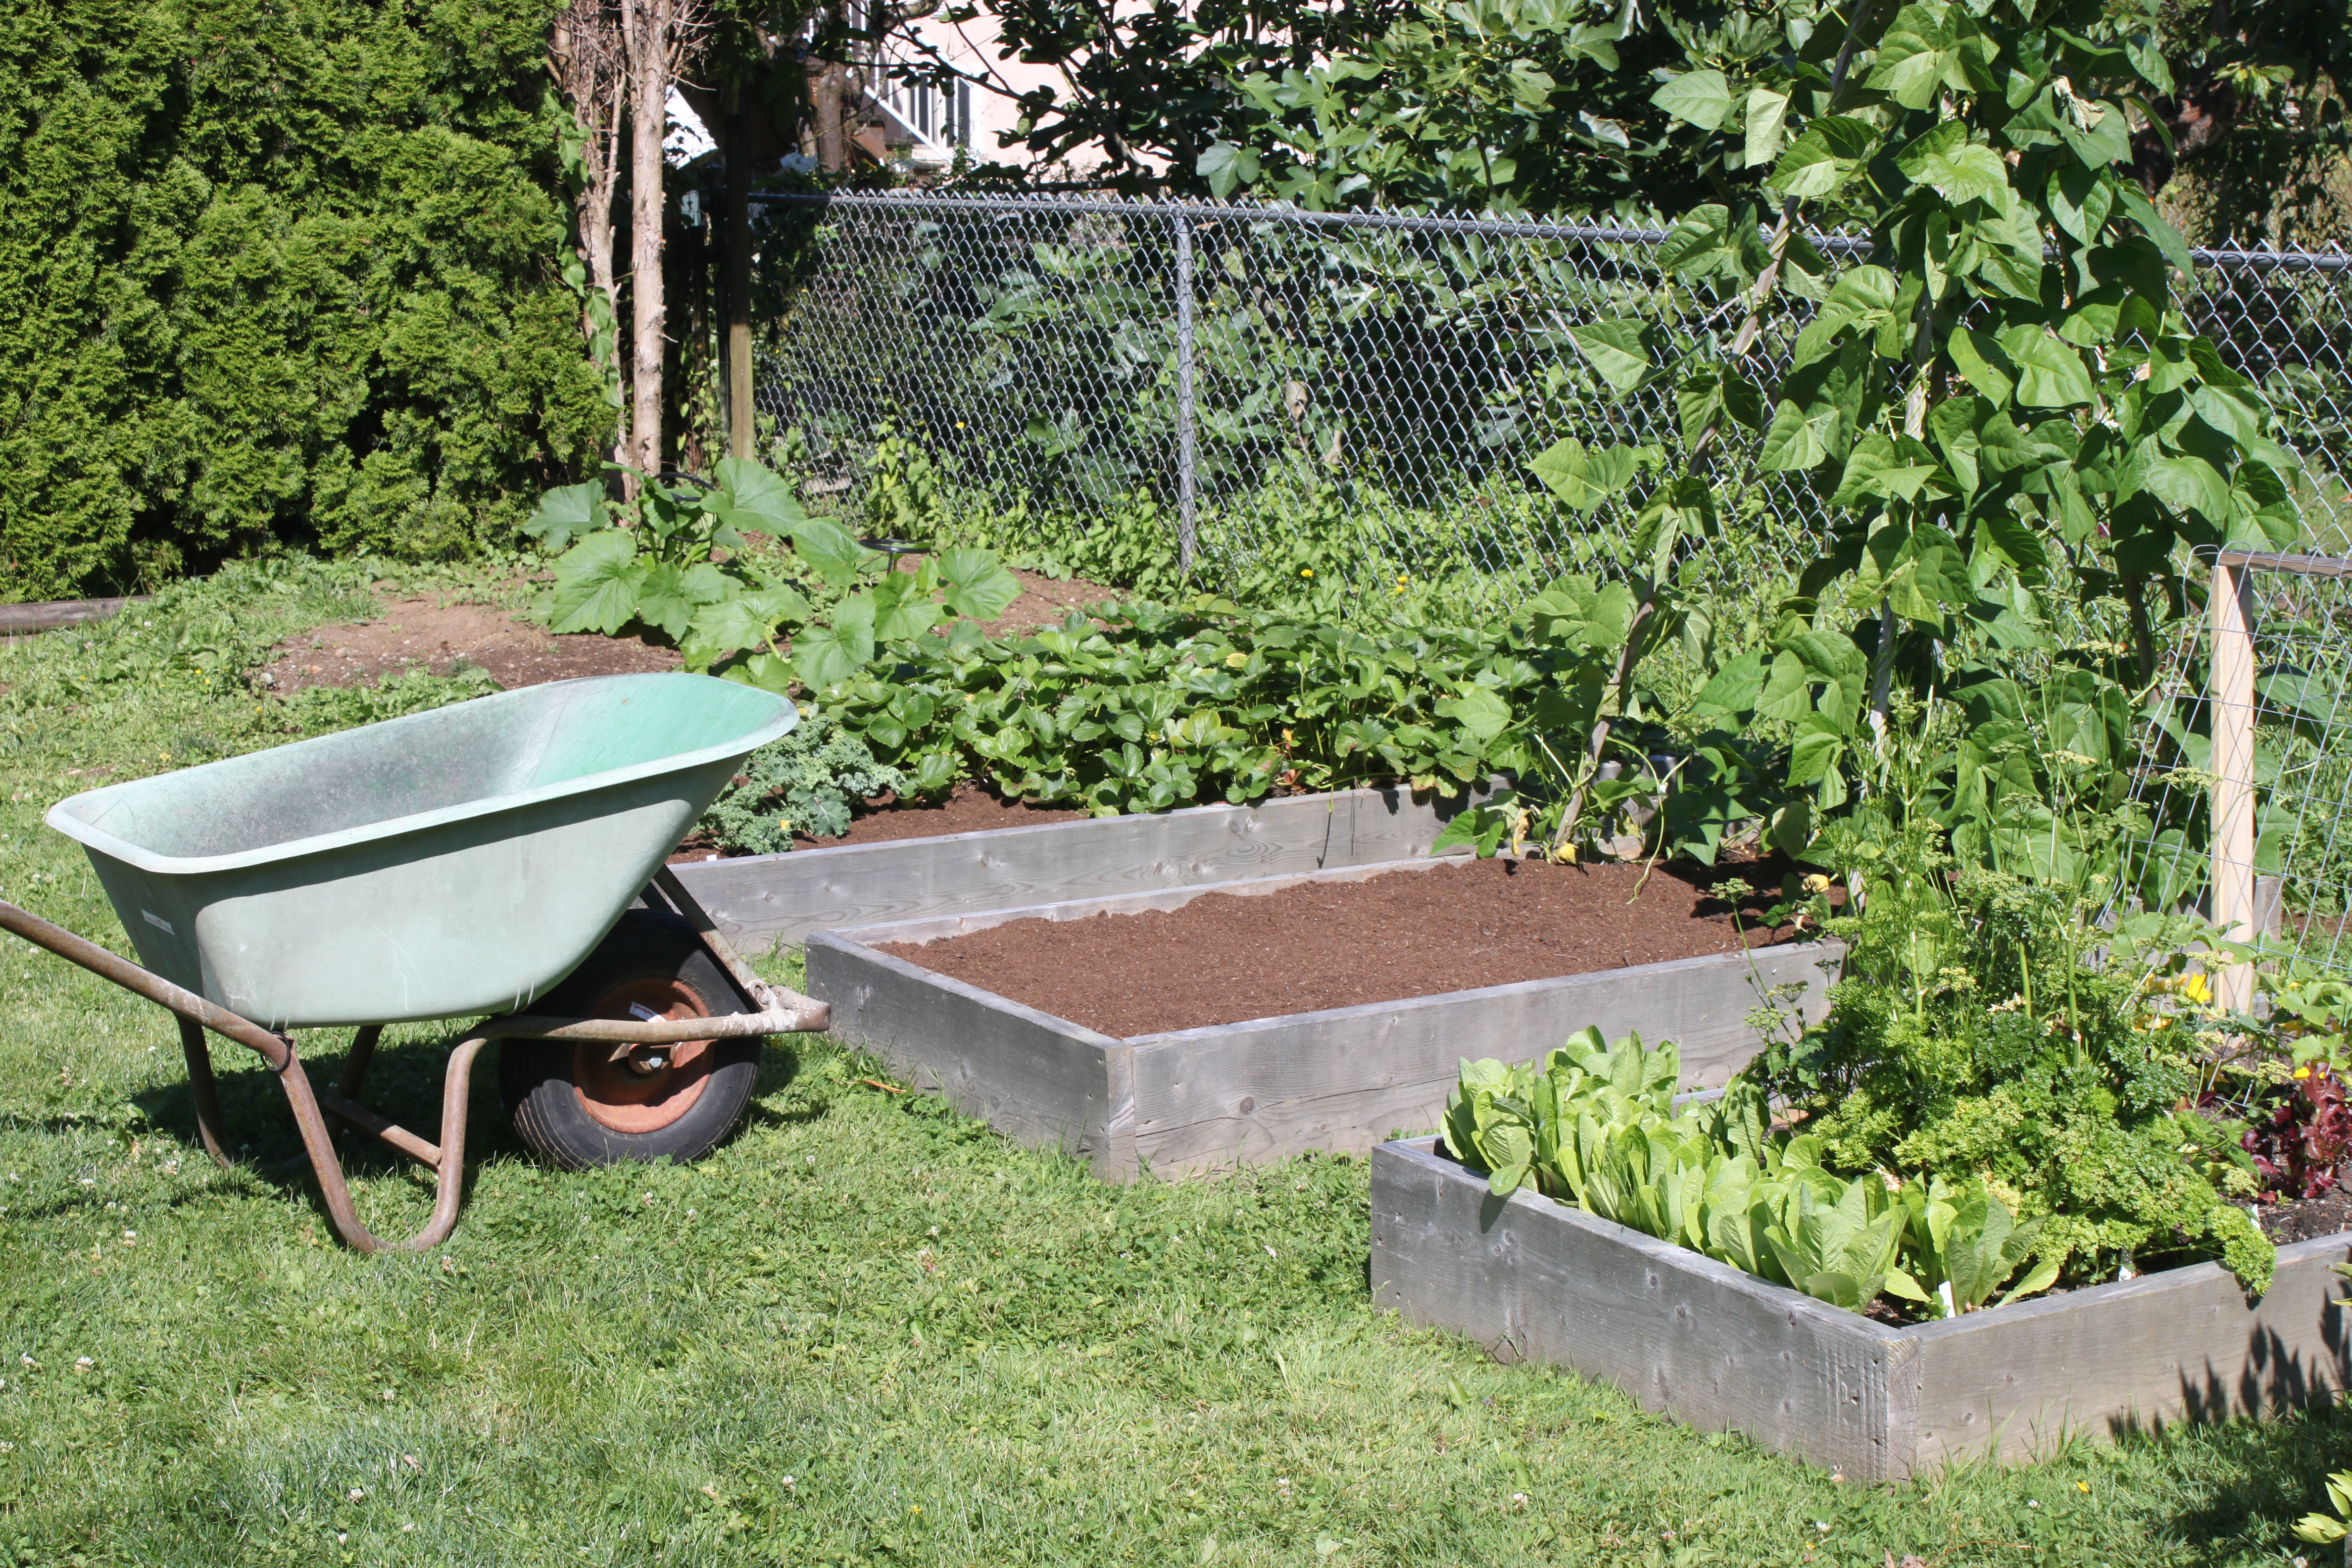
It was lots of hard work.  I see it lots in the gardening community the saying that “Gardening is my therapy”! It fully is for me. That could be a whole other blog post on that topic.

What did I plant?

IMG_1914
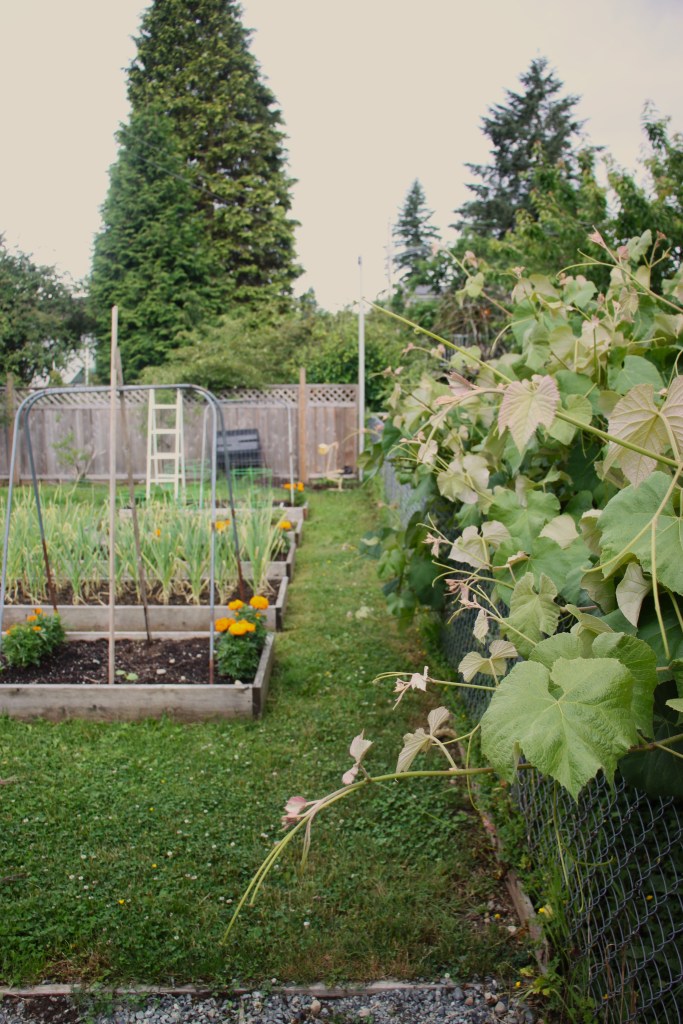
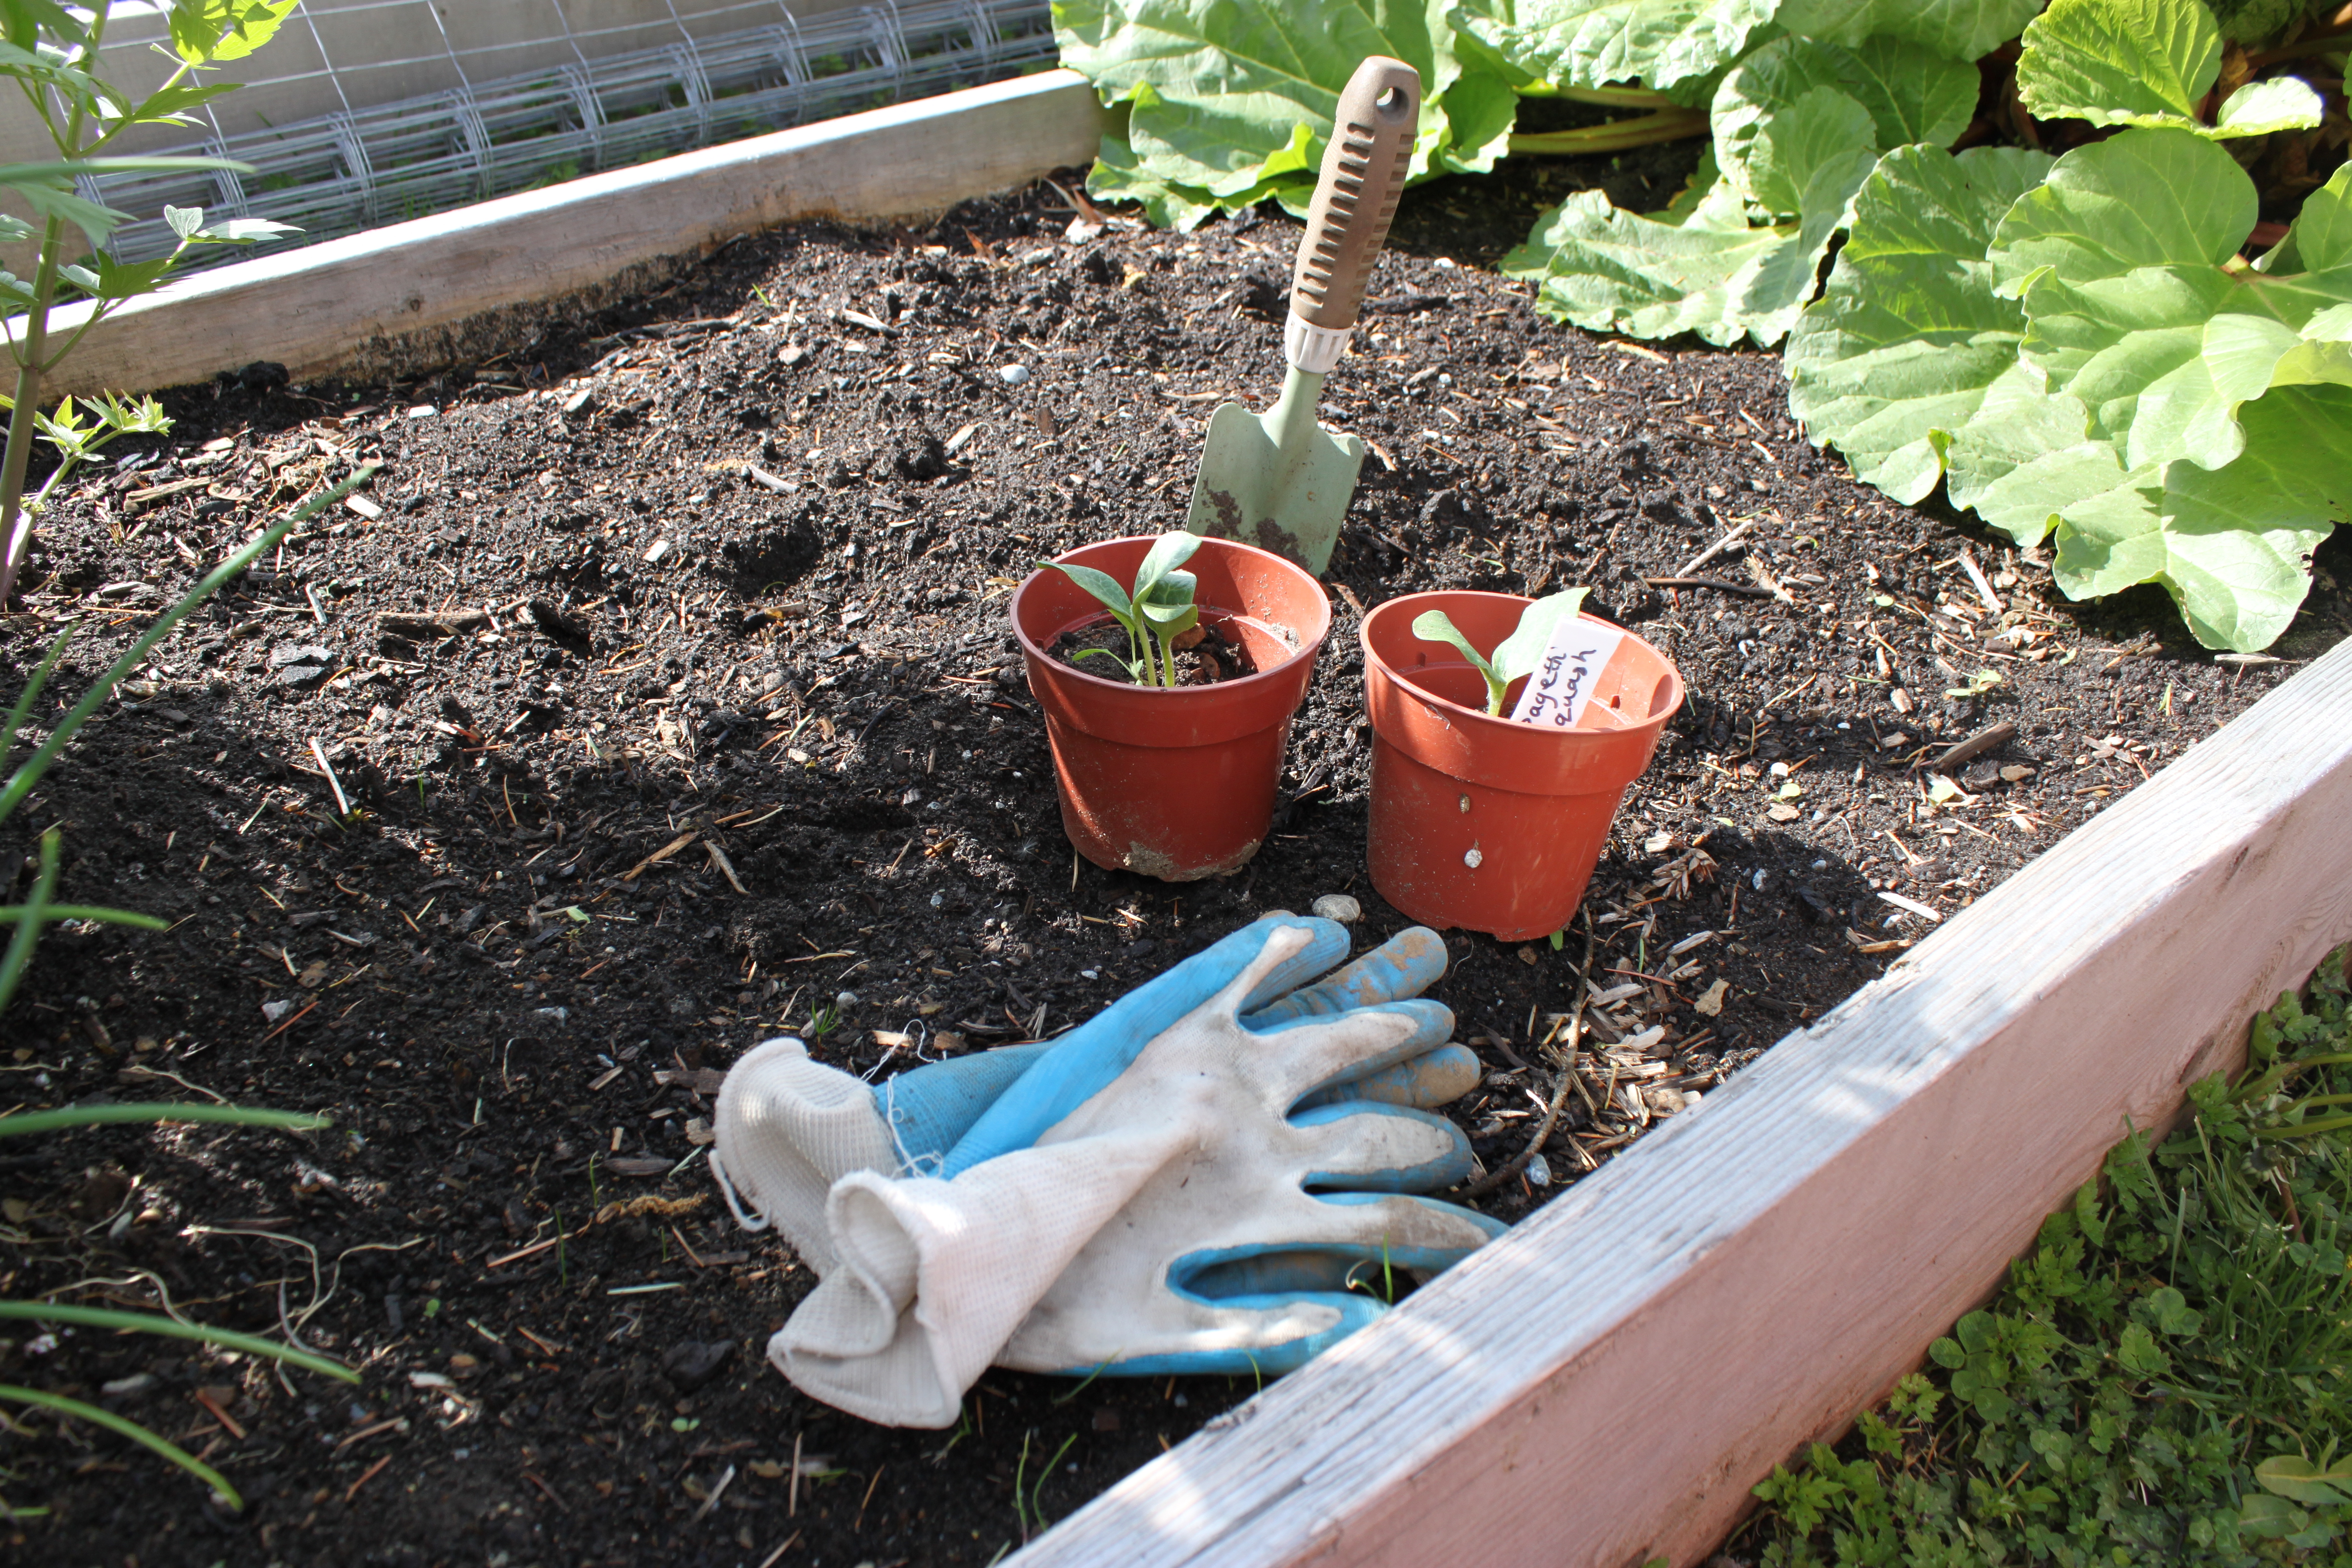
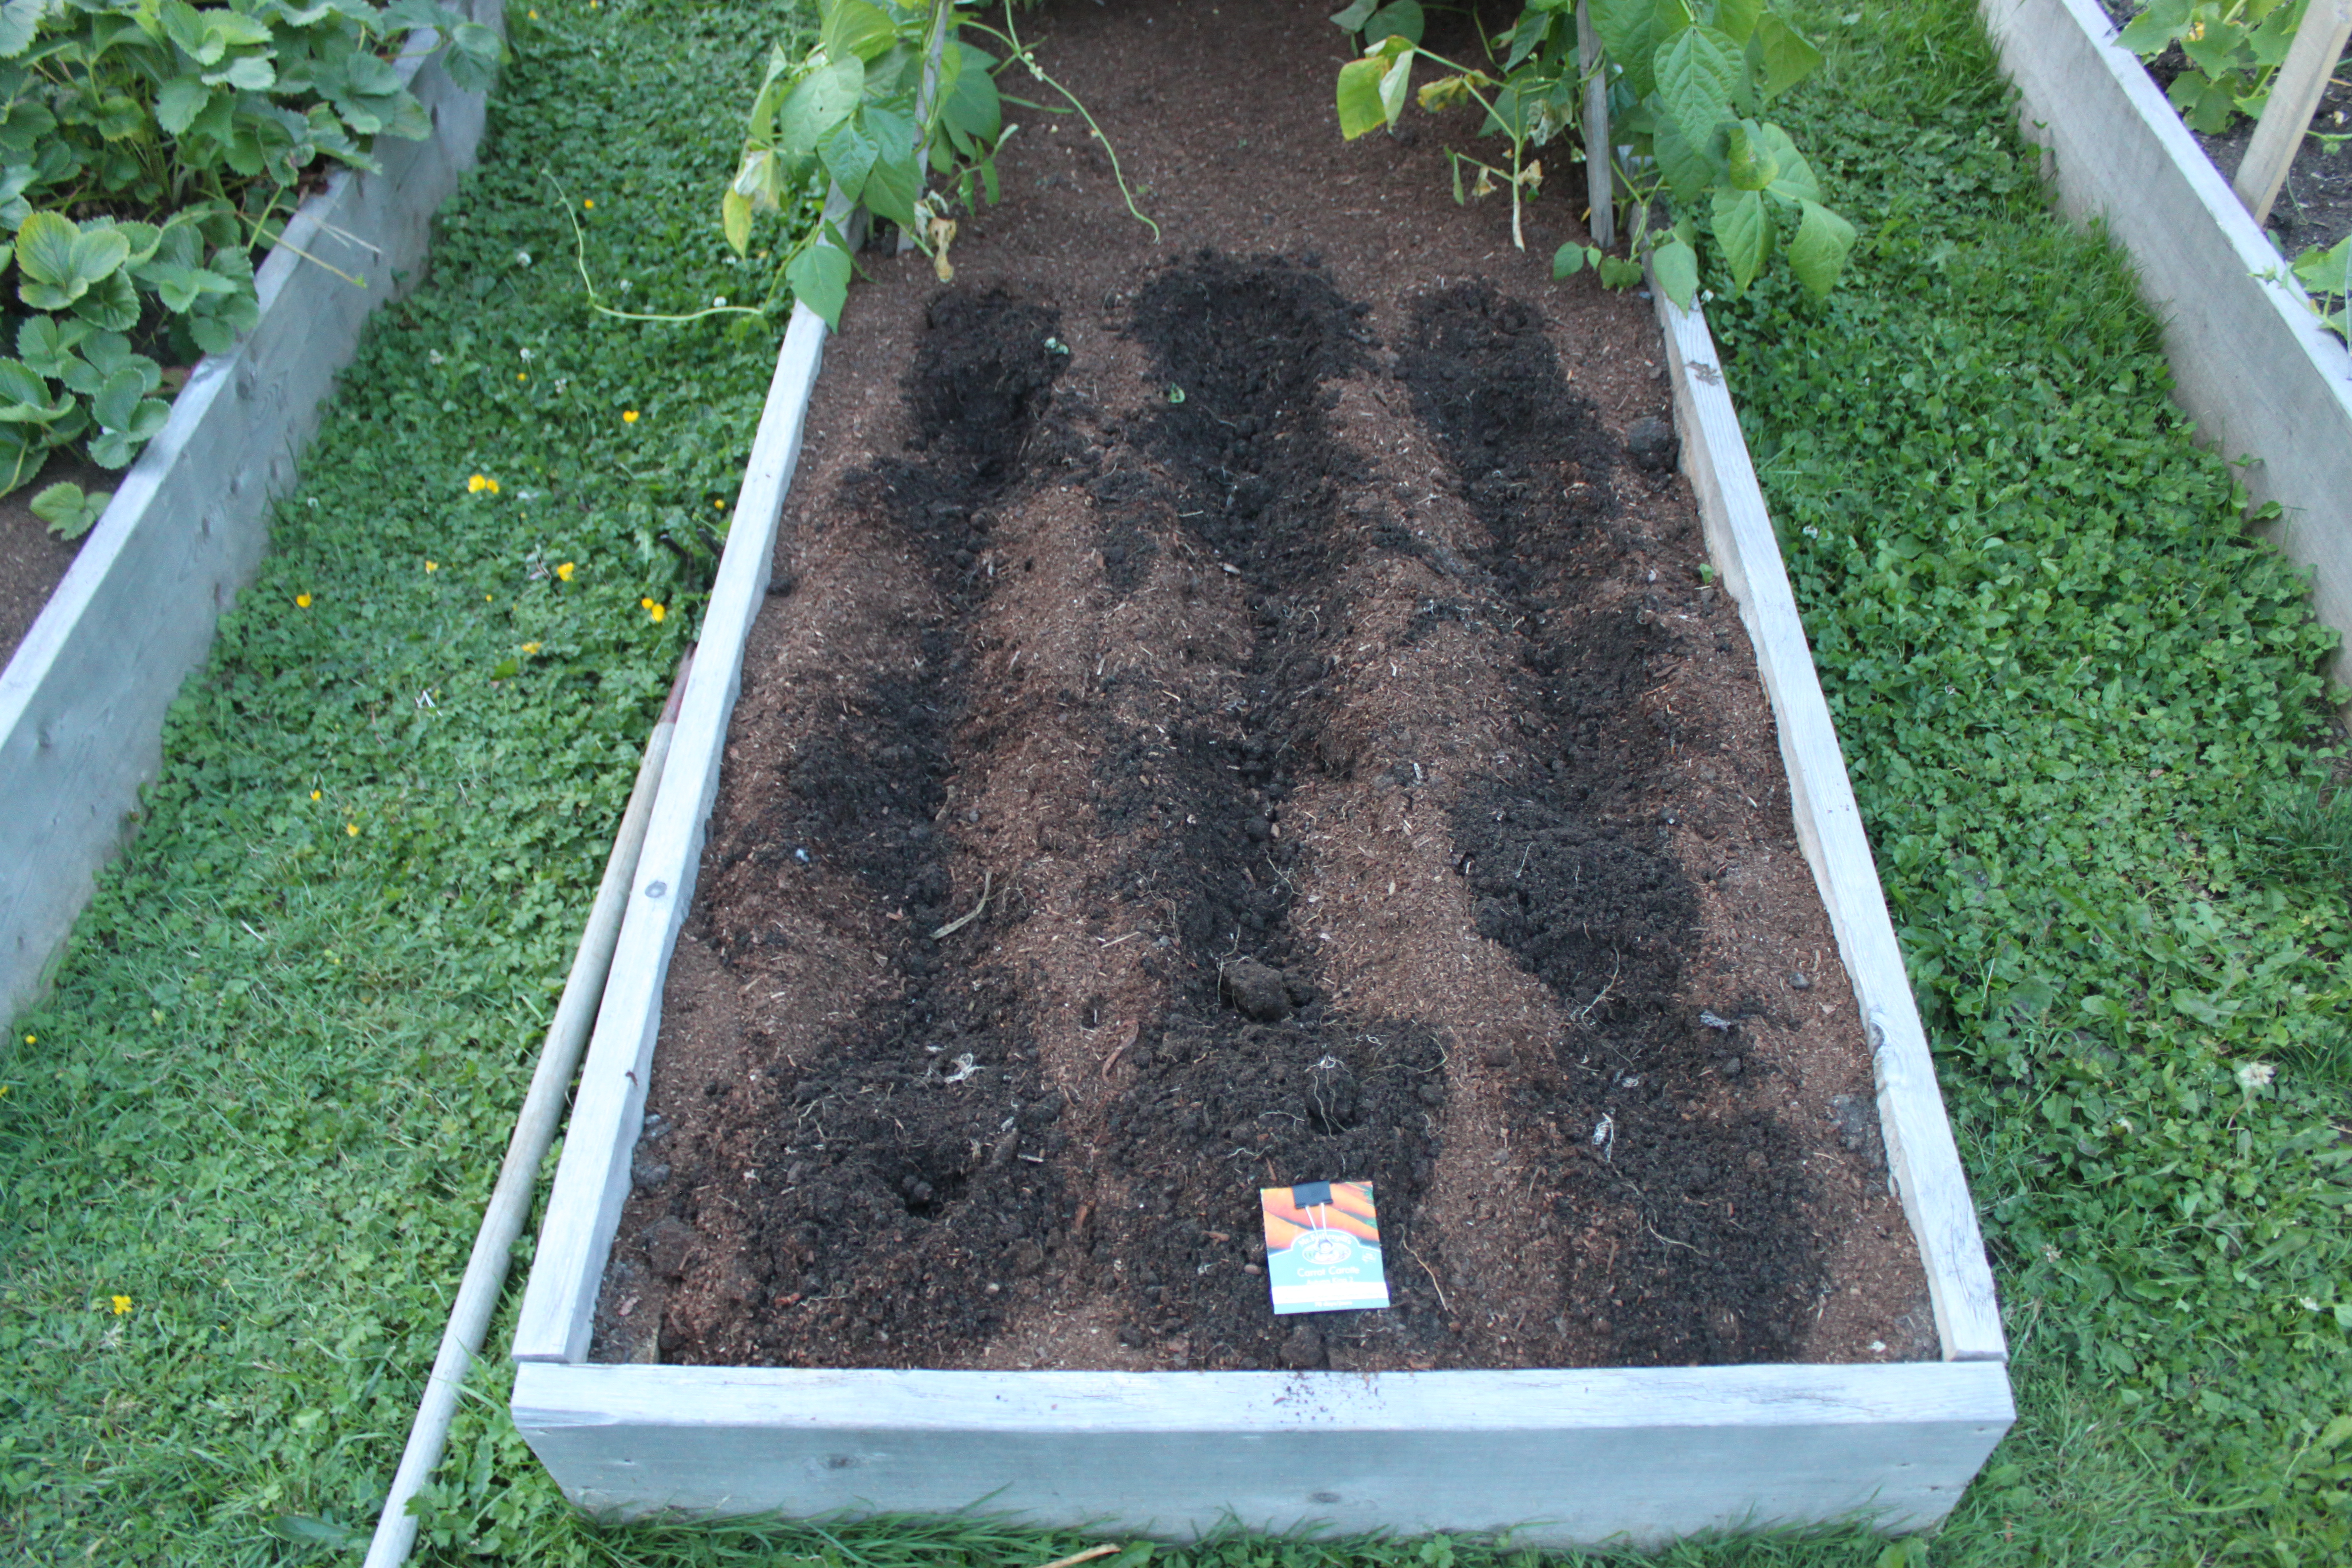
I planted 3 rows of Carrots in the garden box.

IMG_1948
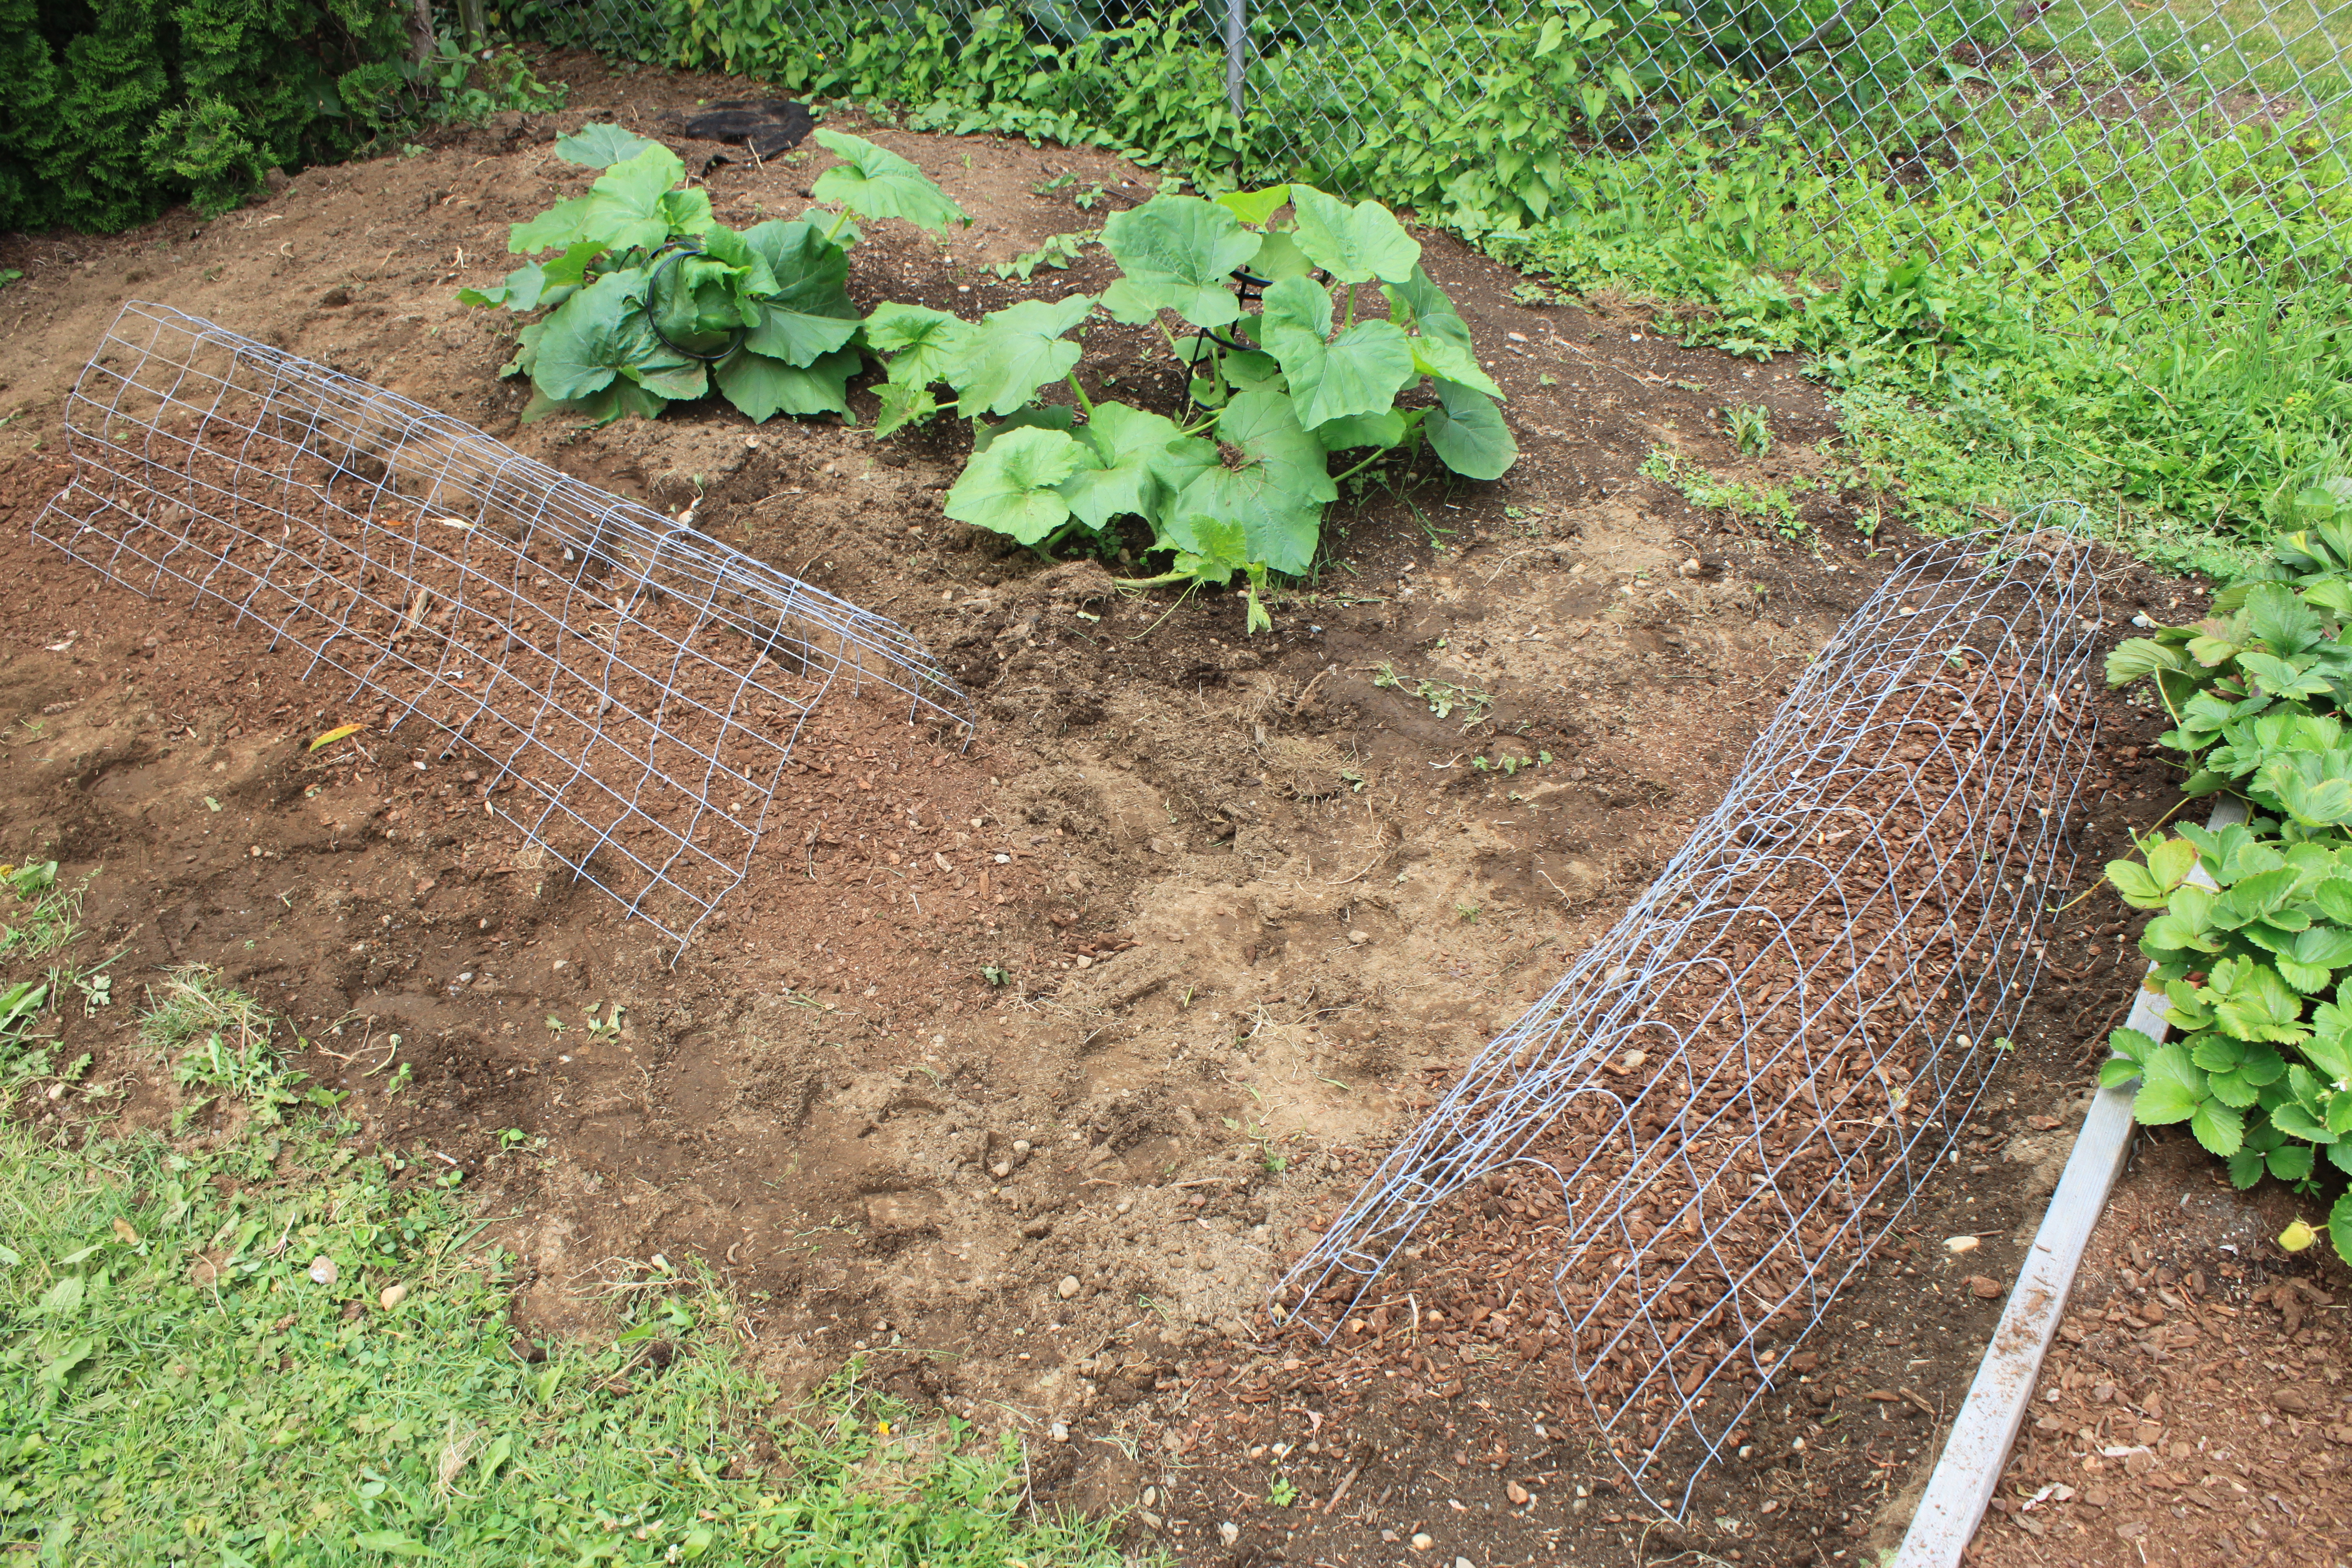
A row of Cauliflower and a row of zucchini. Wire is for puppy protection!!

IMG_1947
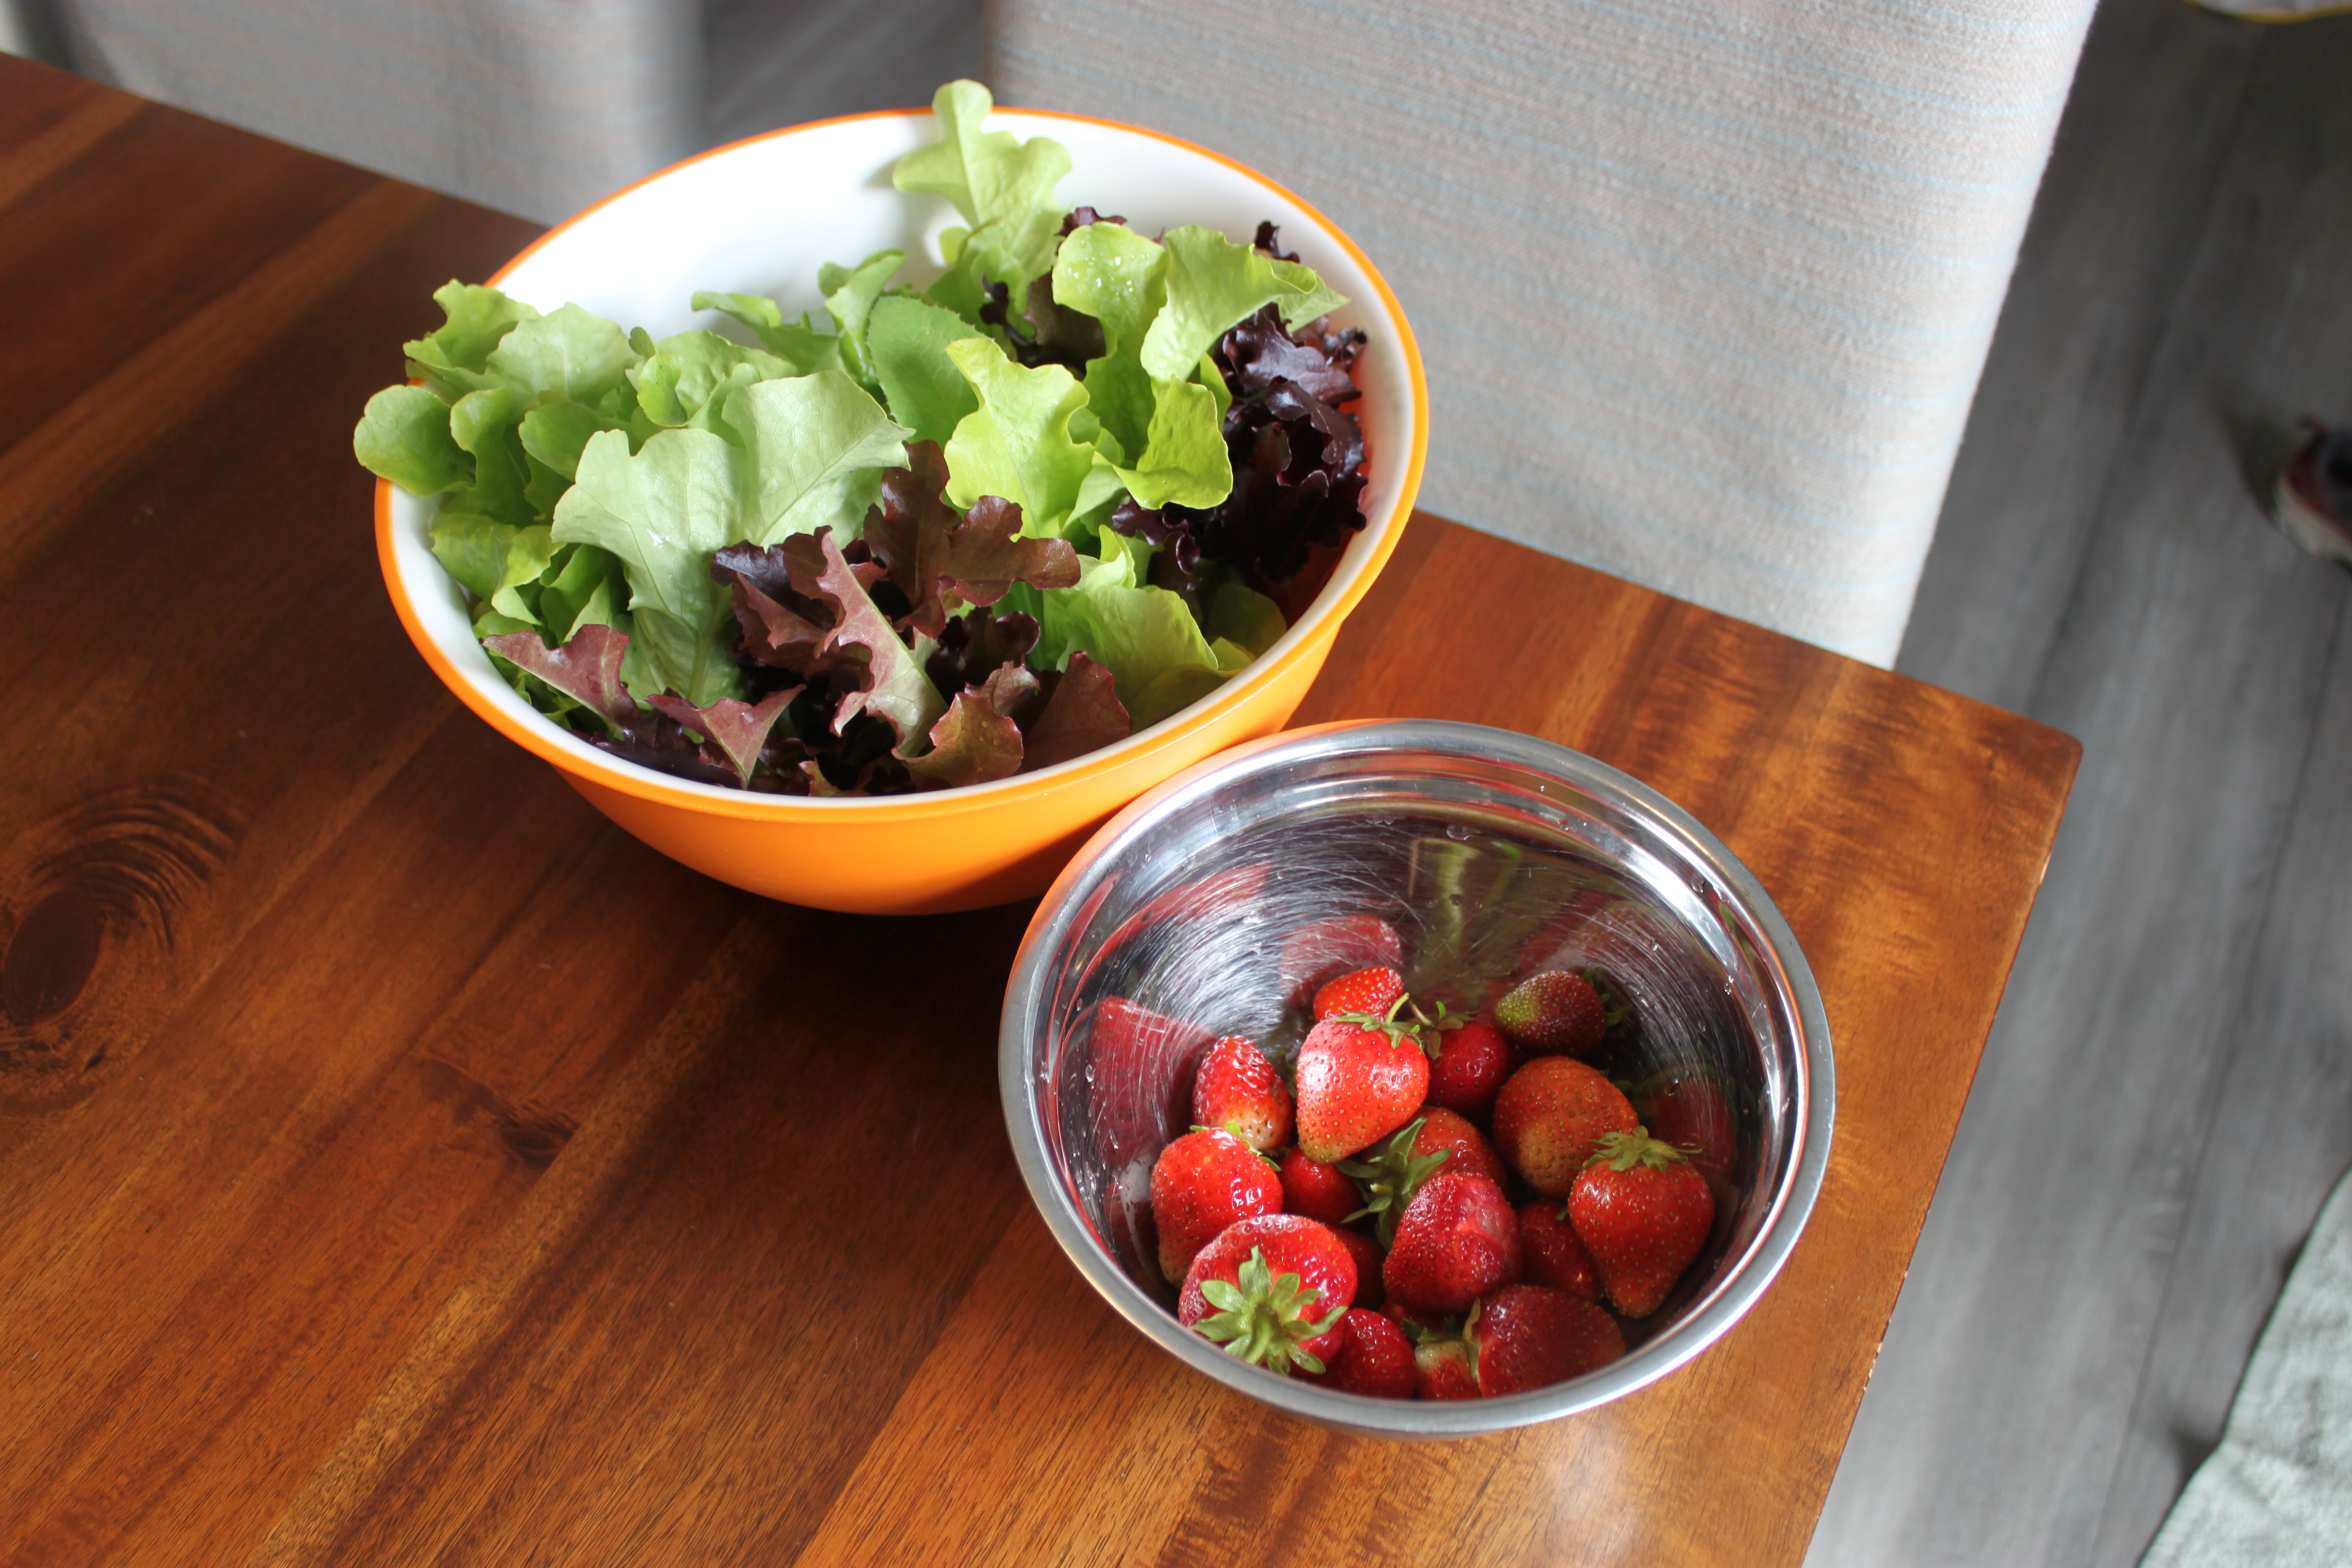
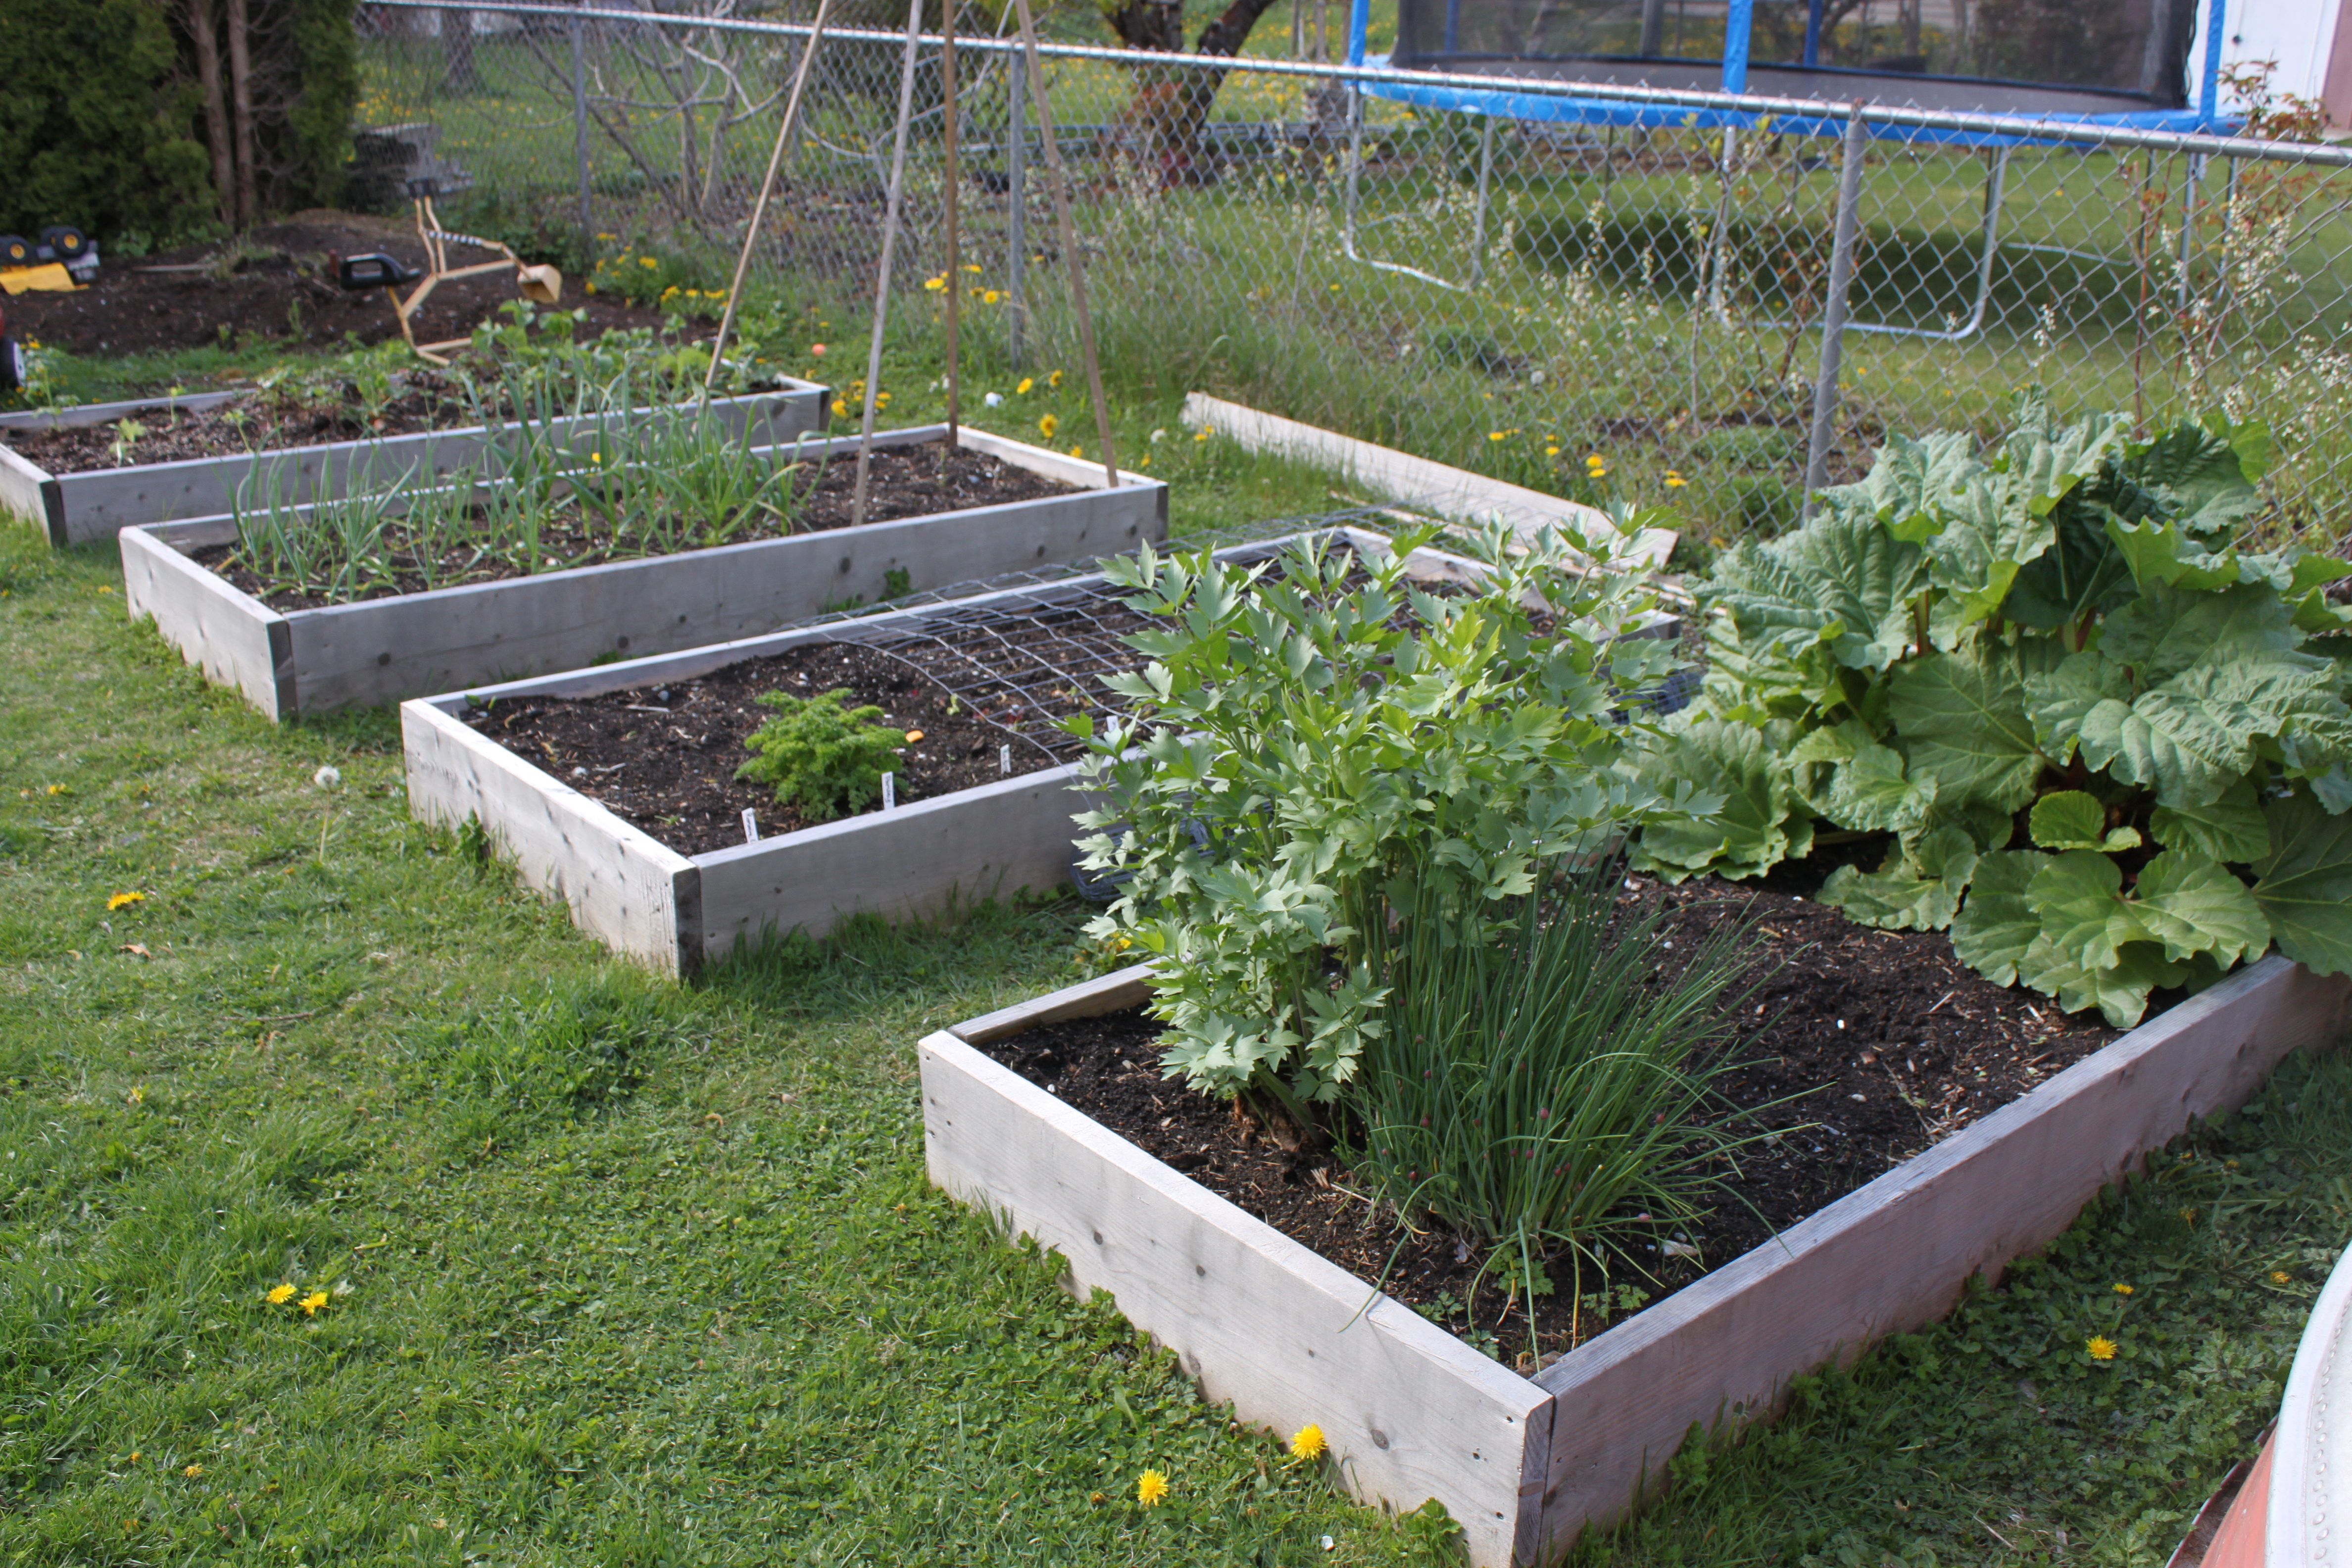
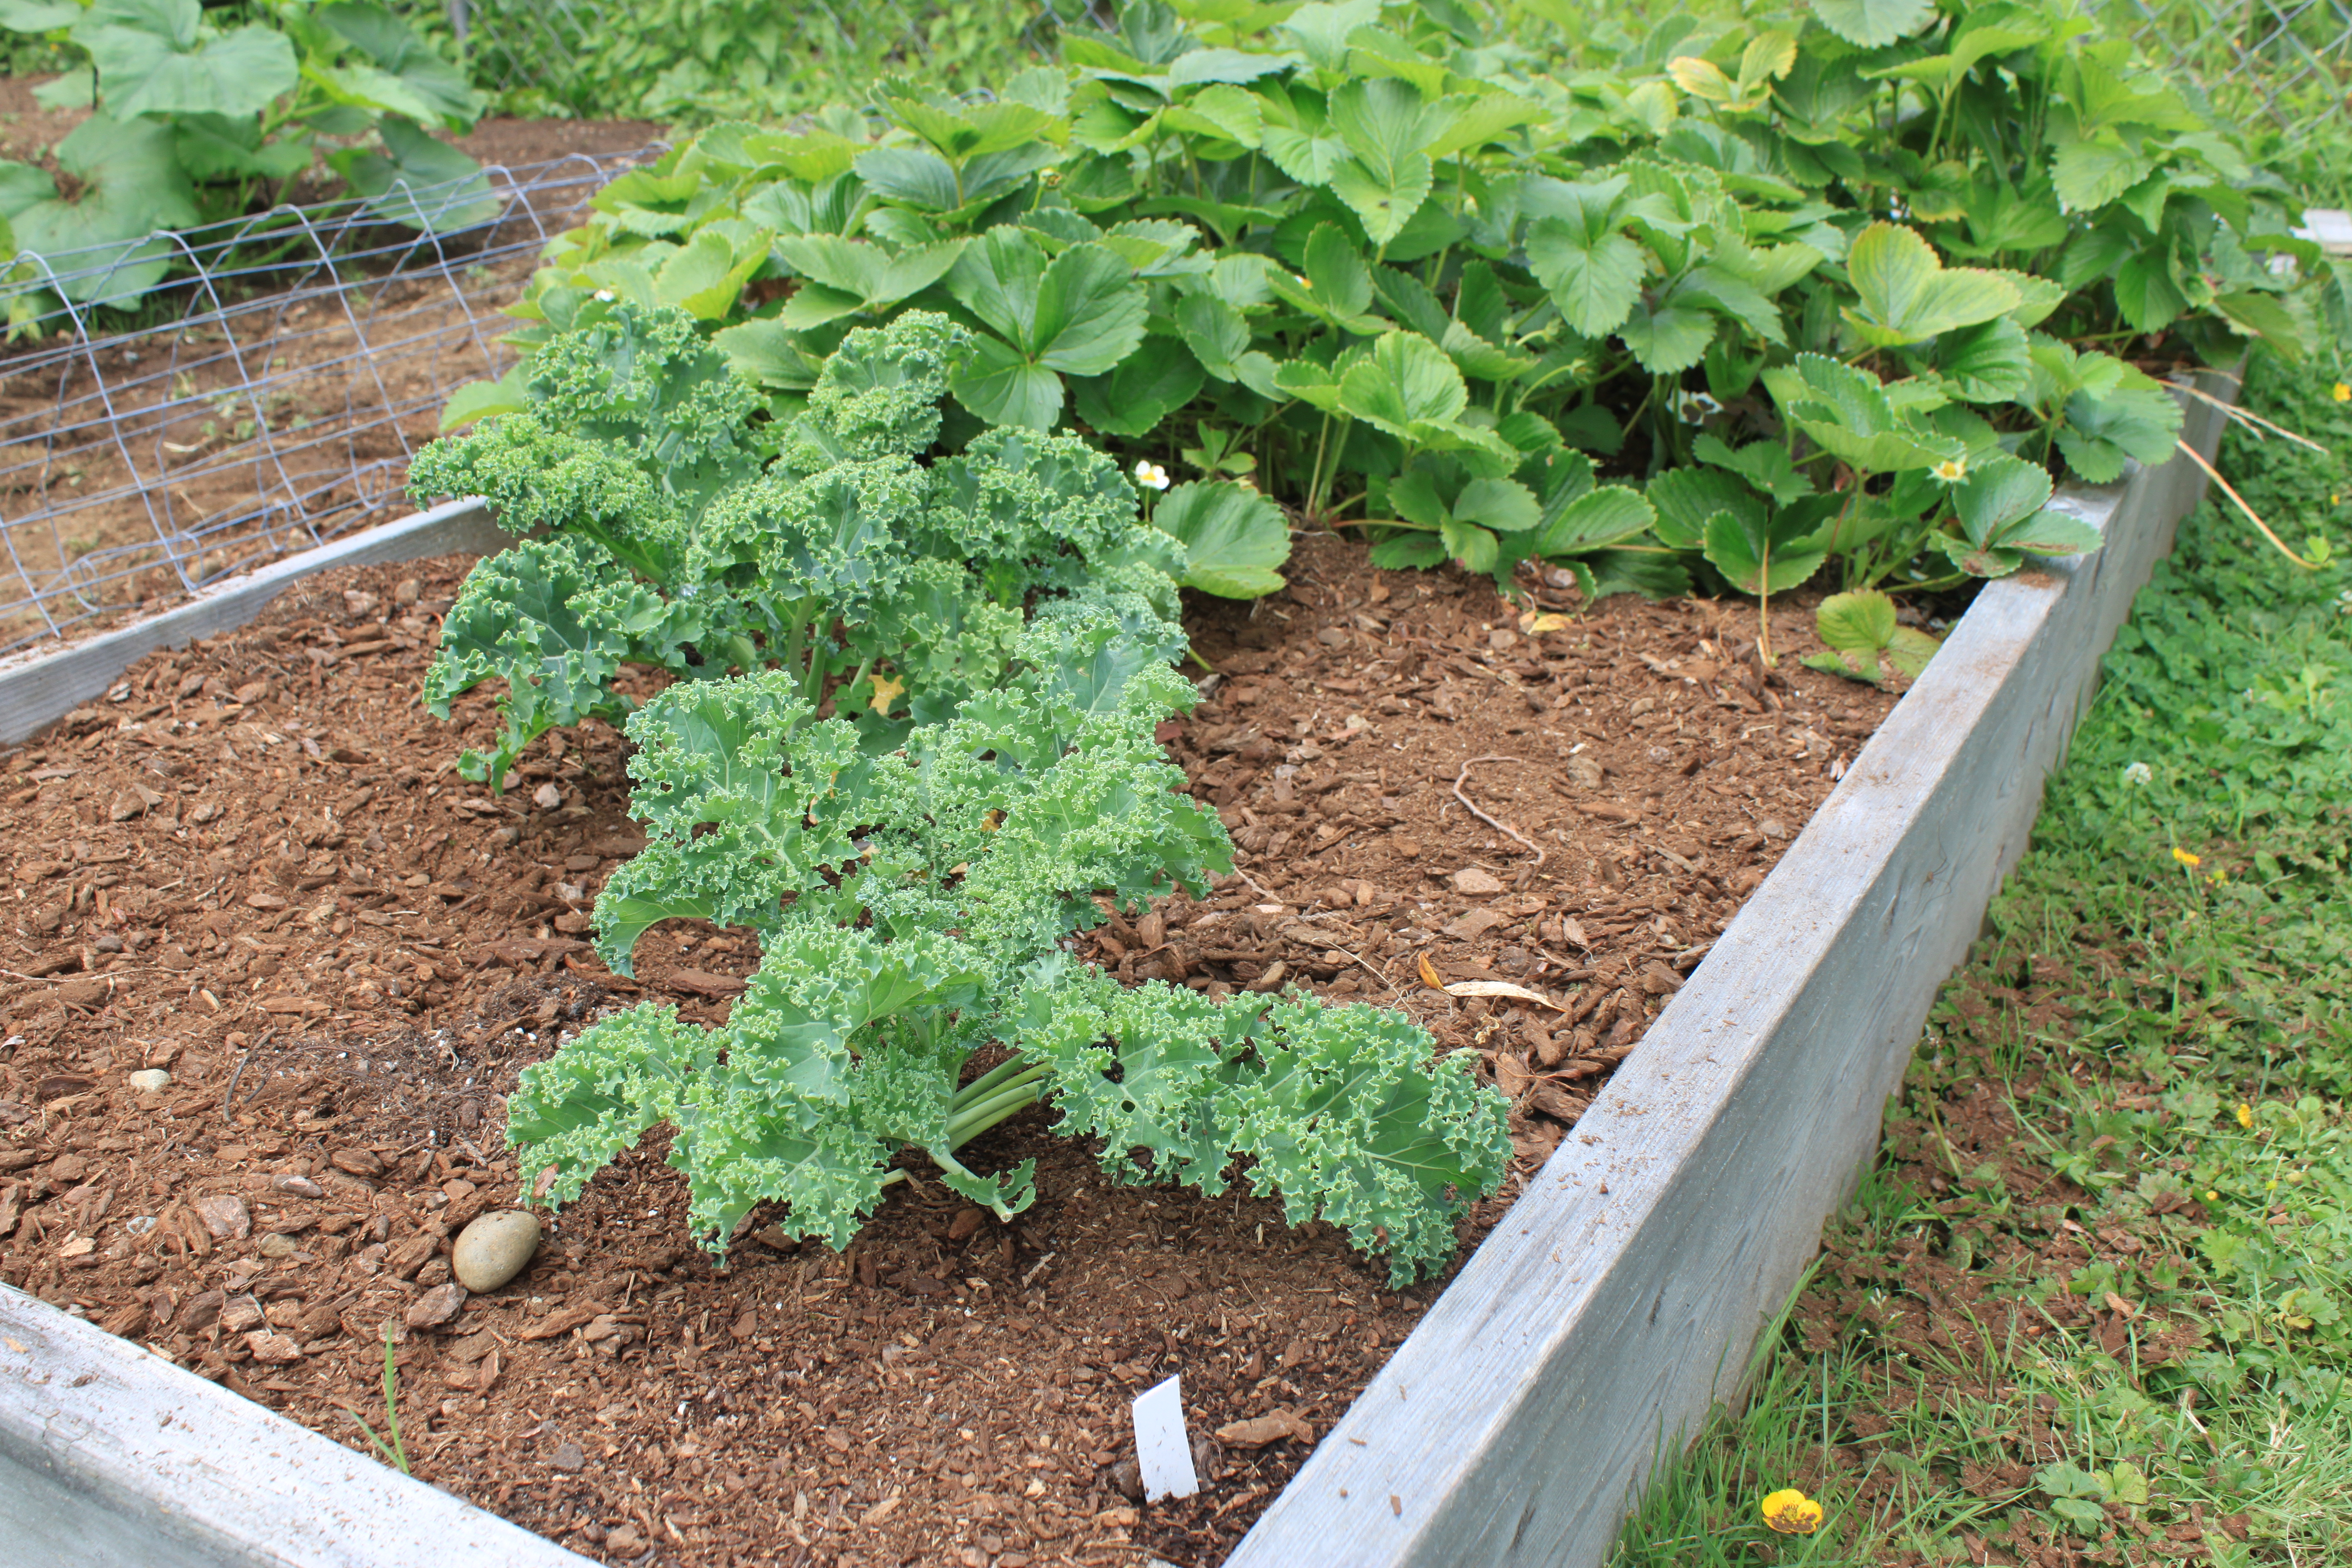
Plus more Kale.  I had a full box of strawberries and dug some up for a friend so I had some space to add more kale plants.  My row of kale only came up with 3 plants.  So I finished off the seed pack to see how many I actually get.  I guess my seeds where getting old.

Back to Eden – Garden plan

I have 2 other beds I plan to make.  I’m making the transition to do a “Back to Eden” Garden. I started adding mulch to my tomatoes and they are doing very well.

IMG_1917
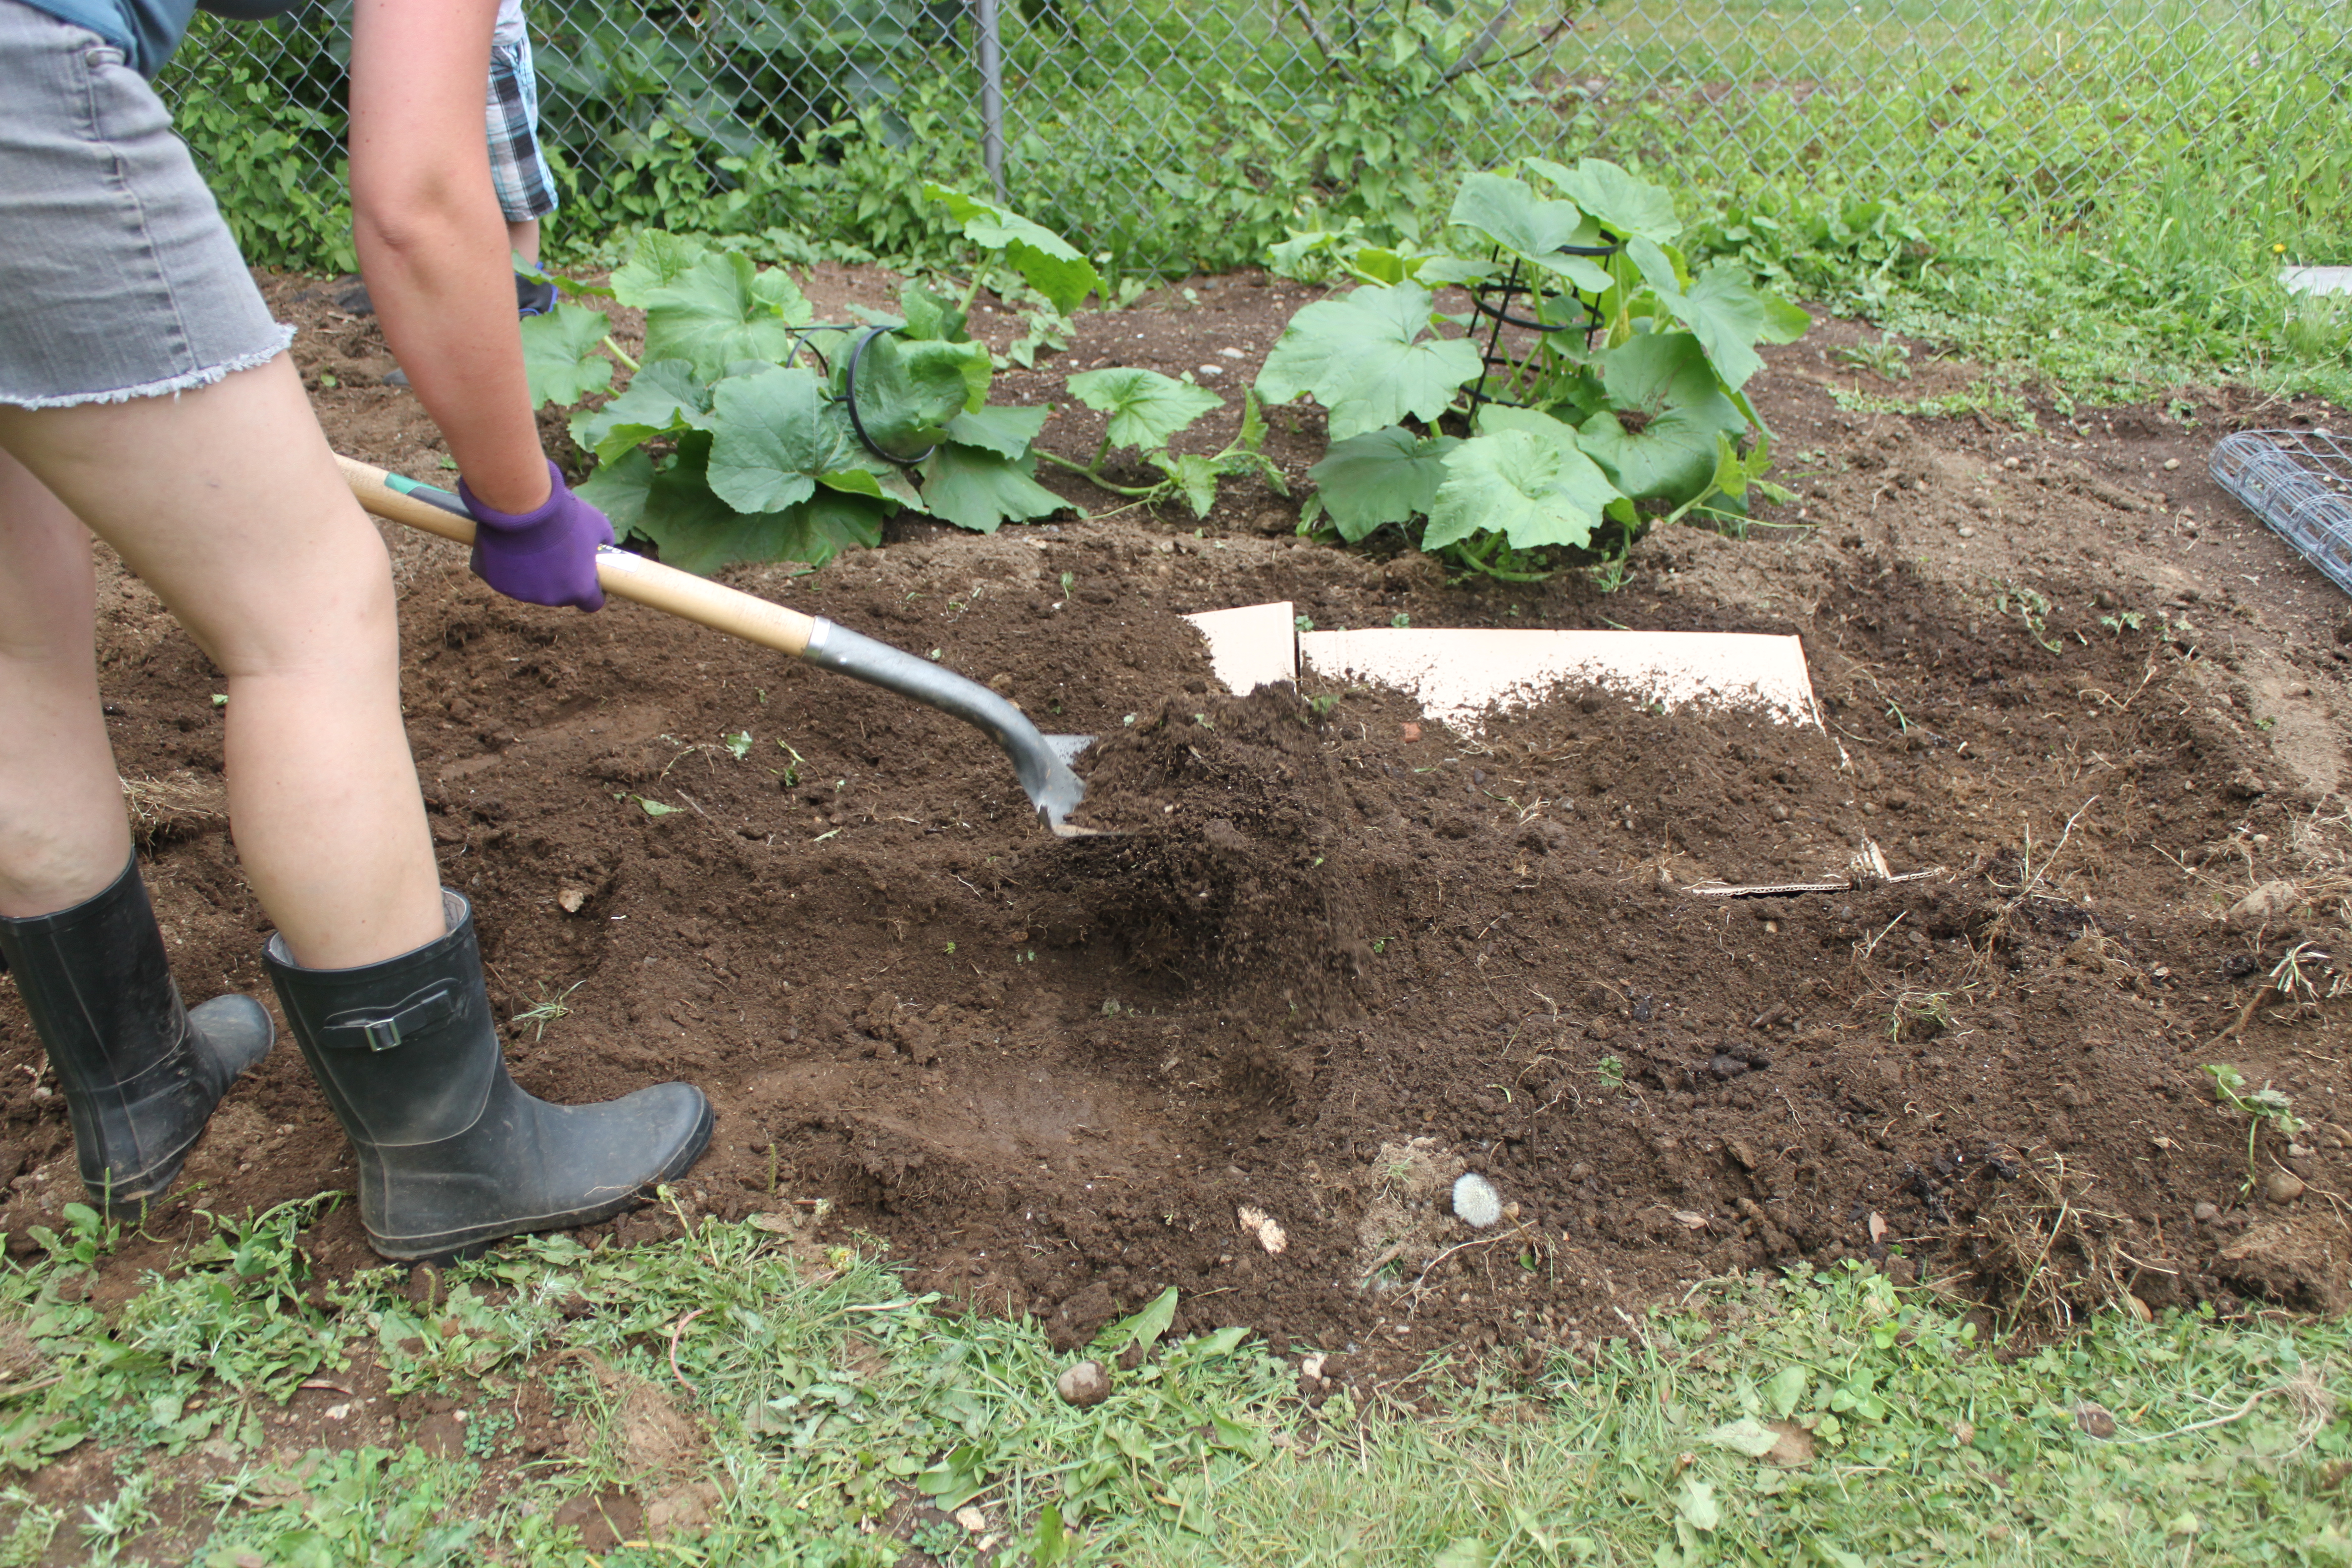
My thing is planting in zone 8b in July = HOT SUMMER.  Having to water less with Mulch and good compost over the seeds helps having to water less. I was blessed with a layer of mulch for my flower beds last year and I barely have to water.  It’s just a covering not even the 6 to 8 inch layer.

IMG_1910
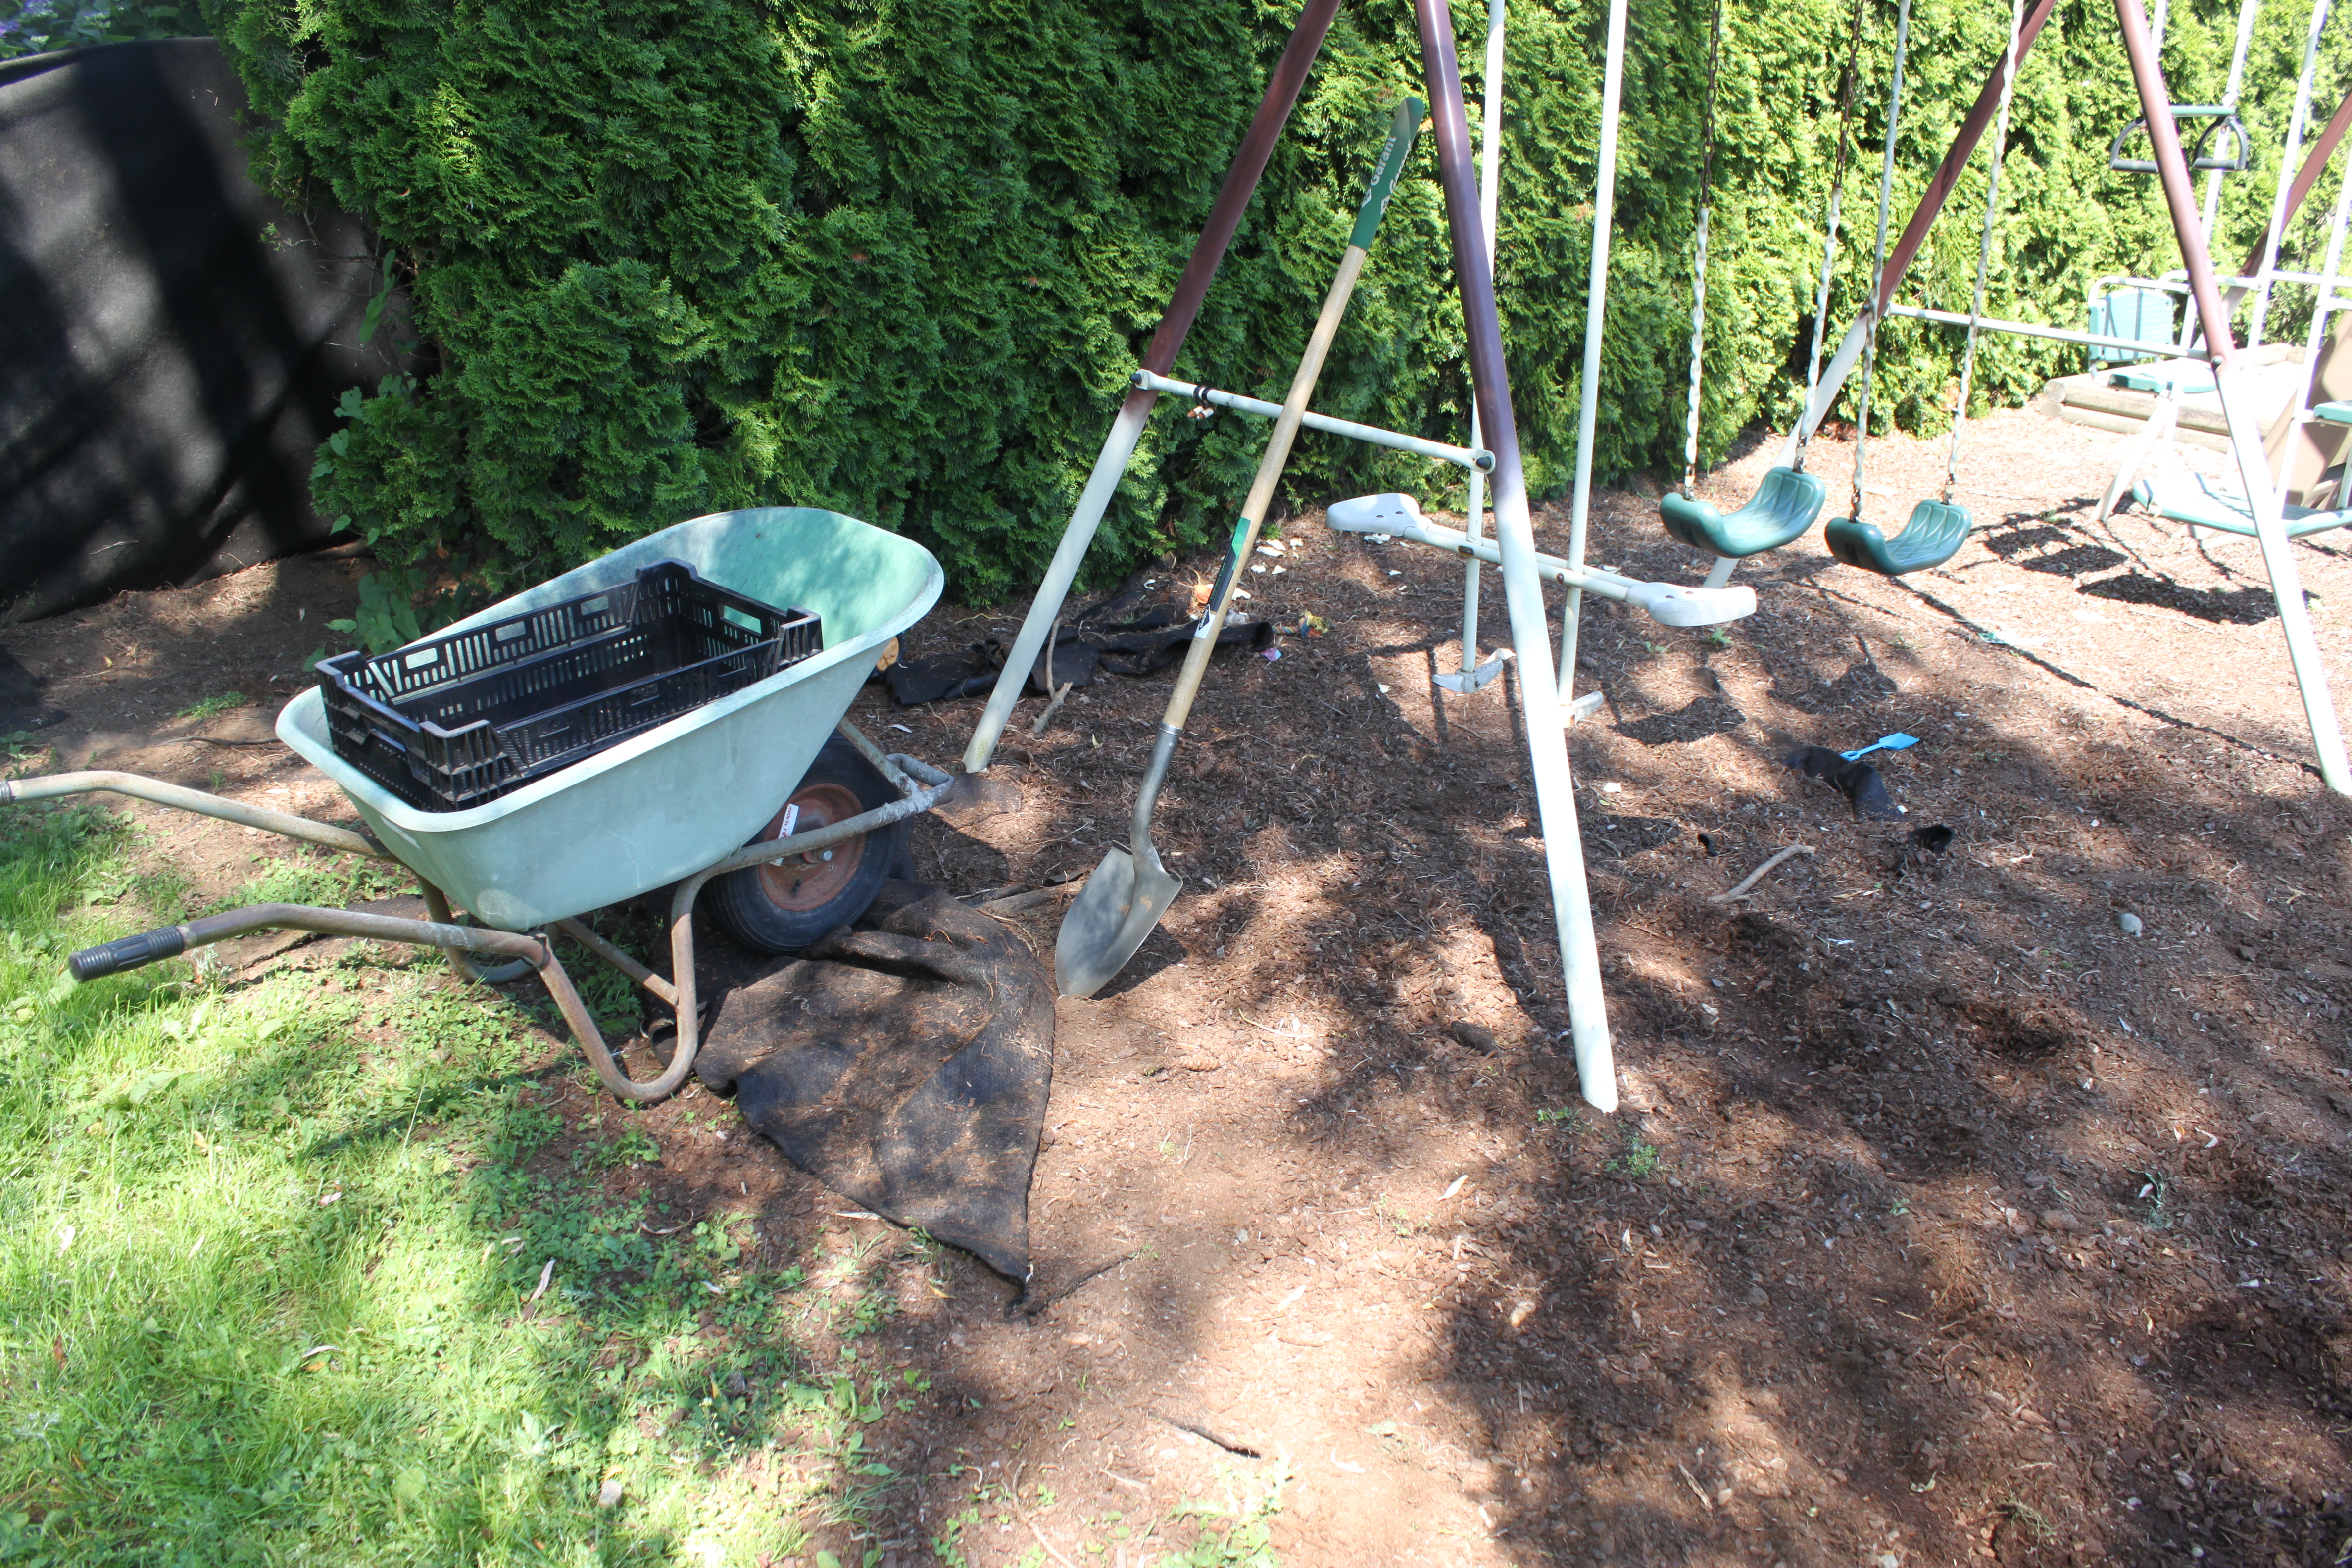
I worked hard to use what I had and sifted the bark mulch by our play area. Then used the thicker stuff on top after planting my seeds.

I’ll know by next week if my seeds start coming up.

Harvest

IMG_1956
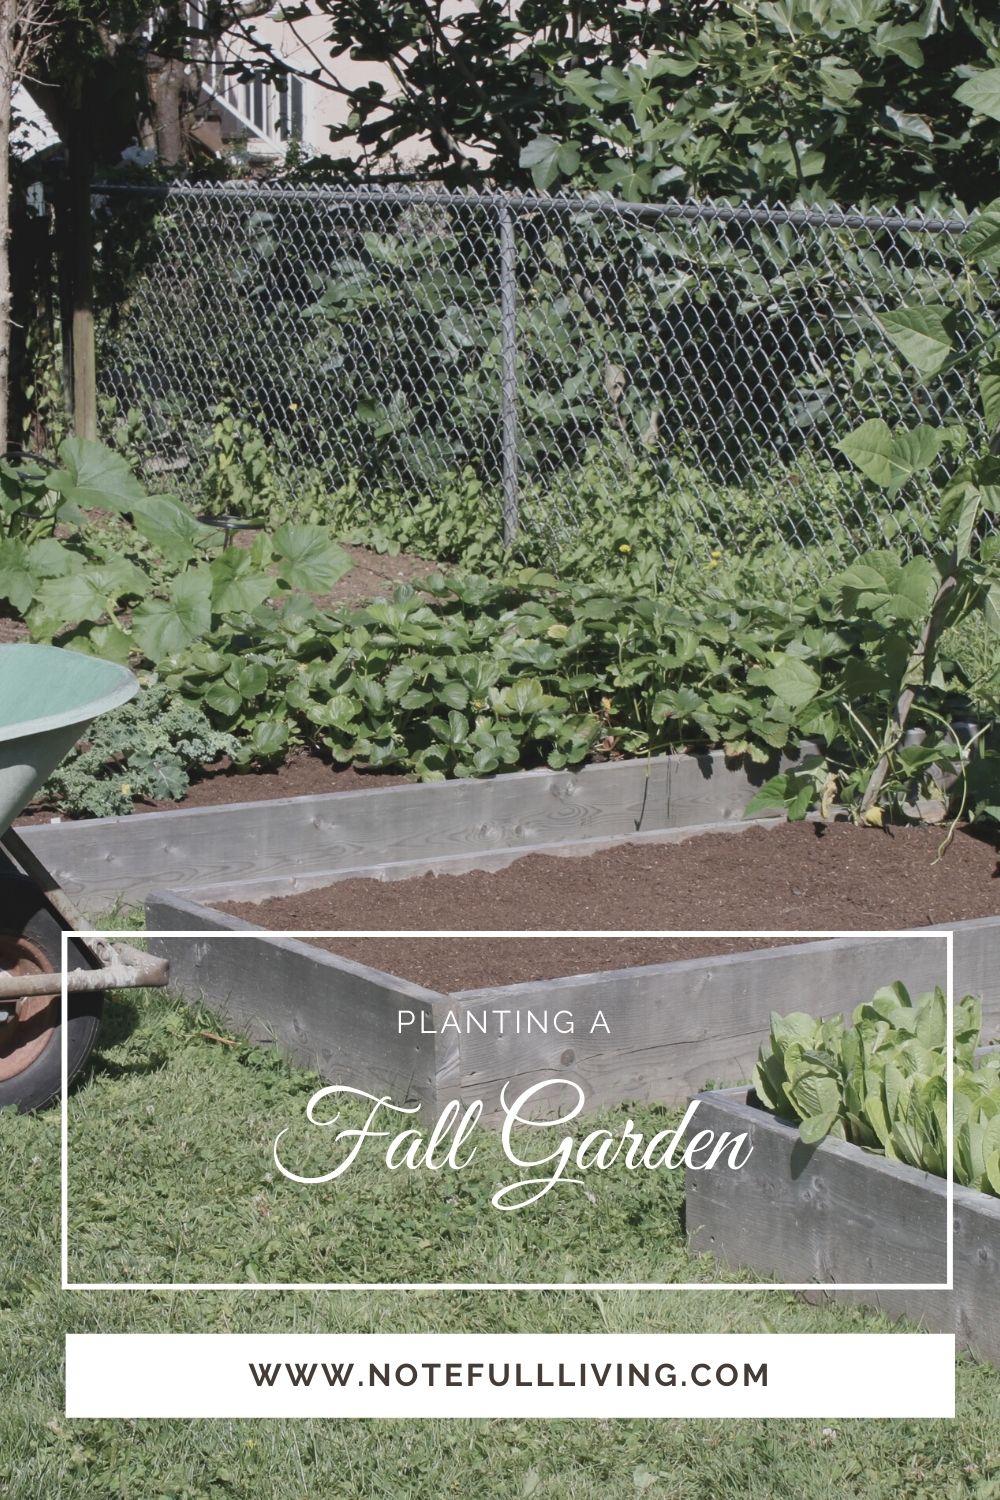
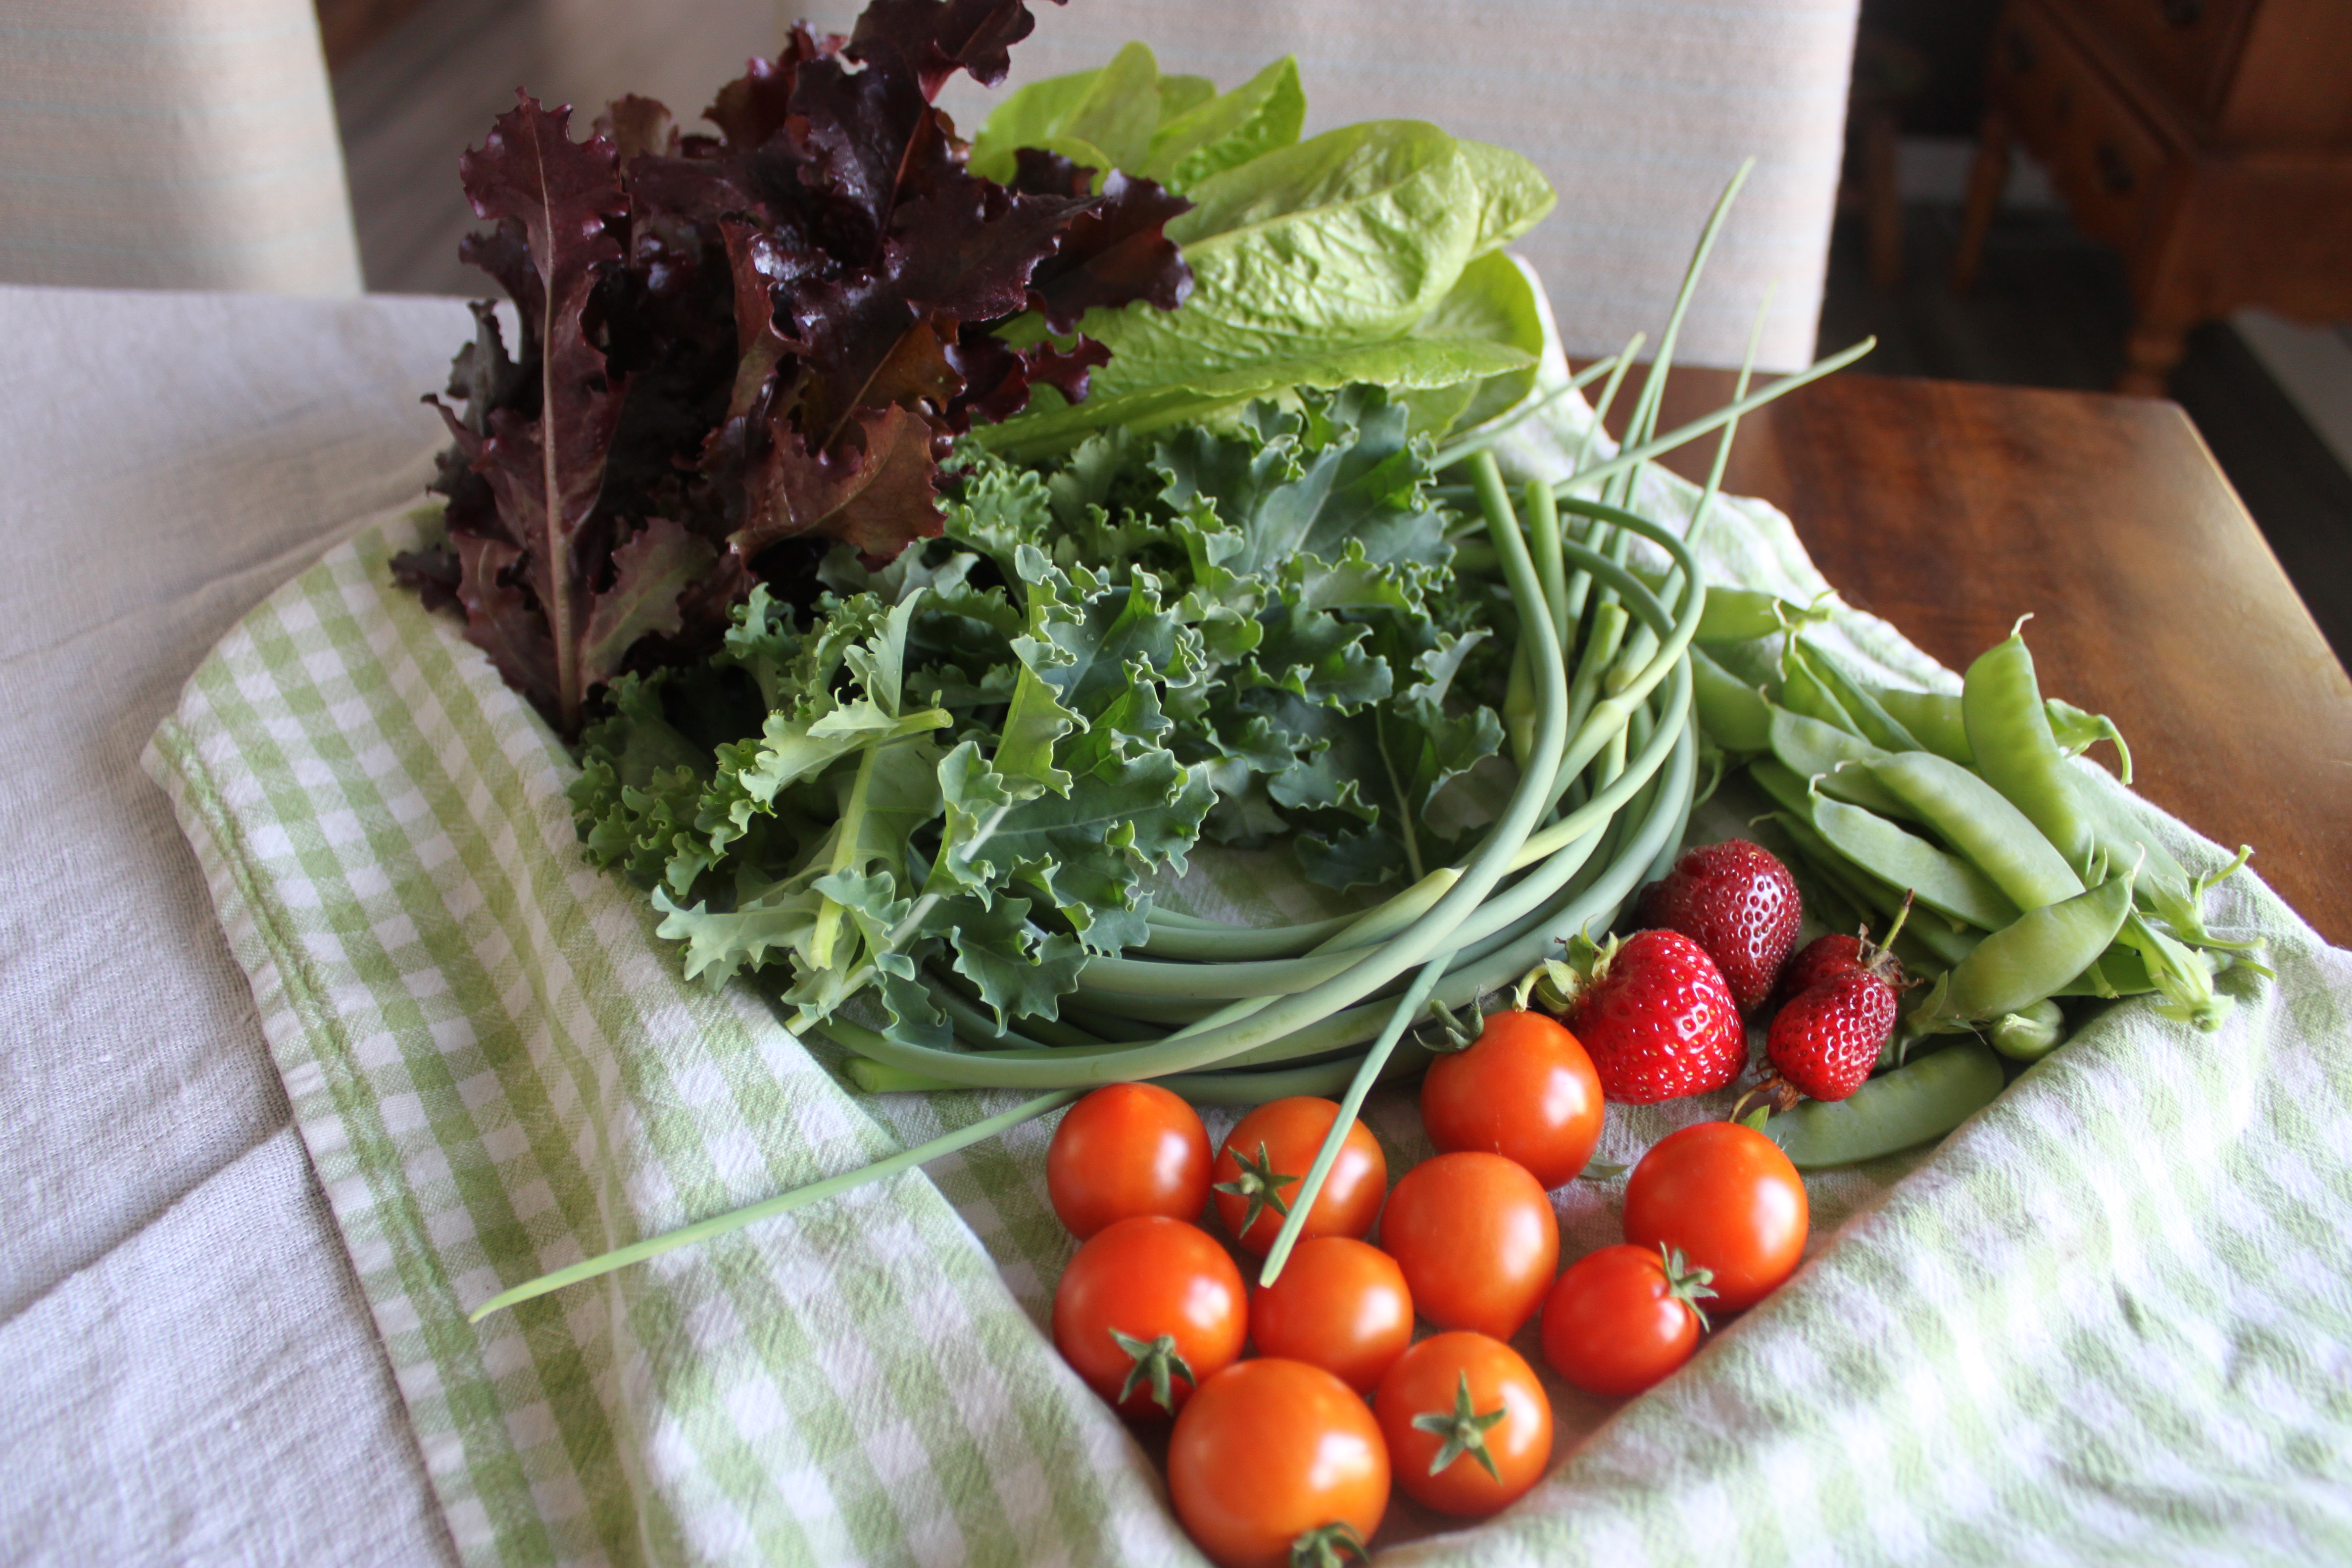
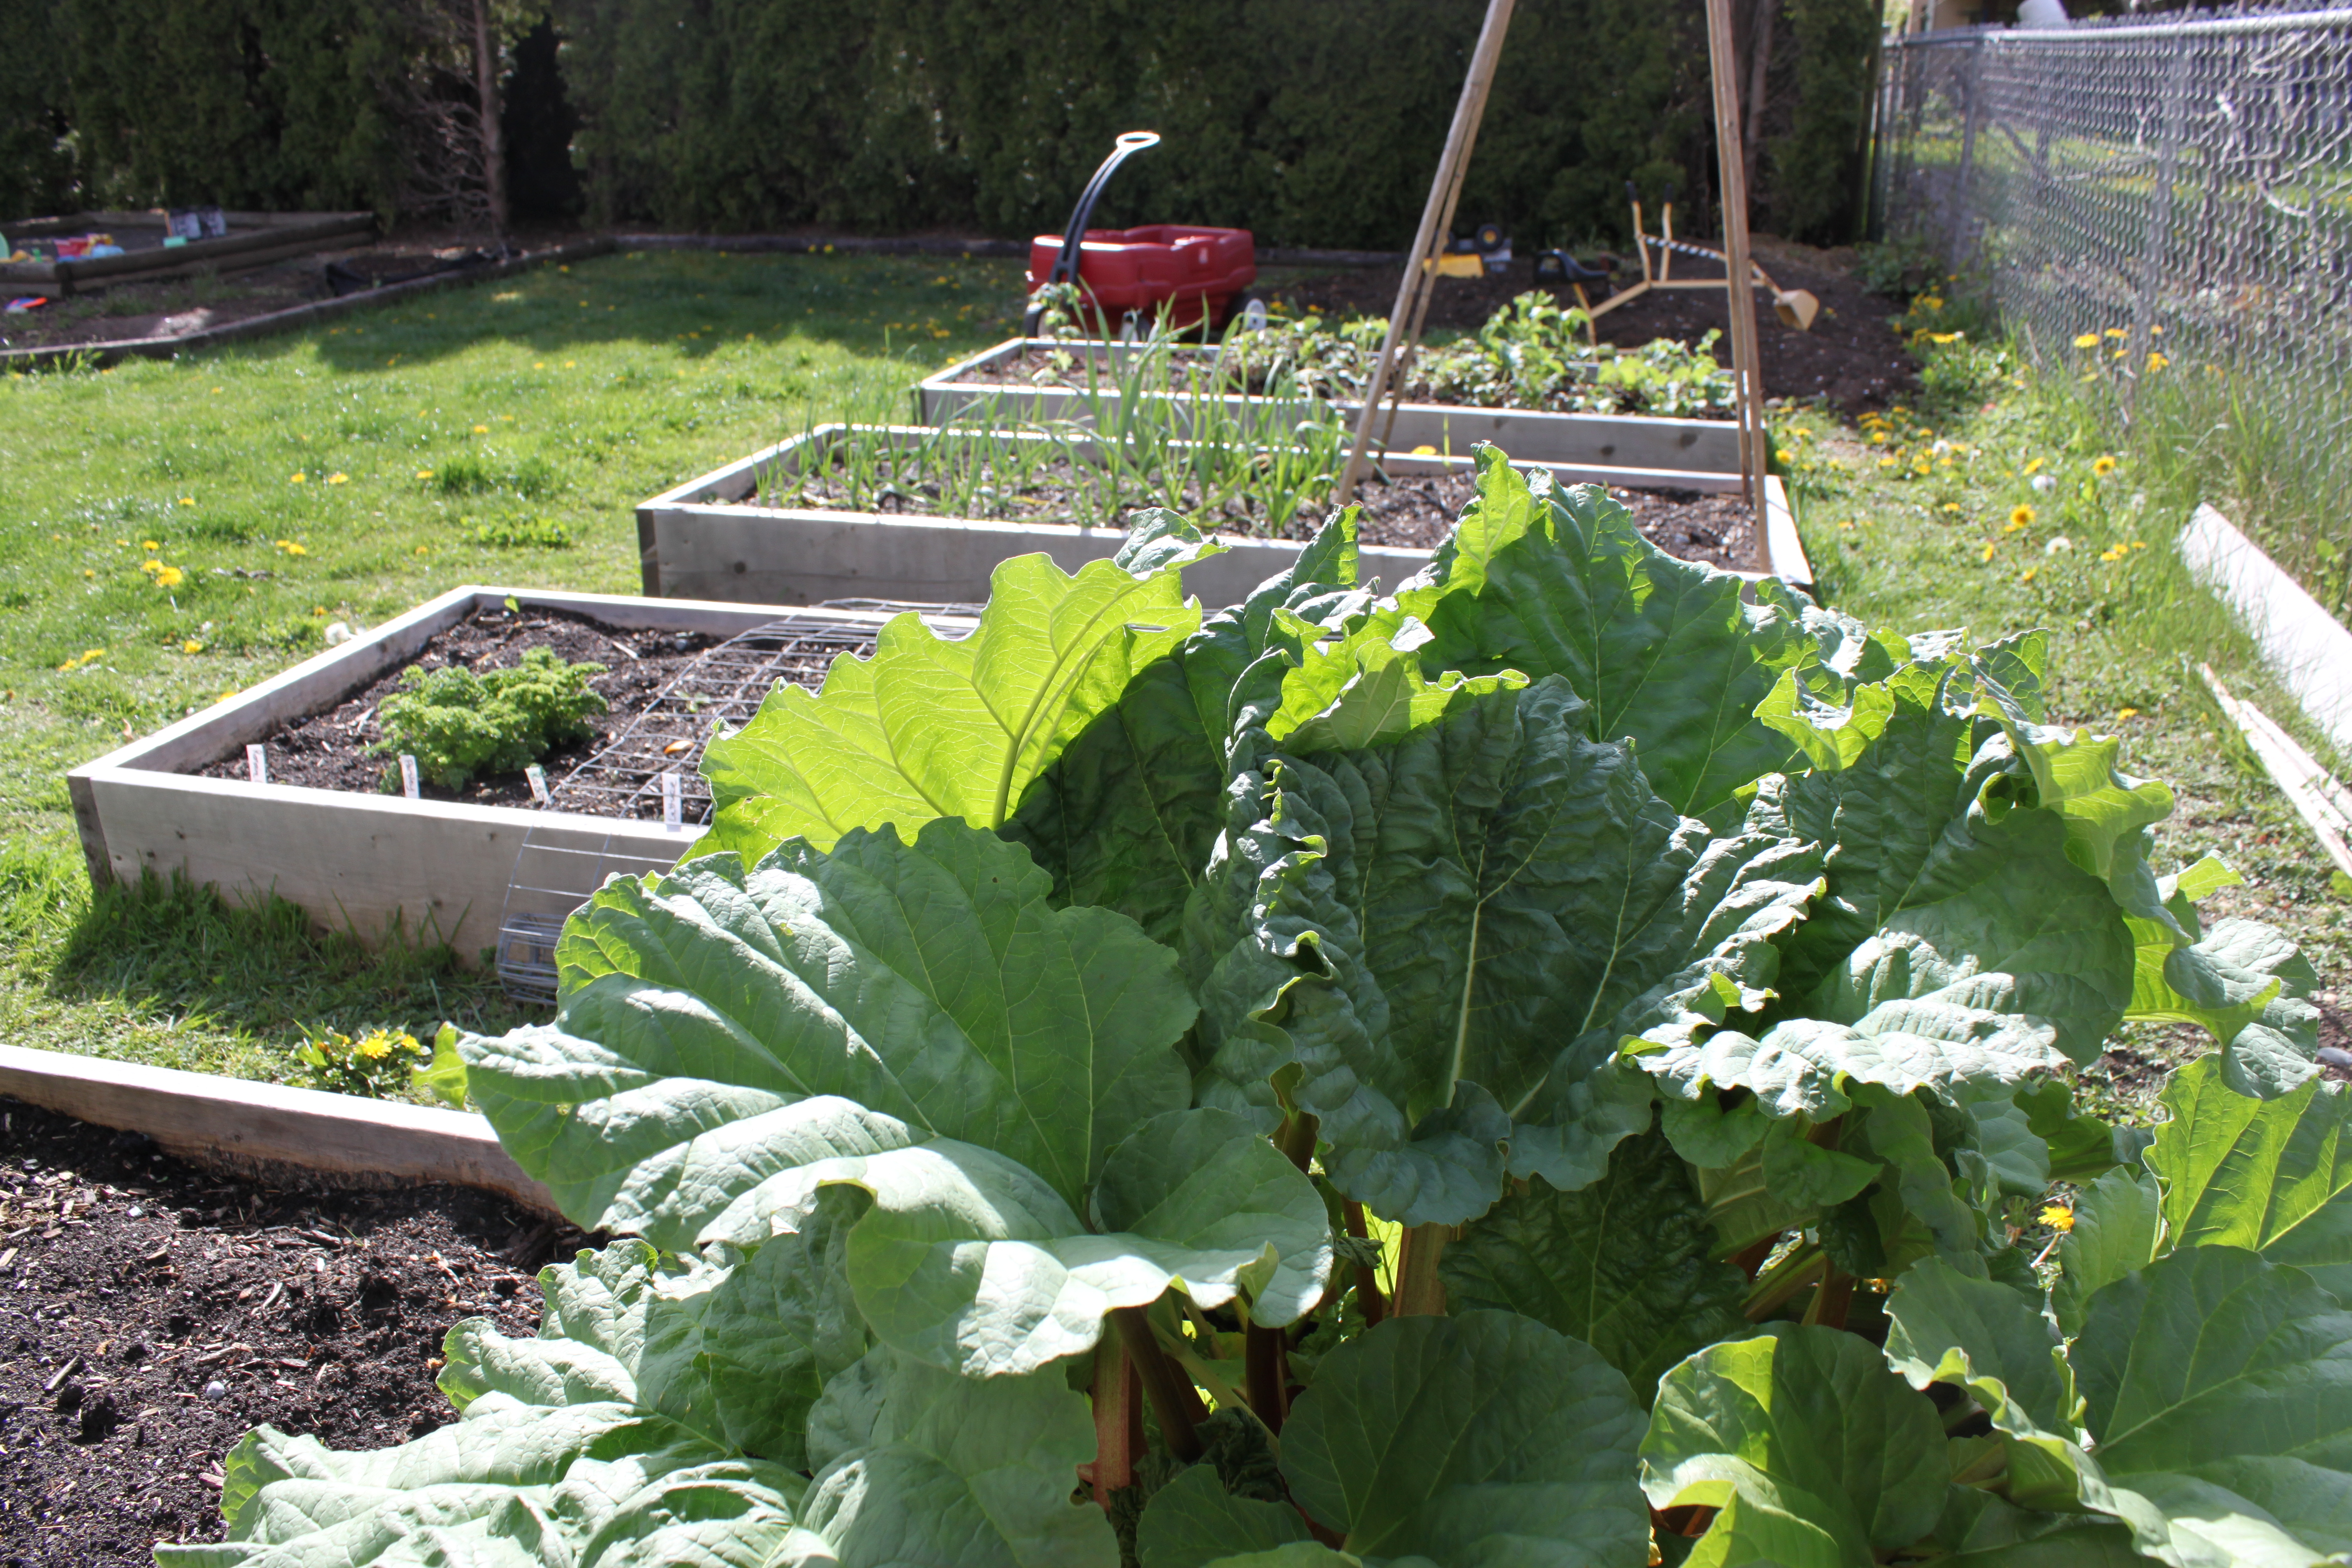
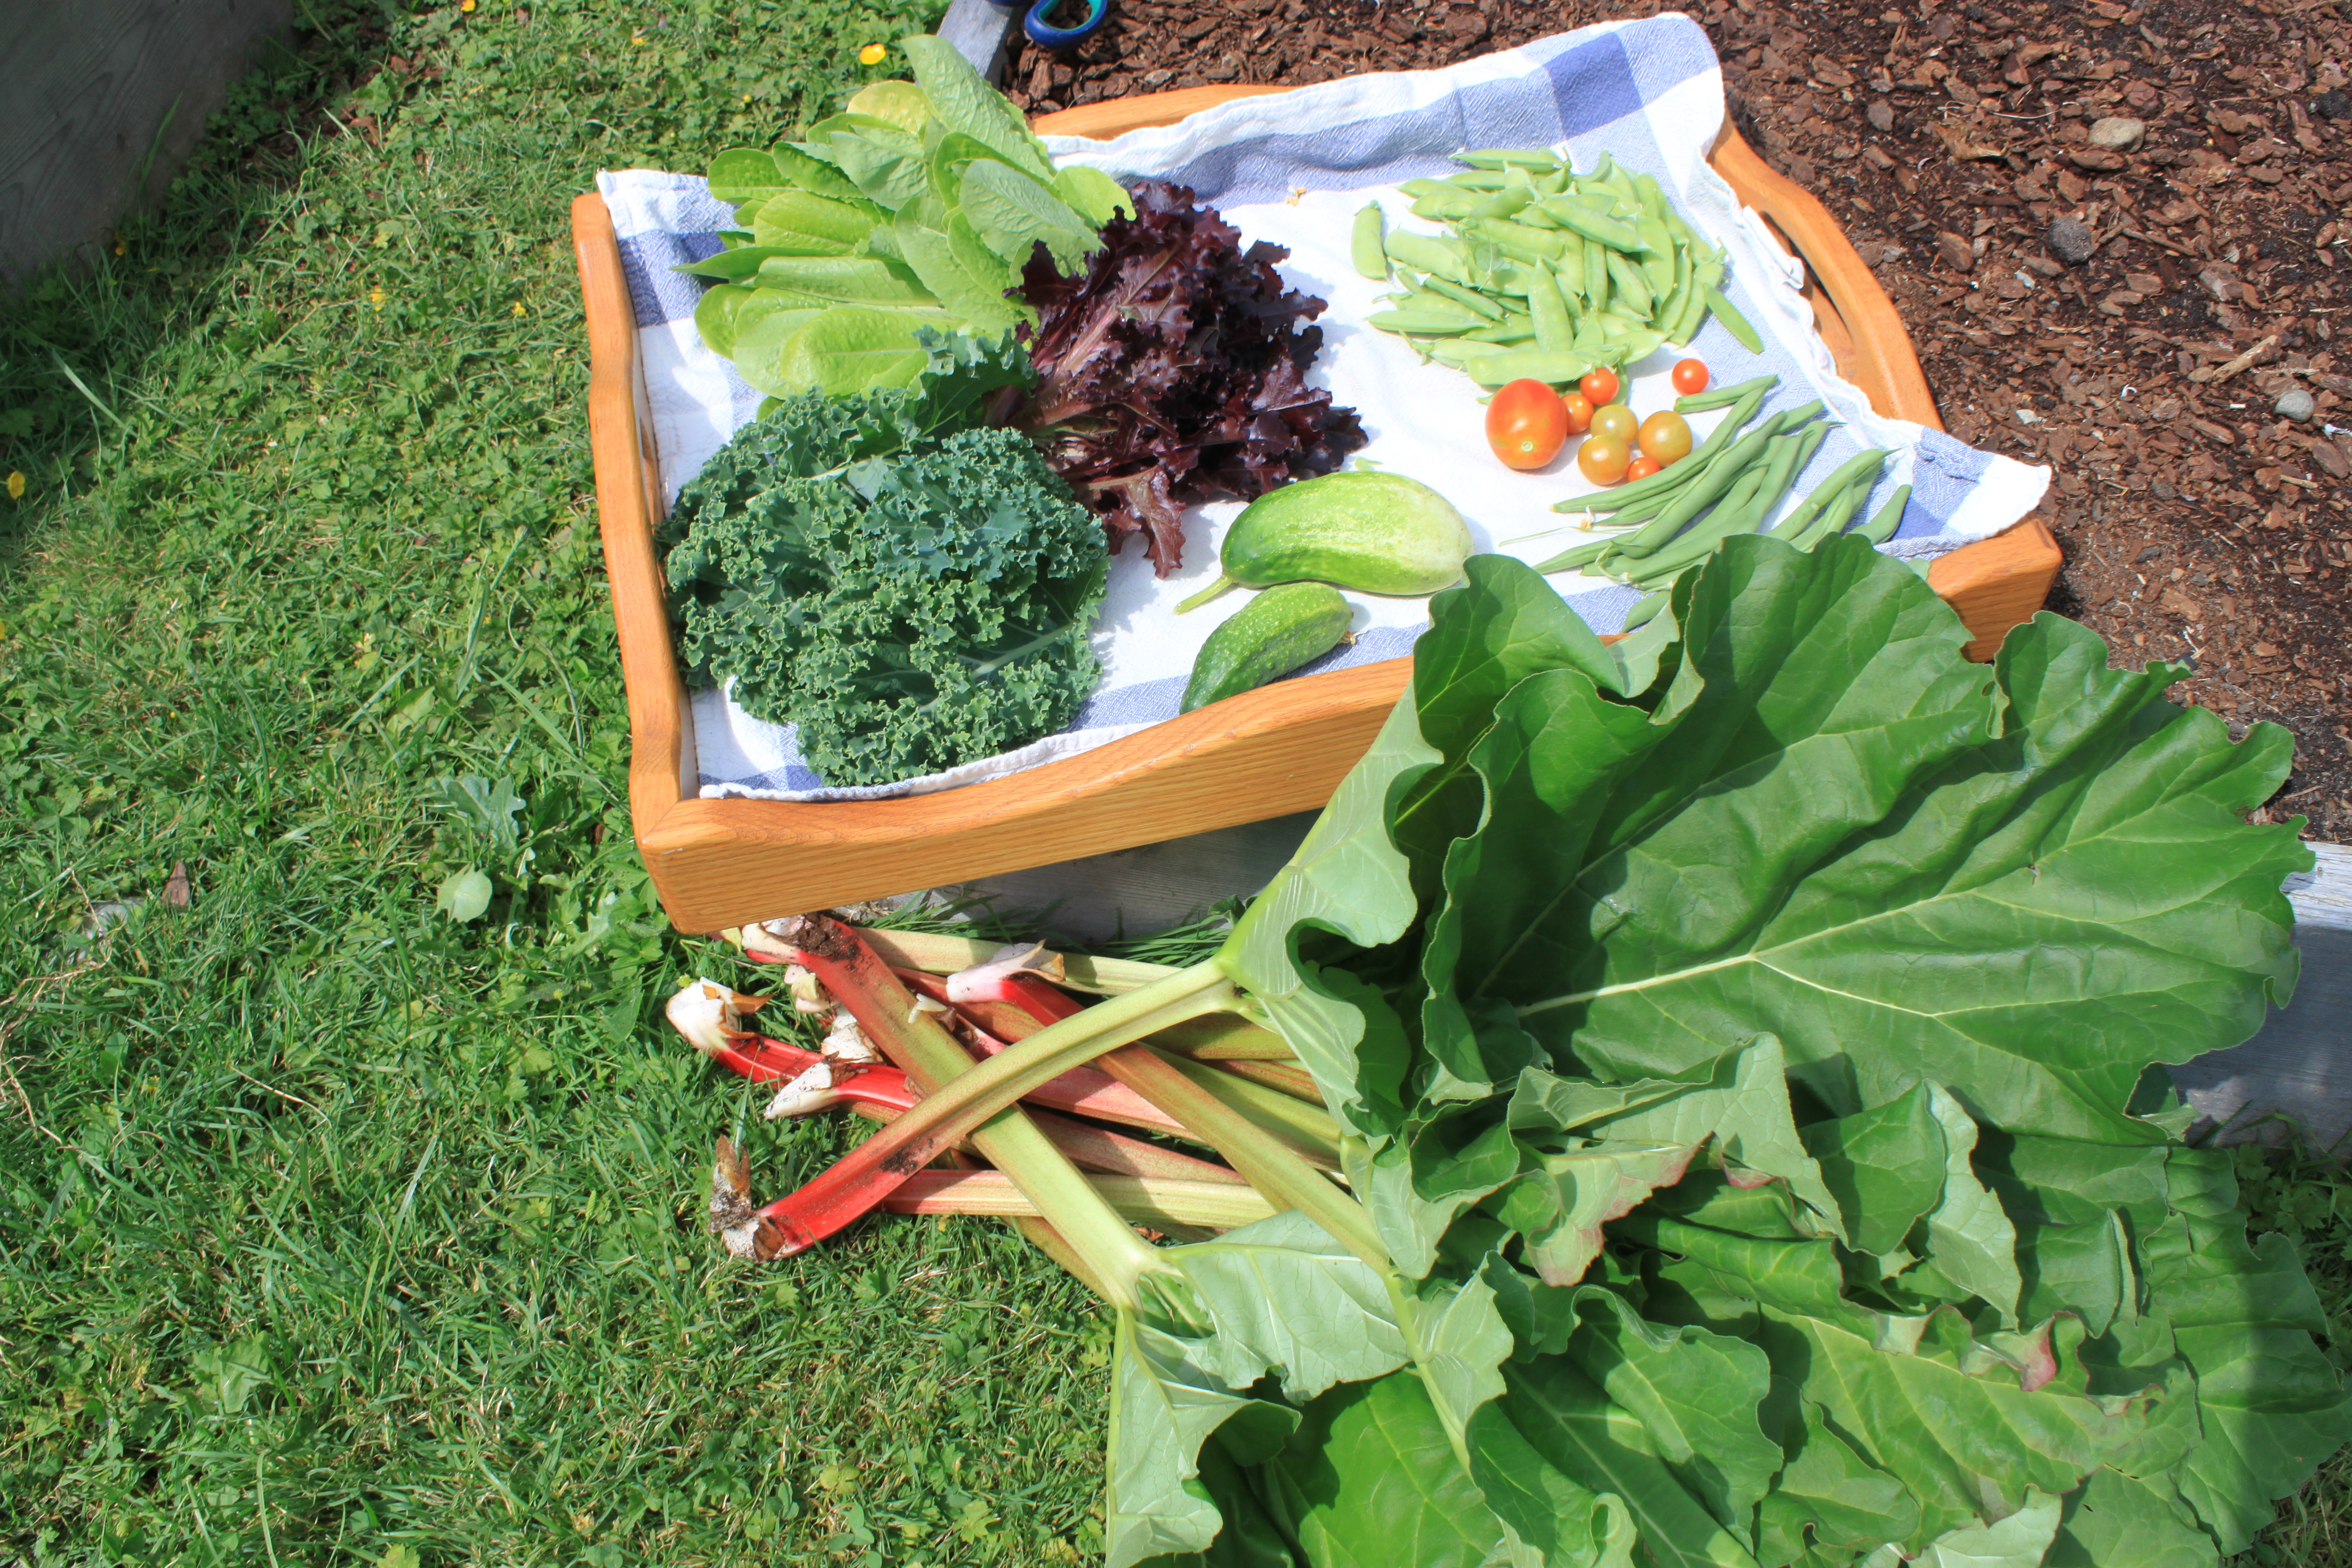
We have been steadily eating out of our garden and it’s been a real difference for our family to have fresh food. Fall Planting helps extend that ability to eat fresh all summer and into the fall.  Plus there’s lots to start preserving with to keep over the winter months to eat.

Do you plant for Fall?

What do you have in your Garden?


Garden Tour 2020

2020 updateThis year seems like a different year then others don’t you think?  In some ways I see blogging as like an online Journal. As a Home and Garden Blogger sharing updates of my garden each year is like a journal entry I can look back on and see what my Garden was doing in mid July 2020.

I haven’t shared a gardening post in a while.

Truth be told.  I had HUGE breaks in my blog posts over the last couple years, why? I was busy gardening.  I fully believed I wasn’t good or worthy enough to share it. Although I always knew I should include it and share what I’m doing.  This year I’m not going to do that.

Garden Tour 2020

Ok – This year has either been incredible for some places.  Not where we live.  I’m actually in an amazing growing zone 8b. Yet 2020 and the gardening groups in my local area are ALL struggling with their gardens.  Mine – Just seems slow.  It’s weeks behind where it was previous years.

Current photo taken July 15.  My family in Ontario have bigger spaghetti Squash then mine, I’ve seen lots of harvest posts from people in Saskatchewan. Here…is my 4 raised beds.

IMG_1863

My Best thing going – Tomatoes and Snap Peas grown in the greenhouse. Strawberries, Garlic, Lettuce and Rhubarb from the raised beds.  Some of my herbs are super happy this year too.

IMG_1754

My 4 year old told me clearly when the strawberries ripened in June he won’t eat the green ones.  I had a minimal harvest last year, now I know why. This year he waited till they turned red.  Our youngest who is 2 discovered the strawberry patch this year.

I don’t mind that the kids know where food comes from and where to find a snack.

Still not a big enough strawberry harvest for me to make my own jam out of it, but exciting to have some in my backyard.

IMG_1834

Photo from above was taken in June, it has still been my best first mini harvest.  I’m used to much more at this time. I just harvested Garlic today and I plan to plant more more plants.  I’ve learned I can and hope to extend the growing season in July.  I live in a good zone to be able to do that.  Here’s hoping.

Green House Success!

Want to hear a good and funny story.  I was NOT laughing a couple of years ago when I ripped out massive tomato plants that produced nothing but blossom rot and tomatoes that ripened weird.

Fast forward to last week when my neighbor told me about a compost area we had our our property. It used to be a dog run. UMM….I used that soil for my greenhouse the same year I had major issues with my plants.

Notice I have my tomatoes in POTS!! Those look like healthy Roma’s to me.

IMG_1878

I’m just happy to overcome this frustrating year I had and found a way to still use my greenhouse and not have another awful year.

IMG_1876

Hard to capture, I love the view when I’m in here looking out into our yard.

Cut Flower Garden – In progress

I made a new garden last year.  It’s a memorial Garden. It’s still in progress as I figure out what to grow here. It’s somewhat of a challenging spot in this part of the yard as there is a massive willow in our neighbors yard near it.

Any Cut Flower suggestions let me know.

IMG_1871

A better view of this garden is on this weeks video on YouTube linked below.

Front Garden

Here’s some highlights. I will be pulling up most of these beds and redesigning them. My husband I have kept them looking half decent. However, I’m about ready to start fresh with this space.

IMG_1882

Love these roses. I counted more then 40 blooms on this bush this year.

IMG_1892

A recent addition of Spanish Lavender from my plant haul this year.

IMG_1889

An old co-worker of my husband from years ago heard I had a garden.  He came home with a bin of Day Lily’s the next day.  It took a few years for them to bloom – They are sure lovely this year.

IMG_1884

This hydrangea I saved and moved from the backyard.  It originally was where my raised beds are. I took 4 years for it to bloom this full. I’ve been asked to do a post on Hydrangea’s.  I really don’t feel like an expert on these plants. I must be doing something right though?  This bush is becoming a favorite.

IMG_1893

I’ve been waiting for 6 years to have another bush like this one.  I know this as ‘painted willow’.  When my husband and I got married we were surrounded by the tree variety of this type of bush. My husband got me 2 for mother’s day.

IMG_1890

This is also another mother’s day gift.  I’m waiting in anticipation for this to bloom. All I remember is it being called ‘Candelabra’. The blooms change colors into the fall.

As I mentioned my front garden is all over the place and due for a make over.  I’m just sharing the highlights.

As you can see it makes for great bouquets for my home. My picked flower haul from my garden before I make them into bouquets for my home.

IMG_1896

Here’s the FULL video from YouTube

Please let me know if there is something you want me to explain more on in an upcoming post.

I have lots of more content coming for our Home and Garden.

Carrie


Blog addition: You Tube

Blogging addition_
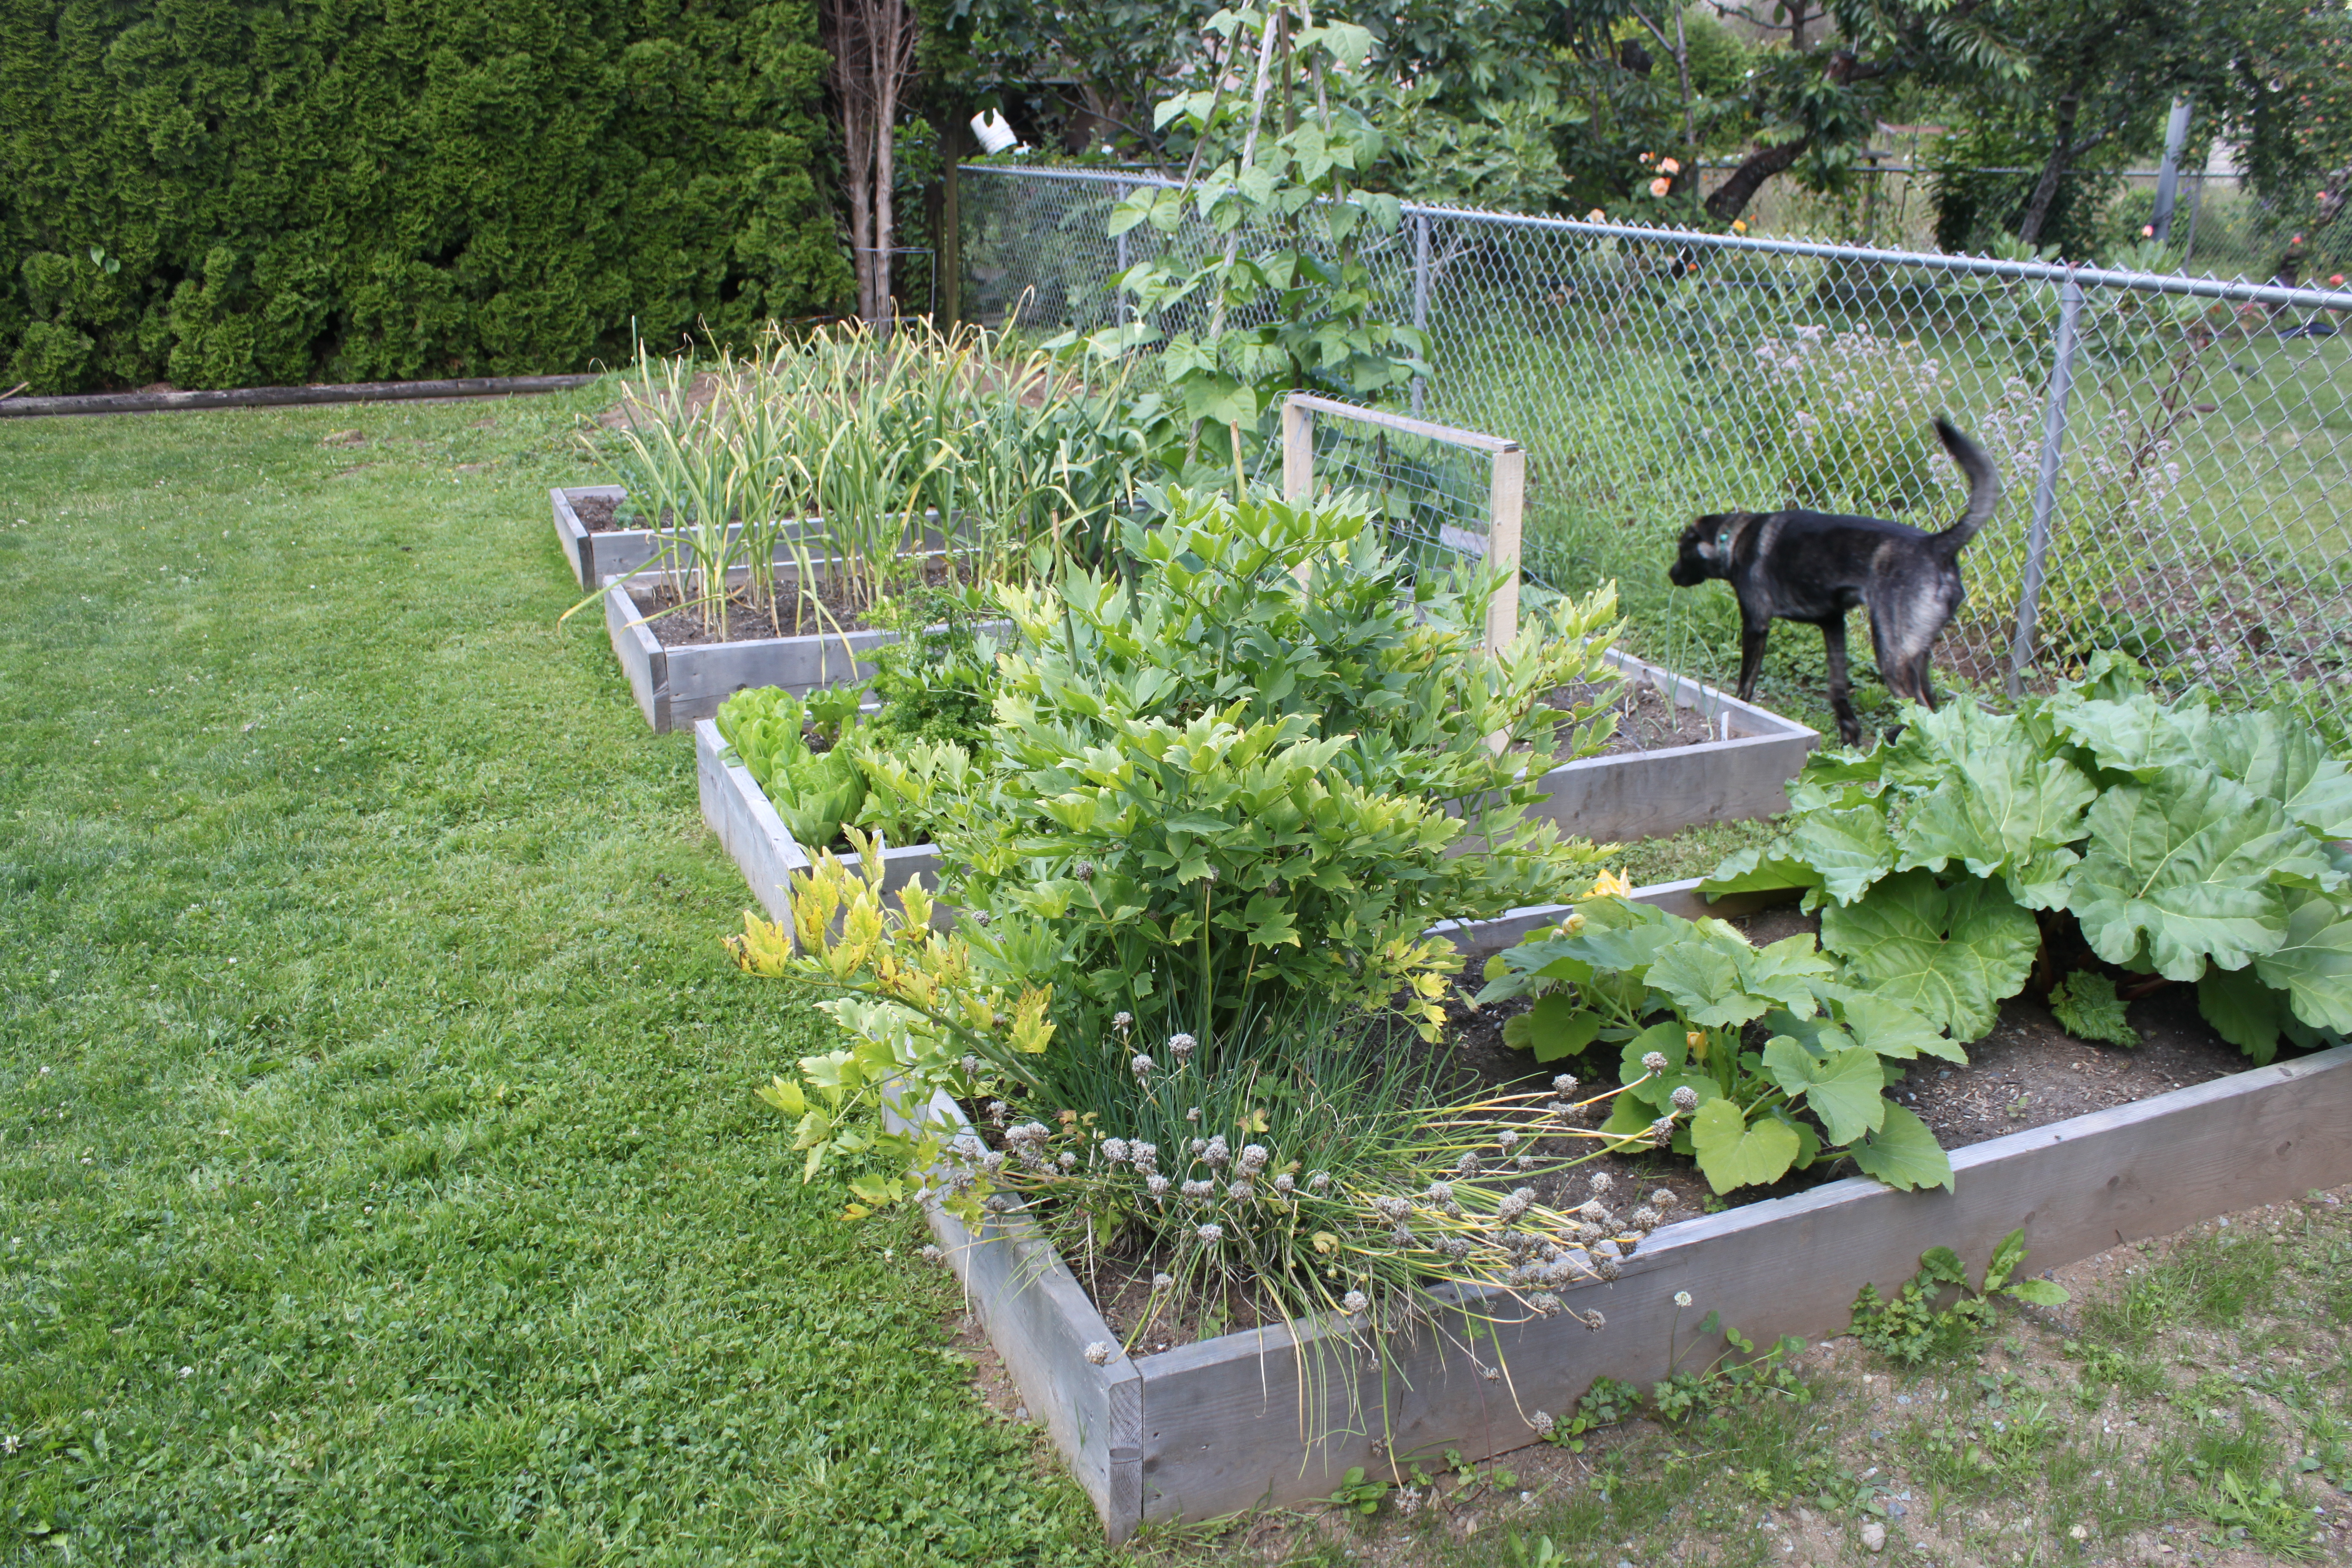
It’s been a bit quiet here on the blog.  However, I’ve been very busy getting some additions to my blog. I have a short blogging announcement.  Which I’m pretty sure you already can guess what it is.

If you follow me on Social Media you already know I’ve made this leap.

Aside from relaxing with my hubby in this space for many nights with our fire pit here.  Gotta take the breaks when you can.

Even though places are opening up here in BC, we are still hanging low at home.

IMG_1632

Blog Addition: You Tube

I’ve been curious to add YouTube since the beginning of my blogging journey and decided to just do it once my blog had growth.  Which I where I’m at now.

I have a few videos up already.

Here’s a first Welcome Video based off the last blog post I made.

I’ll be upfront and honest, it a bit scary.  If we live our lives in our comfort zone then that’s a boring life to live.  I’ve lived in my comfort zone for years. Not unless you’ve broken out of your comfort zone do you know what I mean. Seriously, try it!!!

I’m grateful for a husband that loves going on adventures and pushing me to be brave and have fun in life.

Before I took the leap I asked for his opinion.  We both agree that it can’t take away from family time or my first responsibility and that is the kids.

Honeymoon 062
HoneyMoon in 2008, Banff Alberta!


Video Tutorials

As a Home and Garden blogger, making tutorial blog posts are still possible (obviously), just a video ADDS to seeing how I do things.

Like this video about Stringing Tomato Plants….

This Gardening Video I made with a request from a family member.  It would be hard to do this tutorial in a blog post, hopefully this video is helpful.

I’m still learning, and I’m enjoying the adventure.  I’m super low tech with my iPhone and the iMovie app, yet it seems to be more simple then I think.

Subscribe

Be super awesome if you would subscribe to my NEW YouTube Channel.  I’ve been enjoying all the connections I’ve been making here on my blog and look forward to who I’ll connect with on YouTube as well.

As always, have a great day!

What have you been doing lately that’s NEW and out of your COMFORT ZONE!

Growing Indoor House Plants

Growing IndoorIt’s been super busy around here with the Garden, as you may know if you have been following me for a while.  Also homeschooling or crisis schooling as I call it at the moment. Last couple weeks, almost there

There’s something about bringing the outside in.  I’m not just talking about blending my morning smoothie with mint leaves or trying a new smoothie with rhubarb. I’m talking about flowers from the Garden and better yet bringing in House plants into our home.

Being in the “growing family” mode for a while and it’s been a bumpy road of recovery from that time.  I’ve always dreamed of having more house plants. I feel like that time has finally come that I can turn my attention more to our home again.

IMG_9013
My ‘go to’ fake lavender and daisy – completely fake.

I used fake flowers to get through this phase.  I learned, even looking at that was still worth the money spent at the dollar store, when I would have preferred real over fake.

House Plants

What Indoor House Plants do I have at the moment?

Currently I have plants I have “rescued” or saved or simply had them given to me. FYI – Huge money savings if you can save plants people don’t want anymore.  Don’t be afraid to ask if you notice a plant with baby shoots on it.  They might just happily pull out an extra pot and send it home with you.

9FCFC0D2-B6E9-4046-979B-EAE30E9C655B
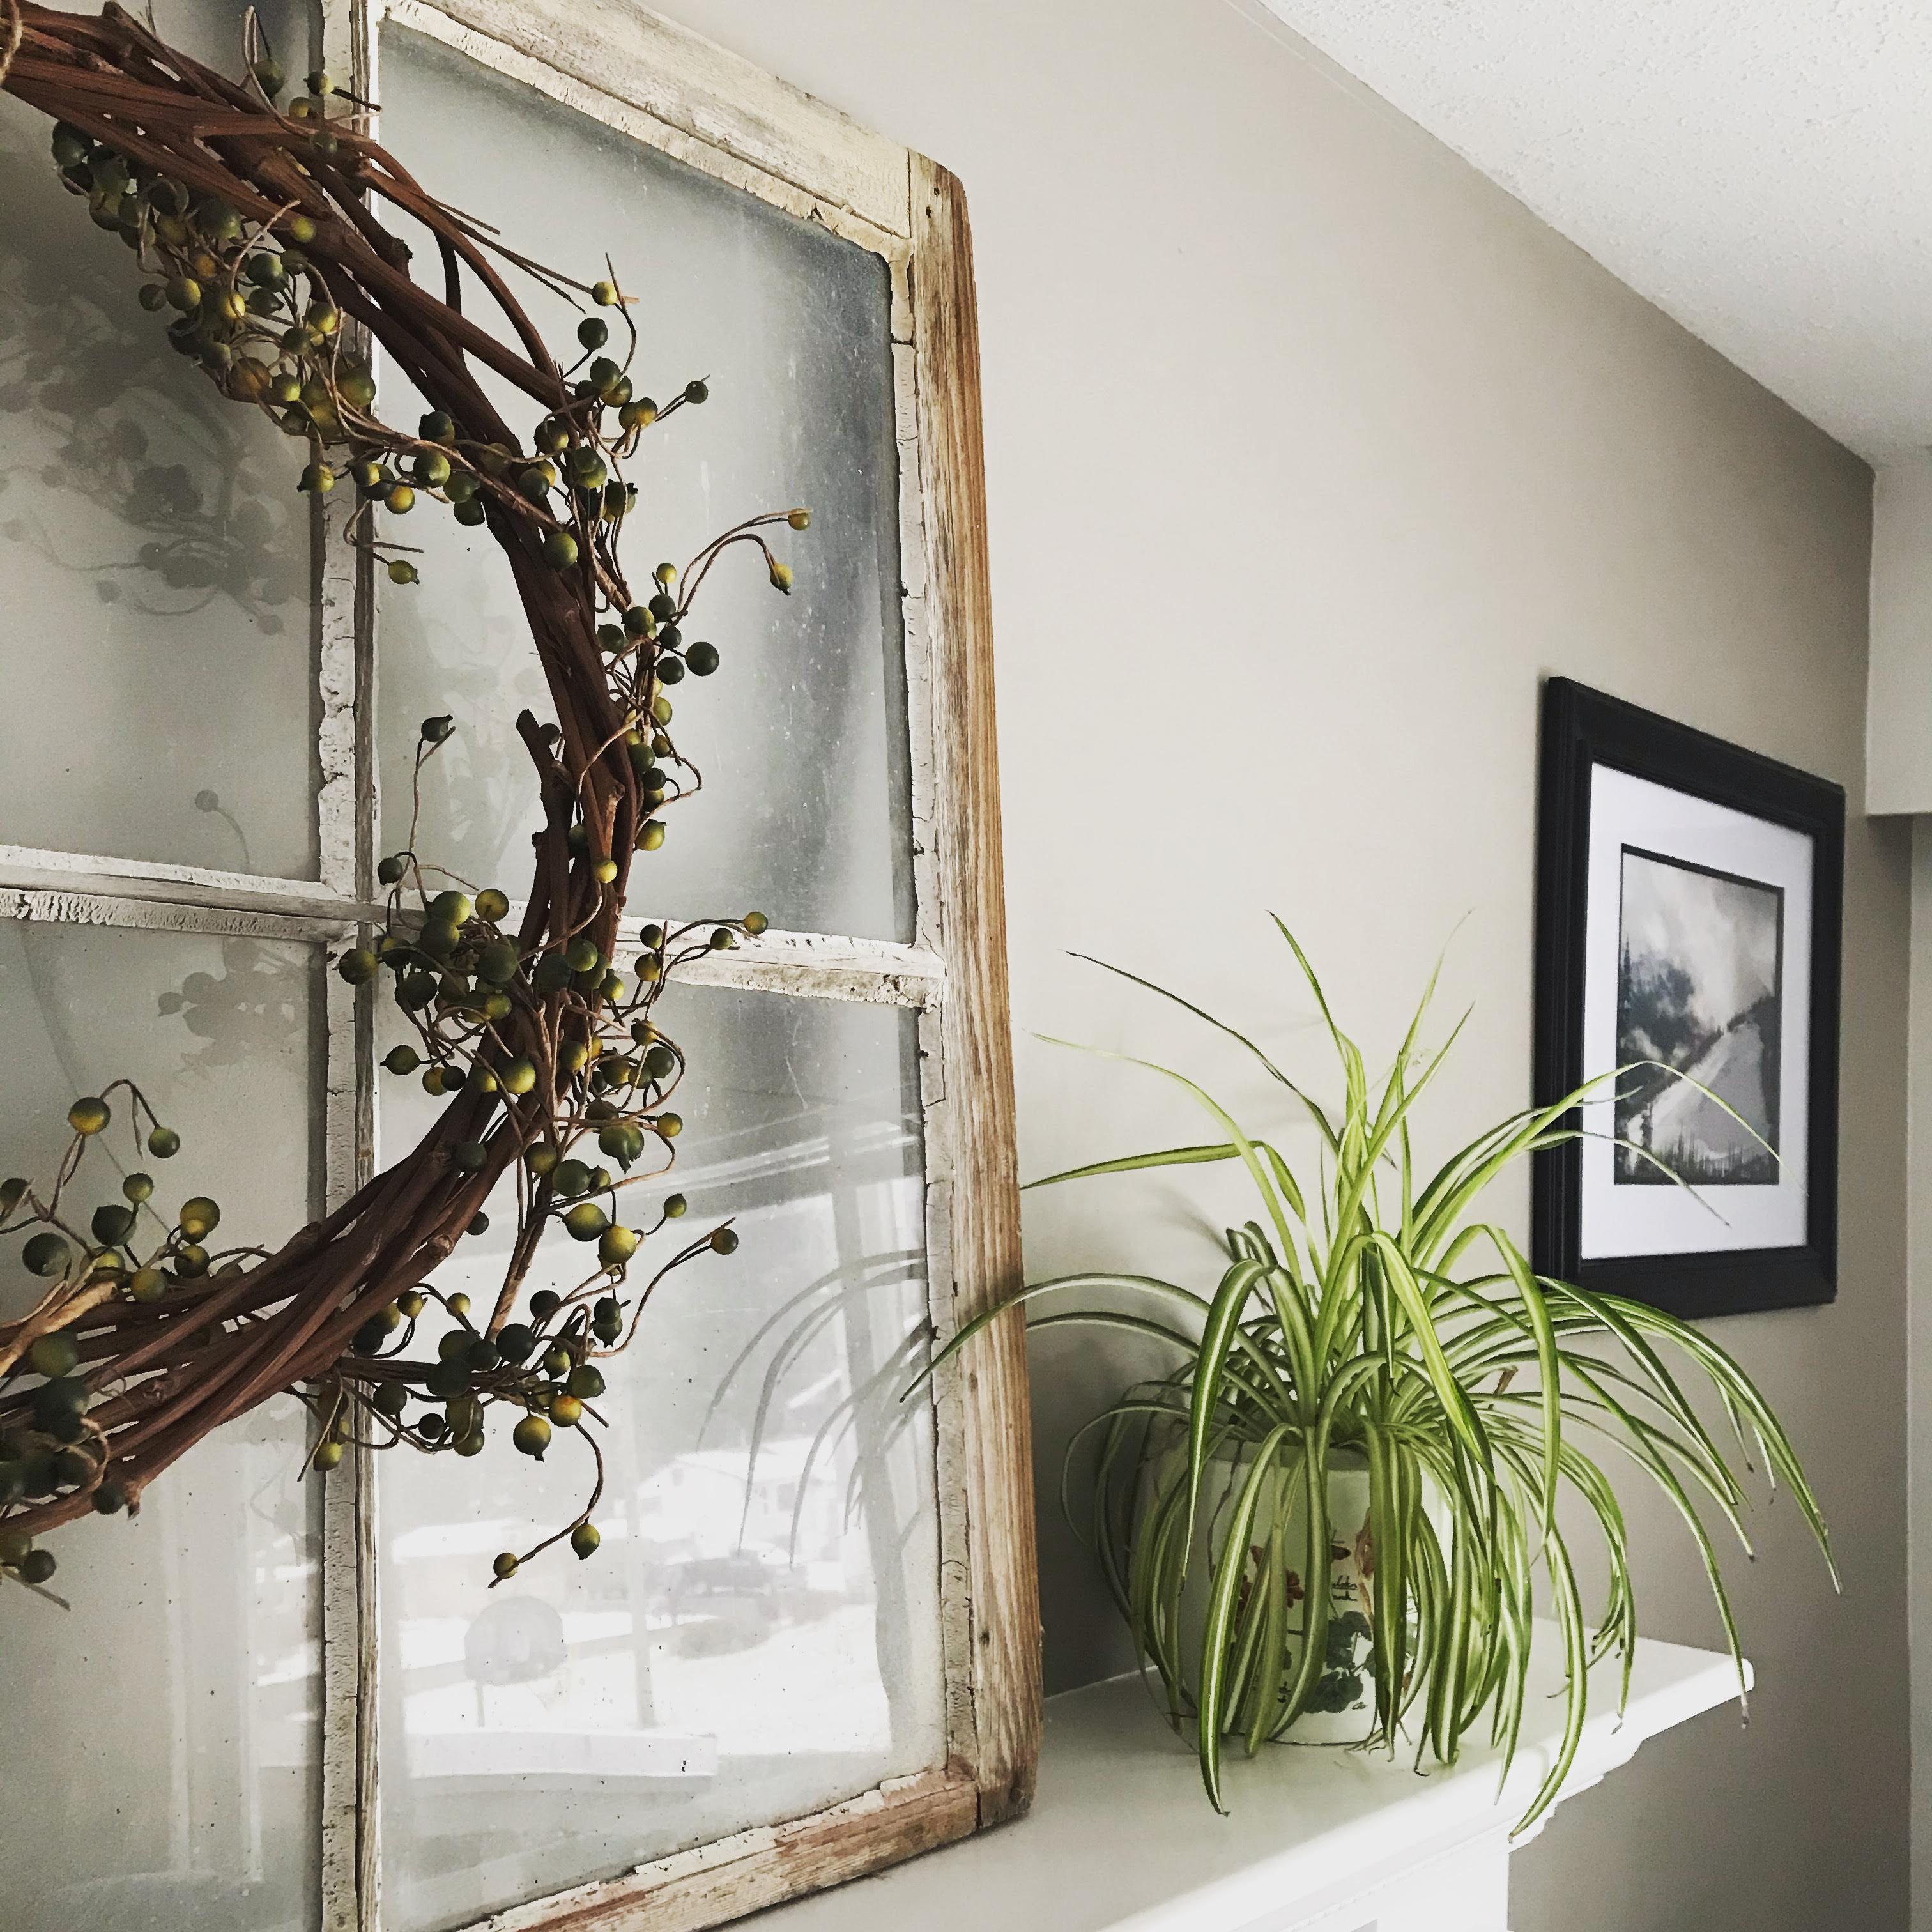
Spider plant – I grew from baby shoots from my Mother in Law.  I’ve already potted up a first set of baby shoots from this plant and about to do it again. As I mentioned above, I noticed her plant had several shoots and I asked and she said to “go ahead”.

This plant has bloomed several times.  It’s been really neat.  I had no idea this indoor plant bloomed with little flowers.

IMG_1358
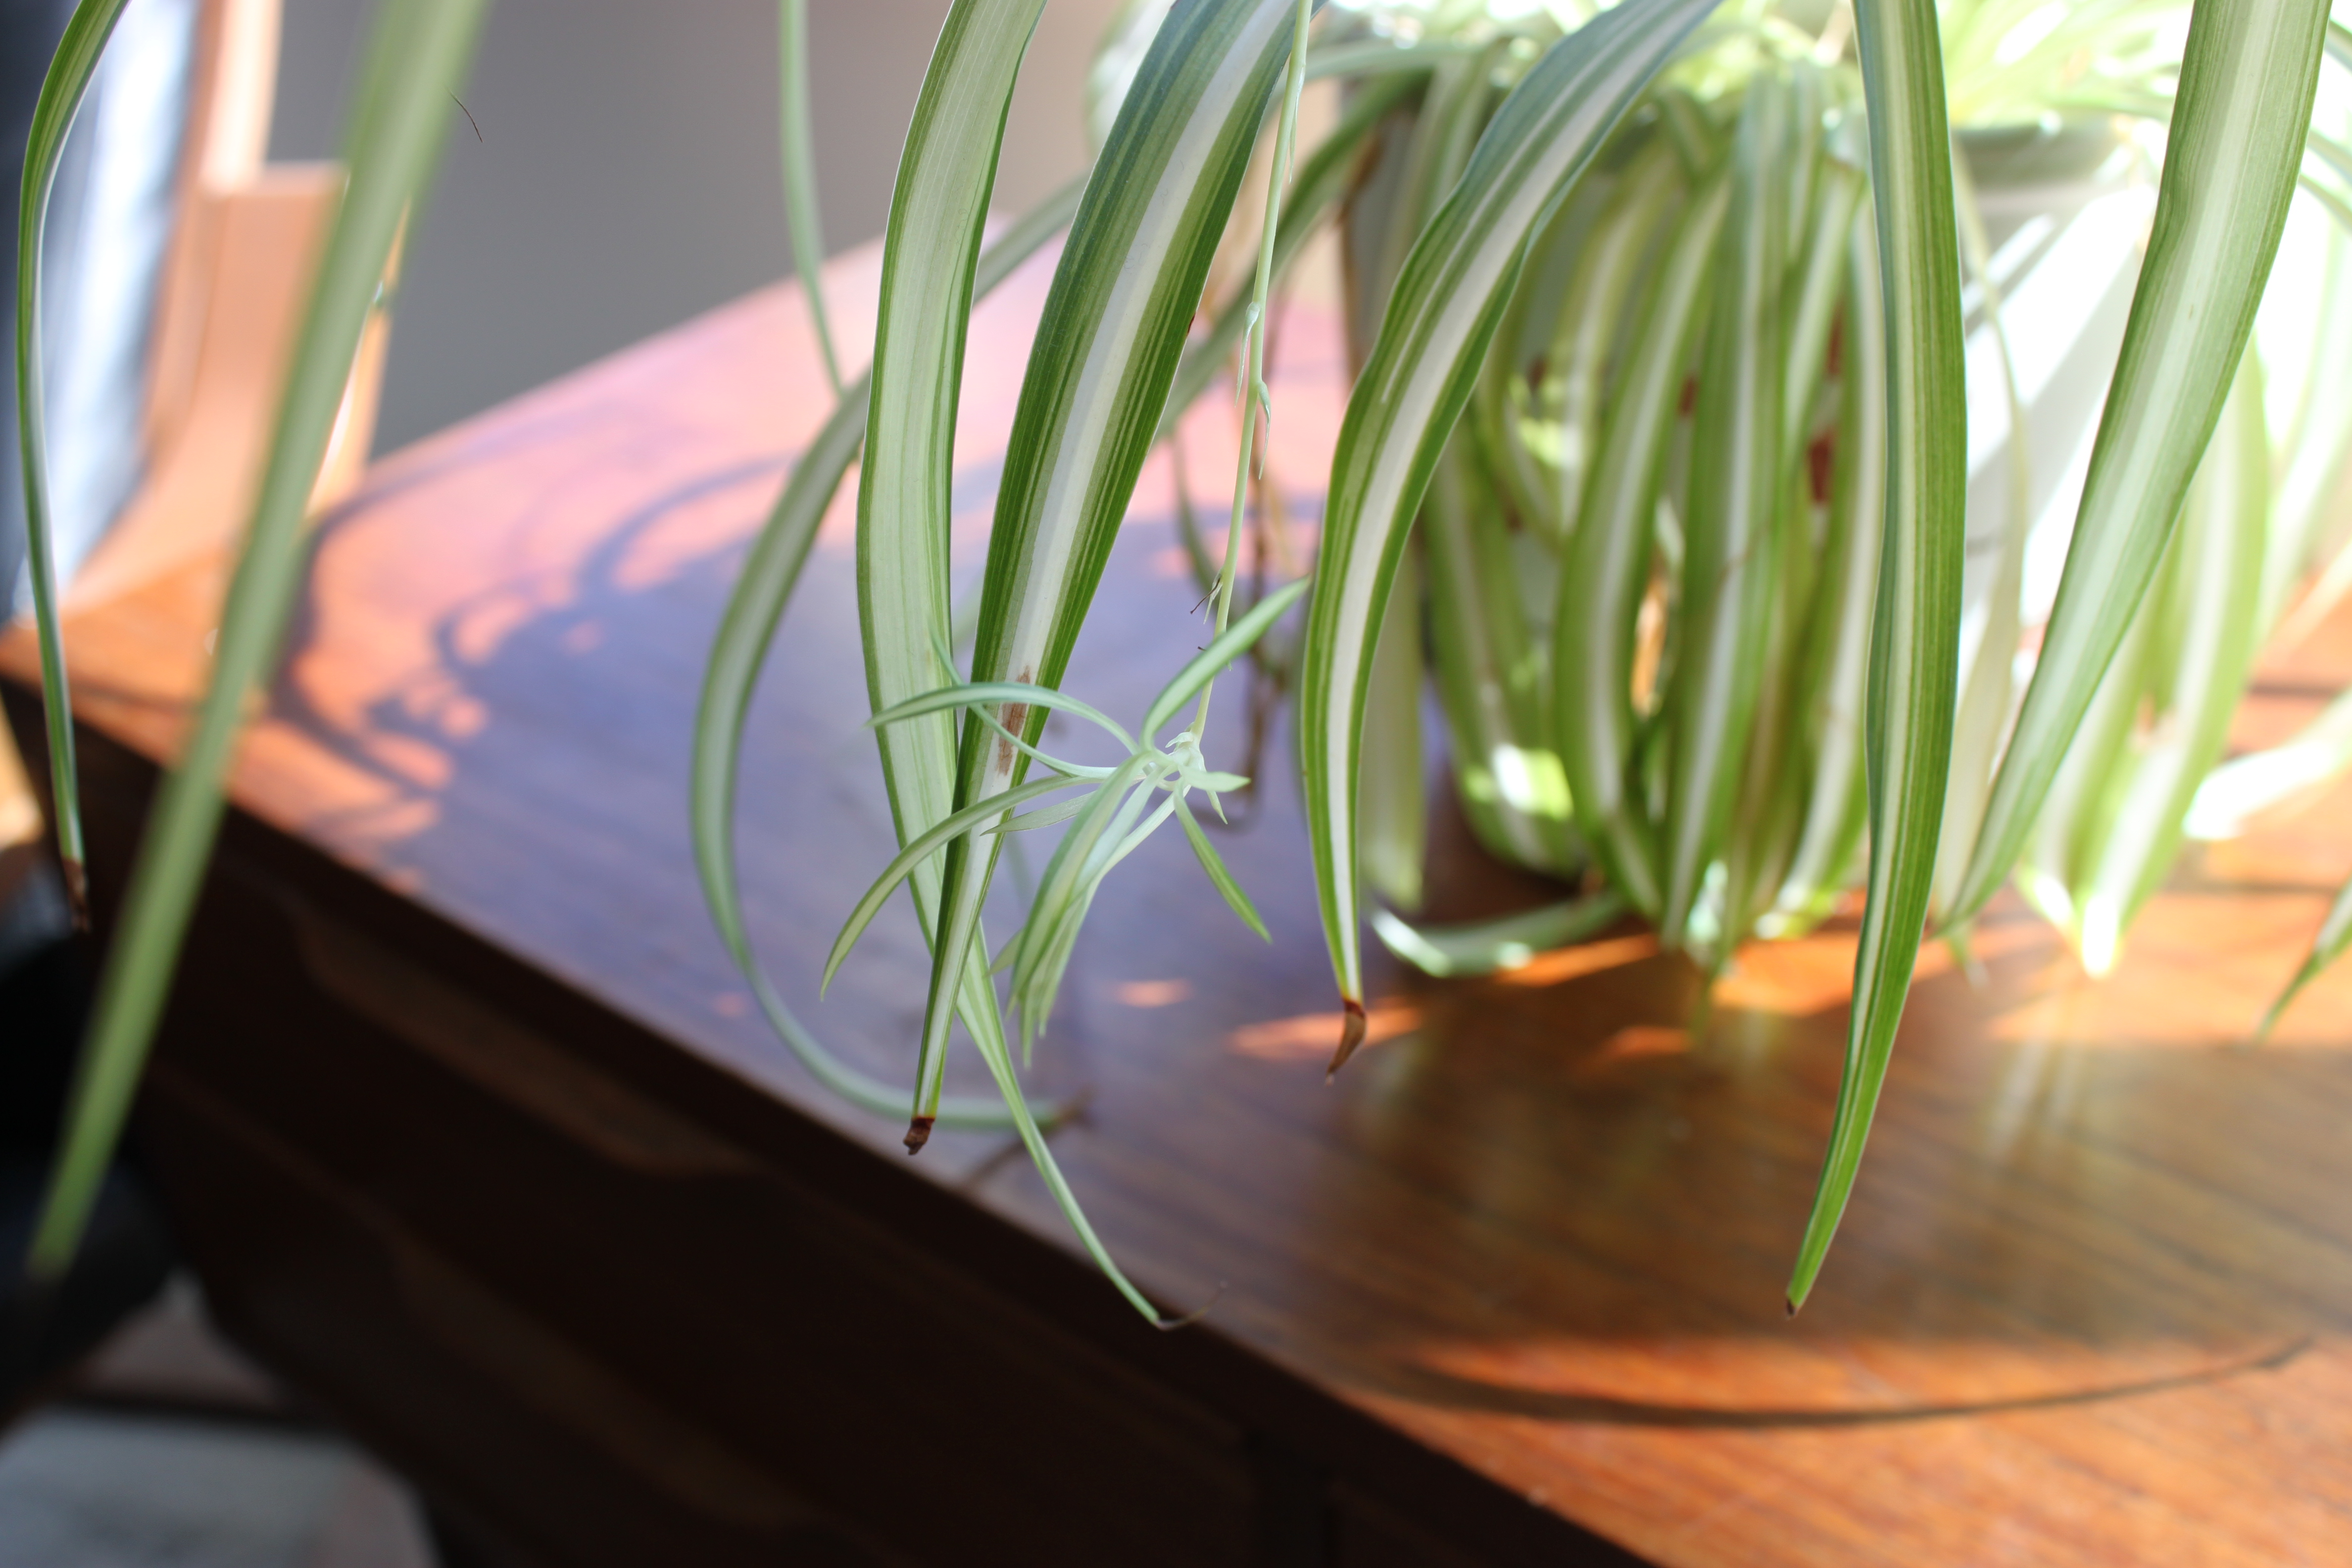
First time it had 3 Spiderettes and this time it has 2.  This plant is grown from 3 shoots. I suspect I need to repot this one soon.

What do I mean by “rescue” plants.  Here’s an example of that, with my next house plant.

IMG_1738
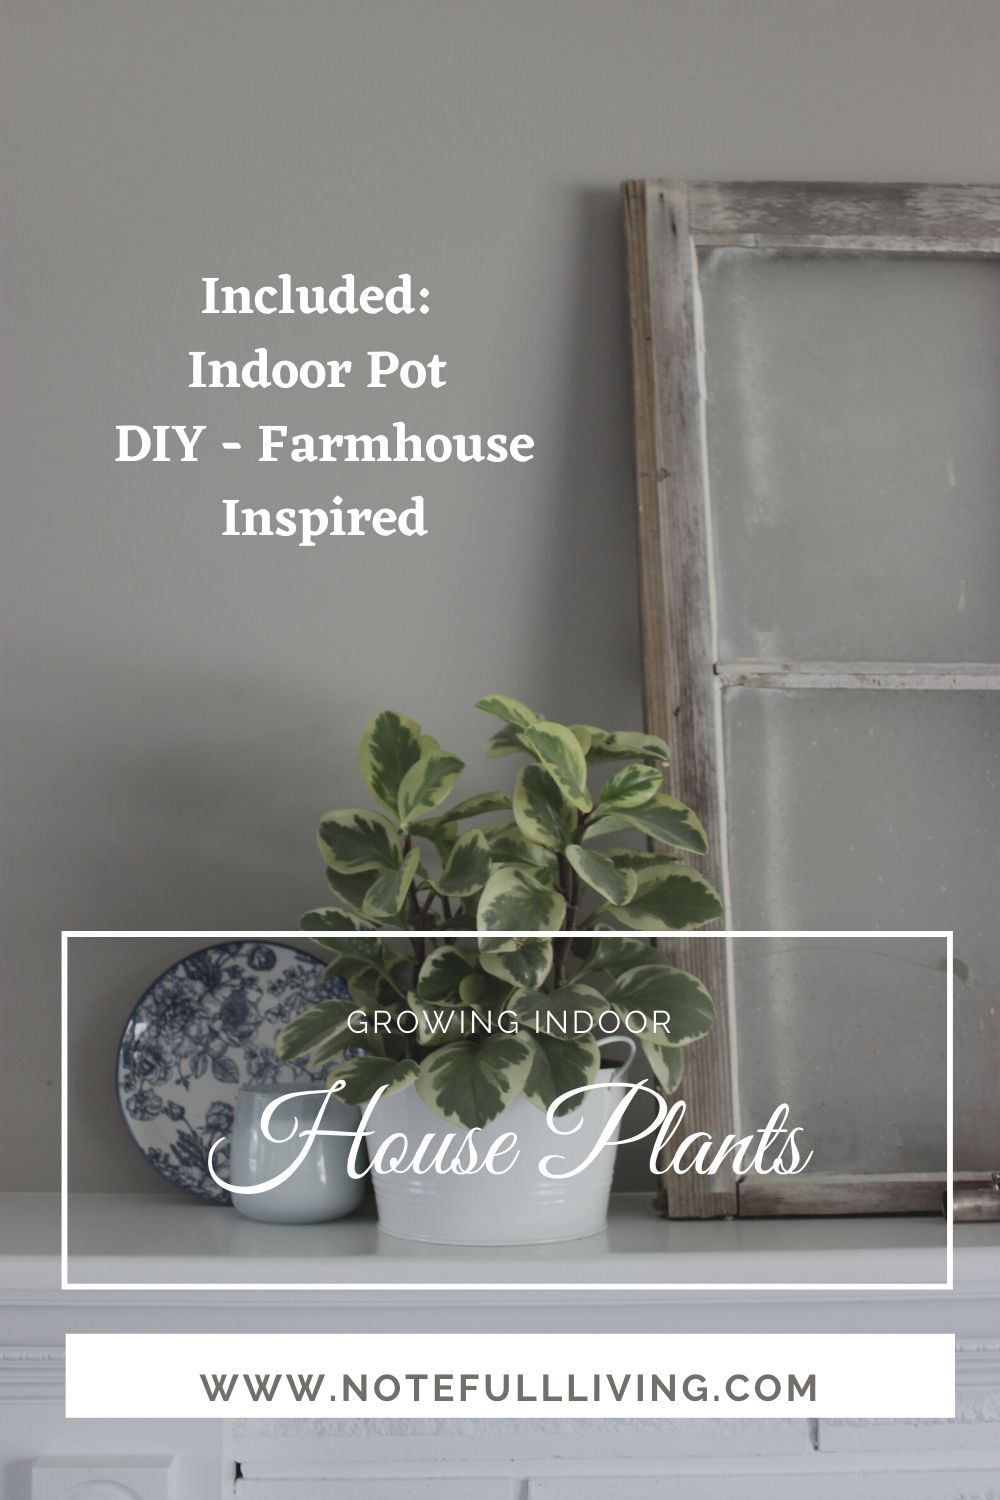
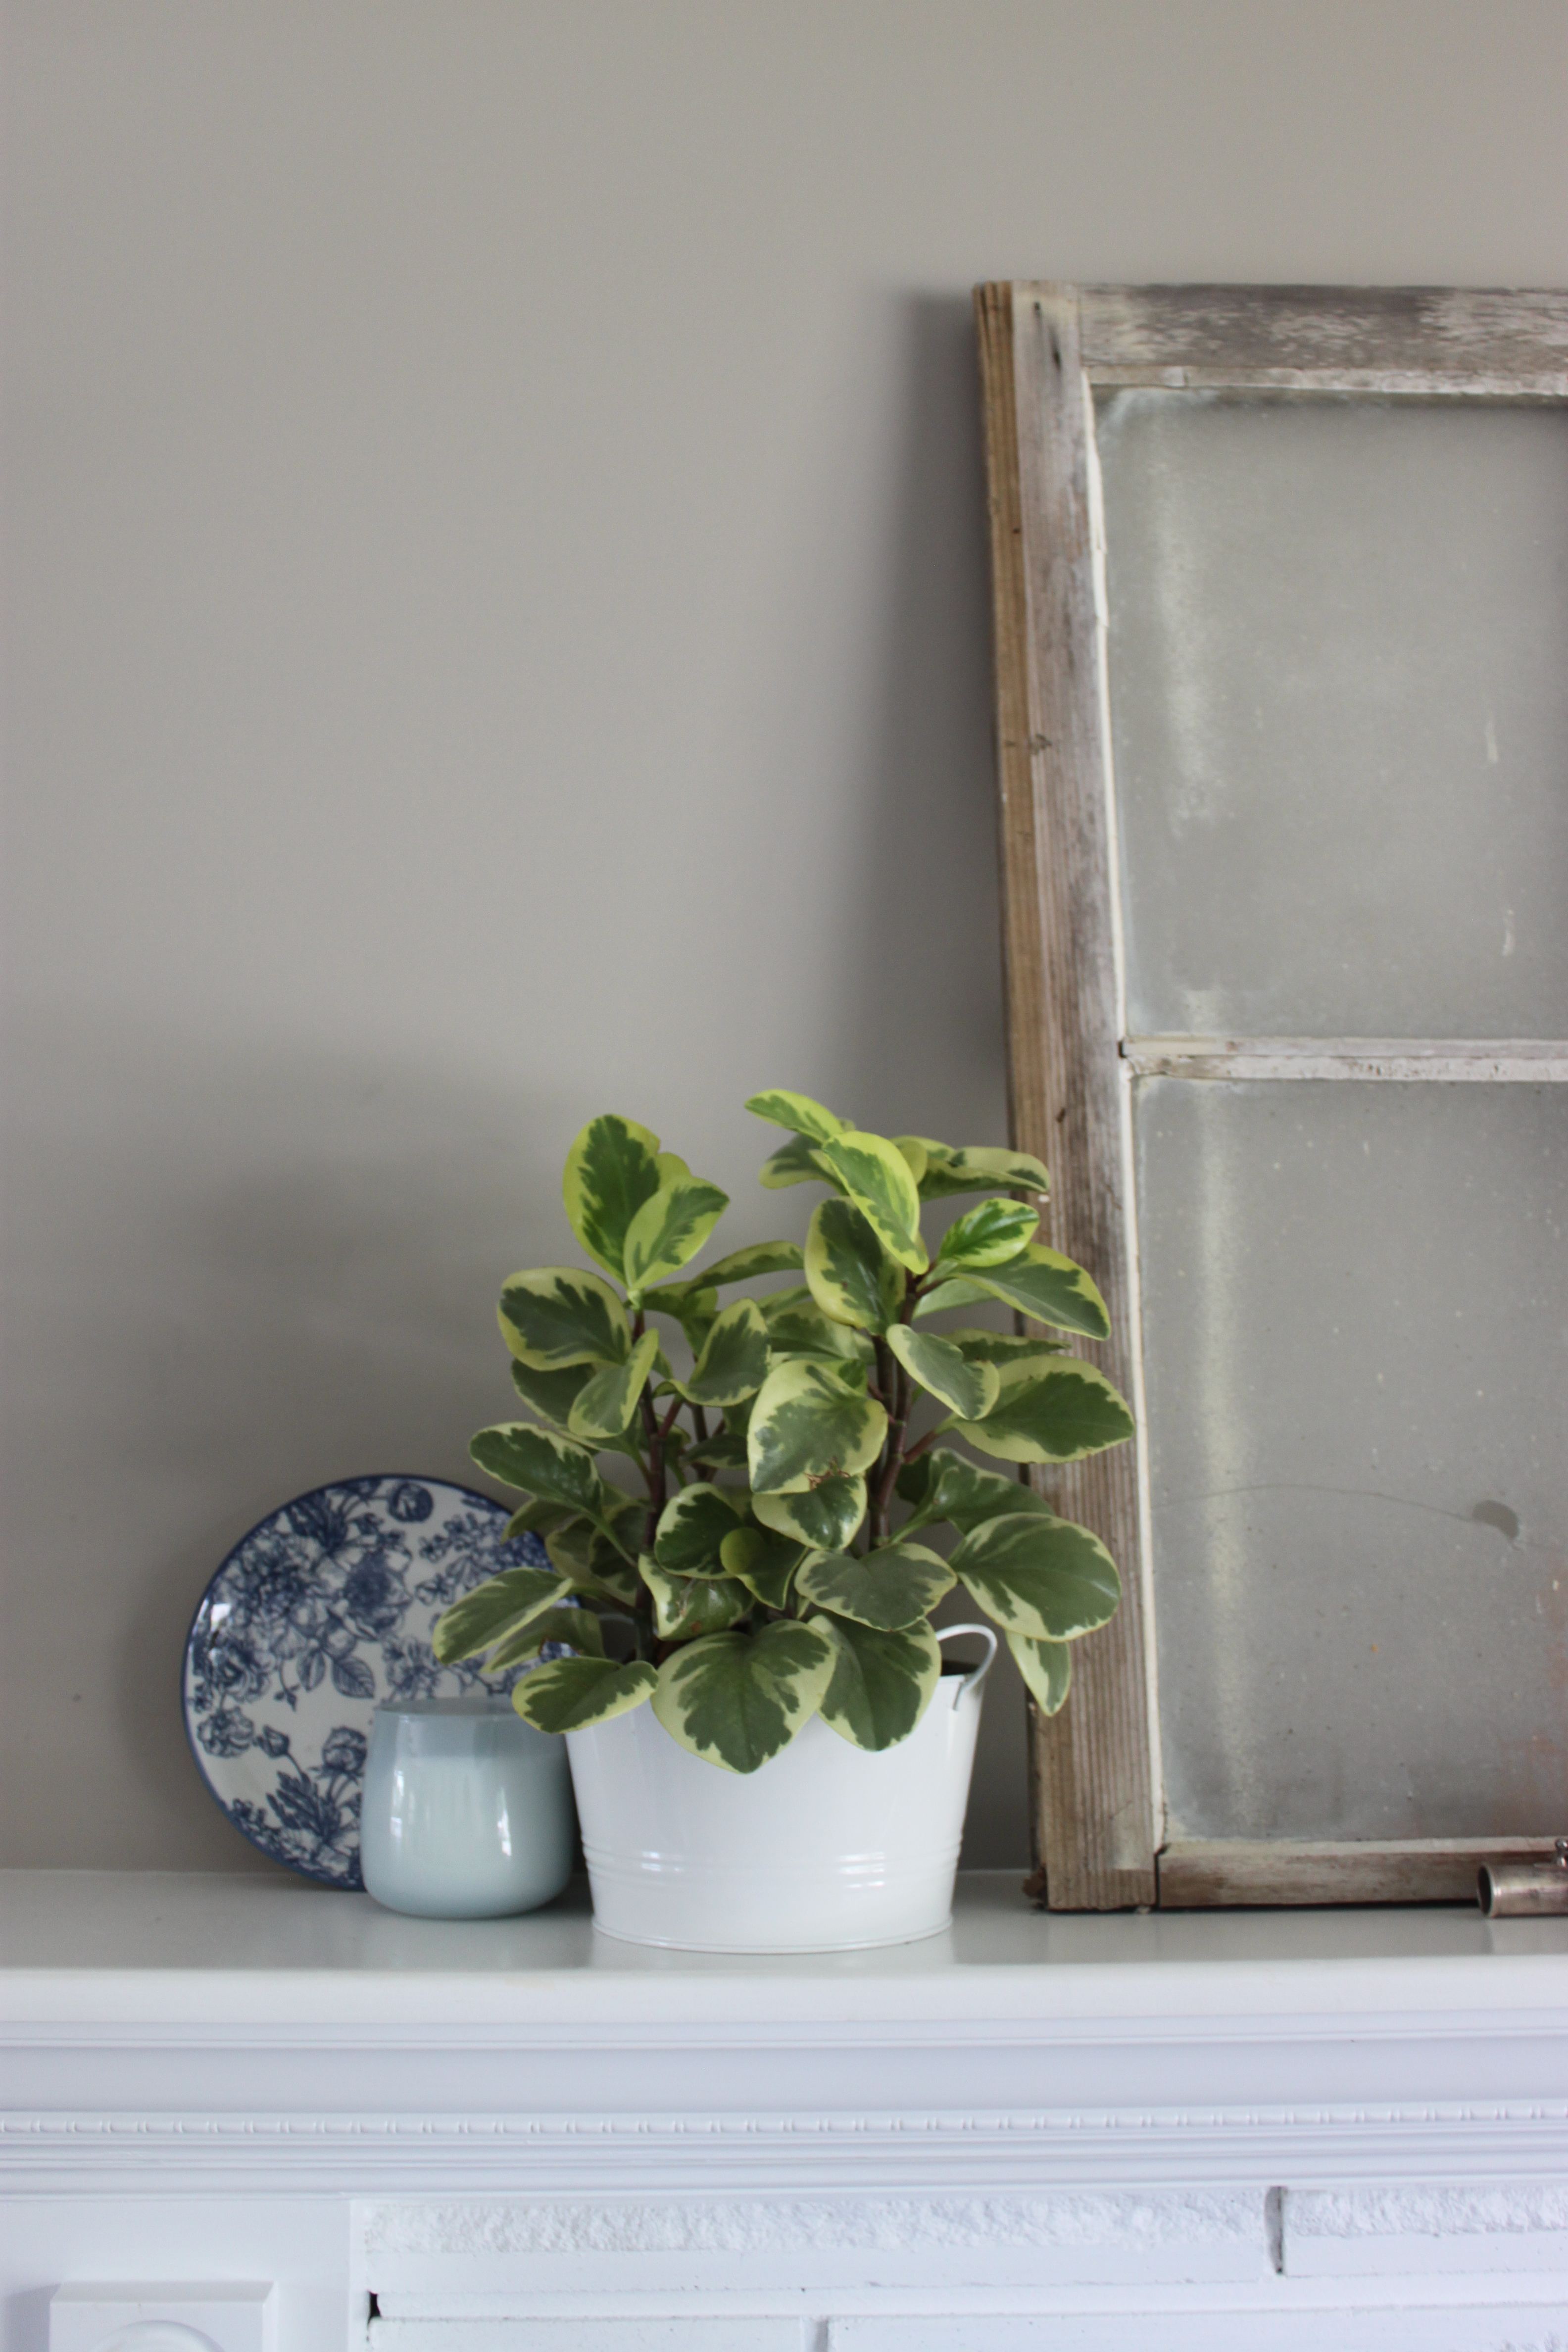
Peperomia – This is a combination of the plants that didn’t die from 2 Christmas baskets I got one Christmas. I loved the look of it. I like the fact that this plant isn’t bushy and big. The Planter it is in is from the original Christmas Basket I got with at least 3 other plants that didn’t survive.  Since both of the planters had this plant in it I combined the 2 and they have doubled in size since.  Super great beginner plant I might add.

13BC789B-E7D4-4B9A-ADD4-2DB7F42E9078
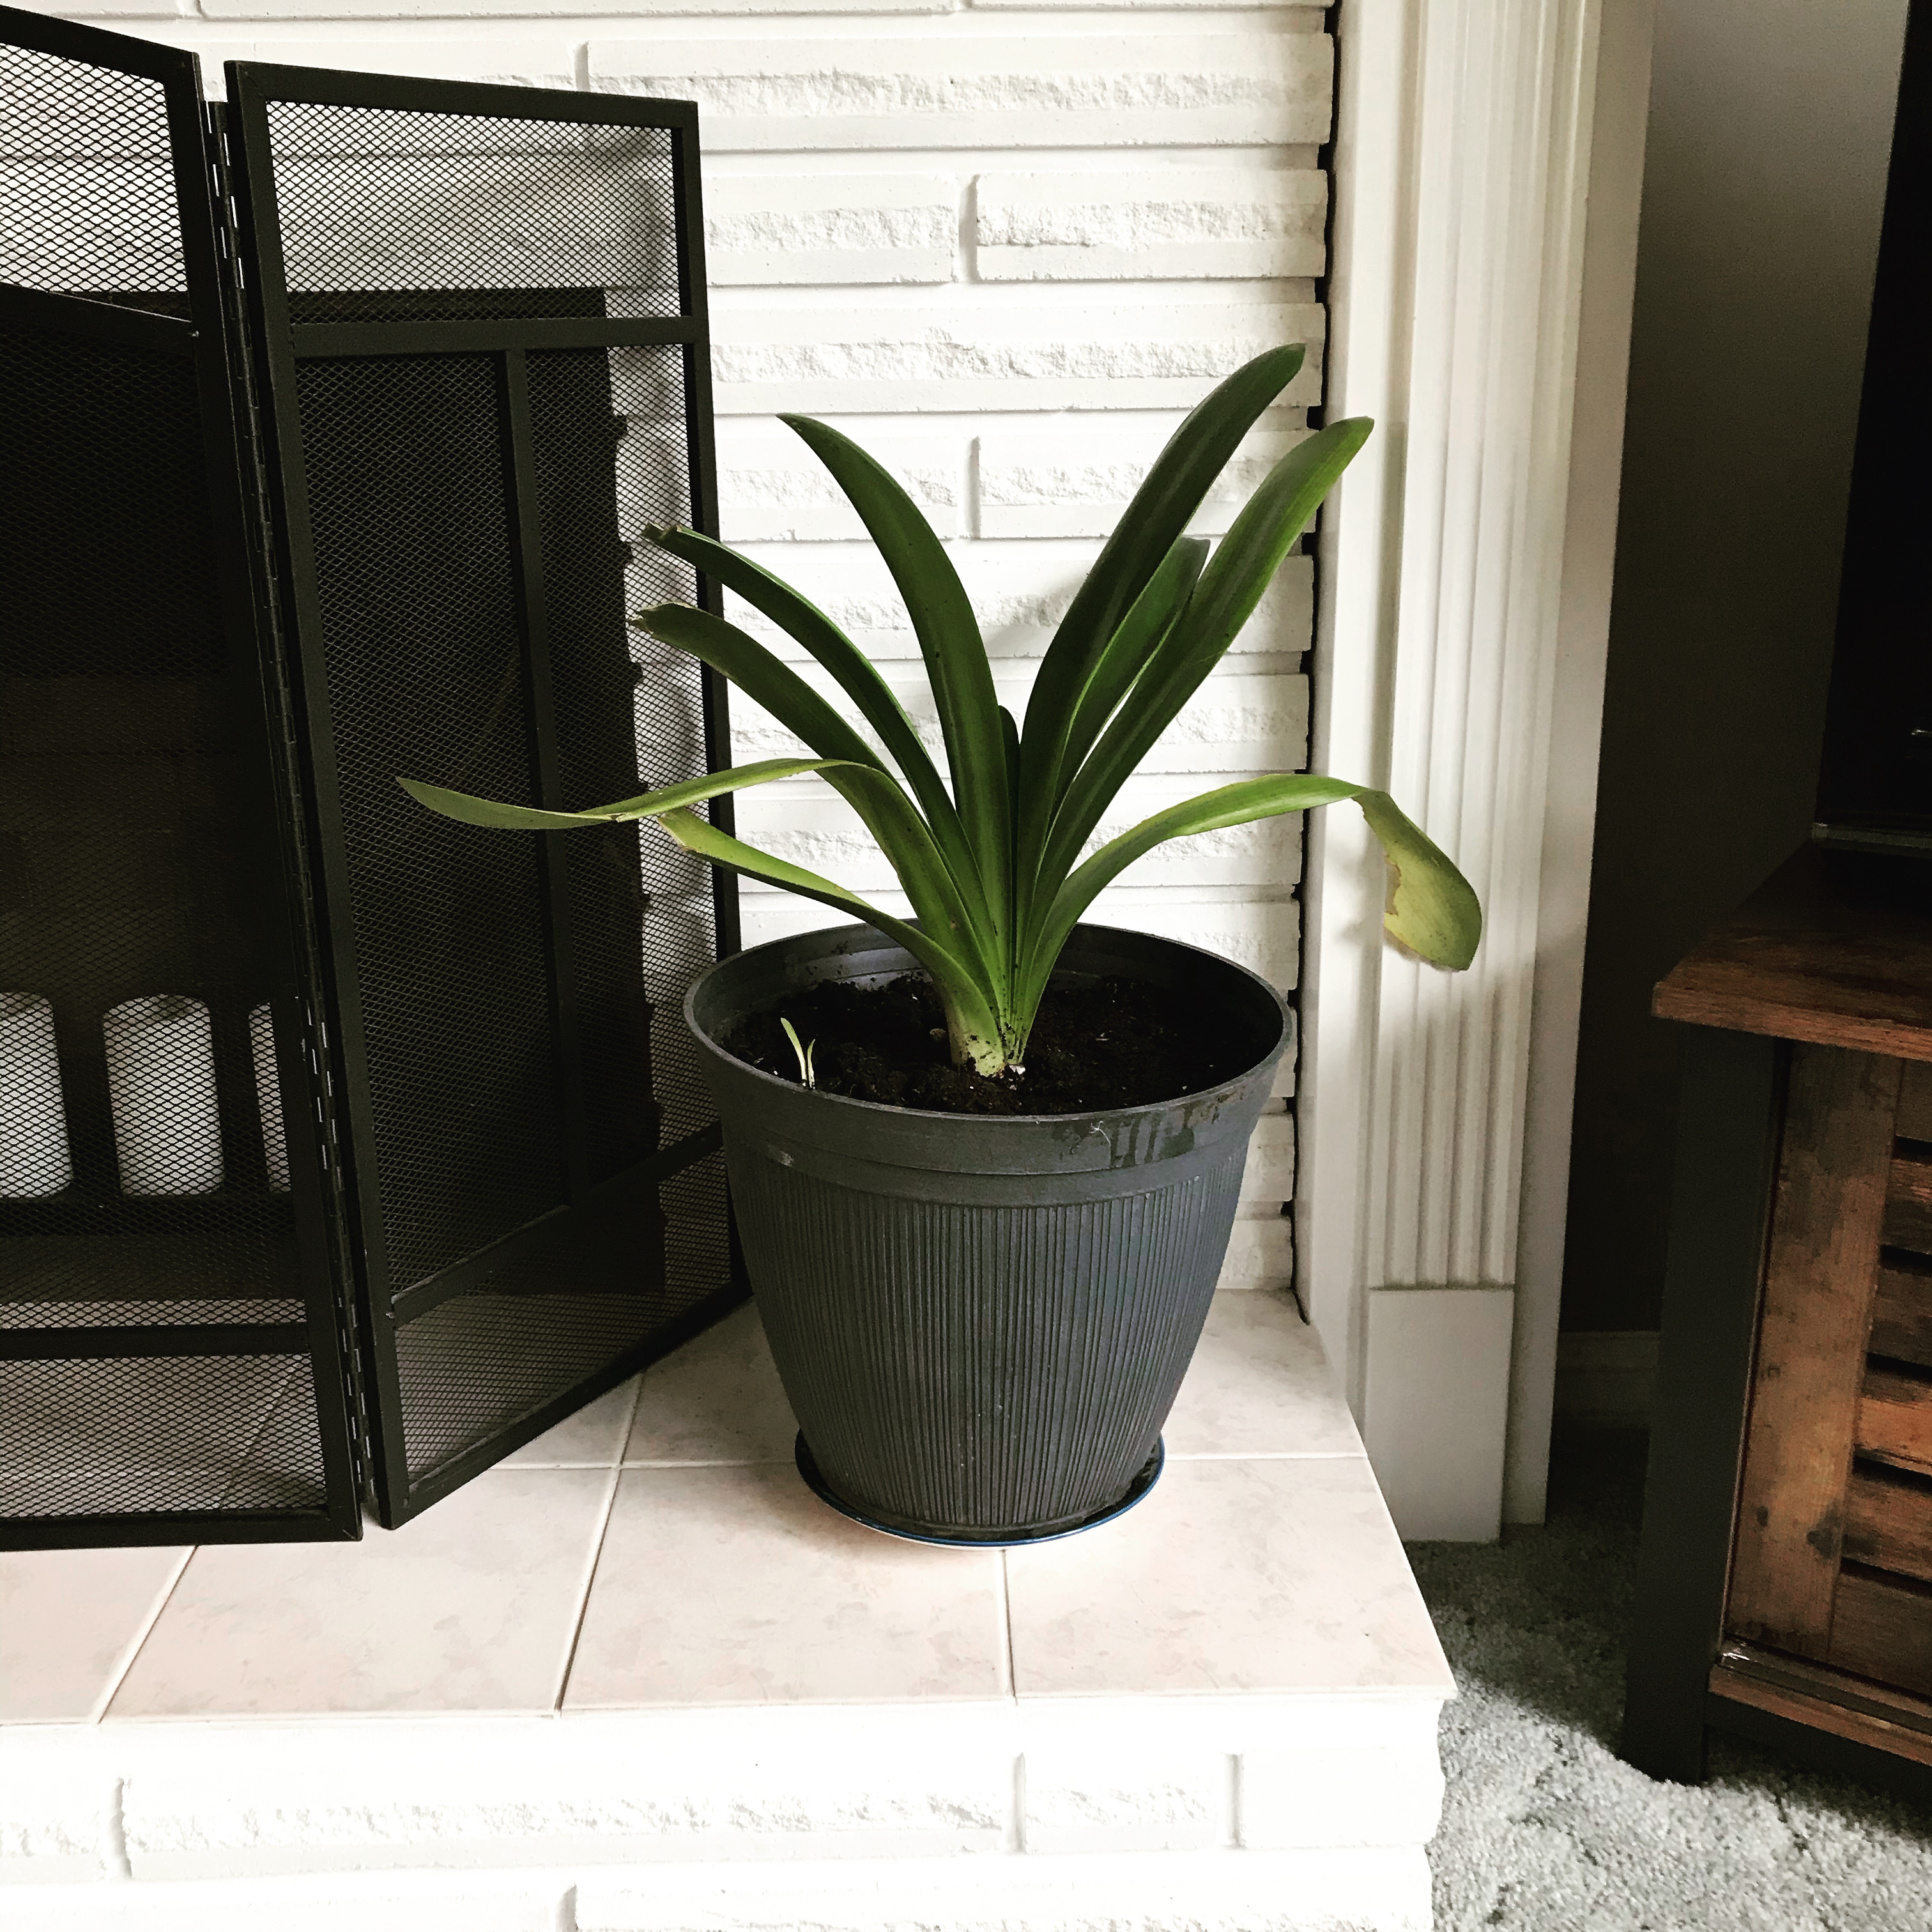
Kaffir Lily – Someone just gave me in my neighborhood through a connection over the Garden Swap Box. Here’s my blog post about the Garden Swap Box. This plant is completely new to me.  I’m super curious to see it bloom.  It already has a baby shoot starting. This lady from my neighborhood has kept the original plant alive since 1970, so I think I got a good shoot at keeping this one going too.

Go check out my Instagram for the story behind this plant. Look for this photo.

IMG_1735
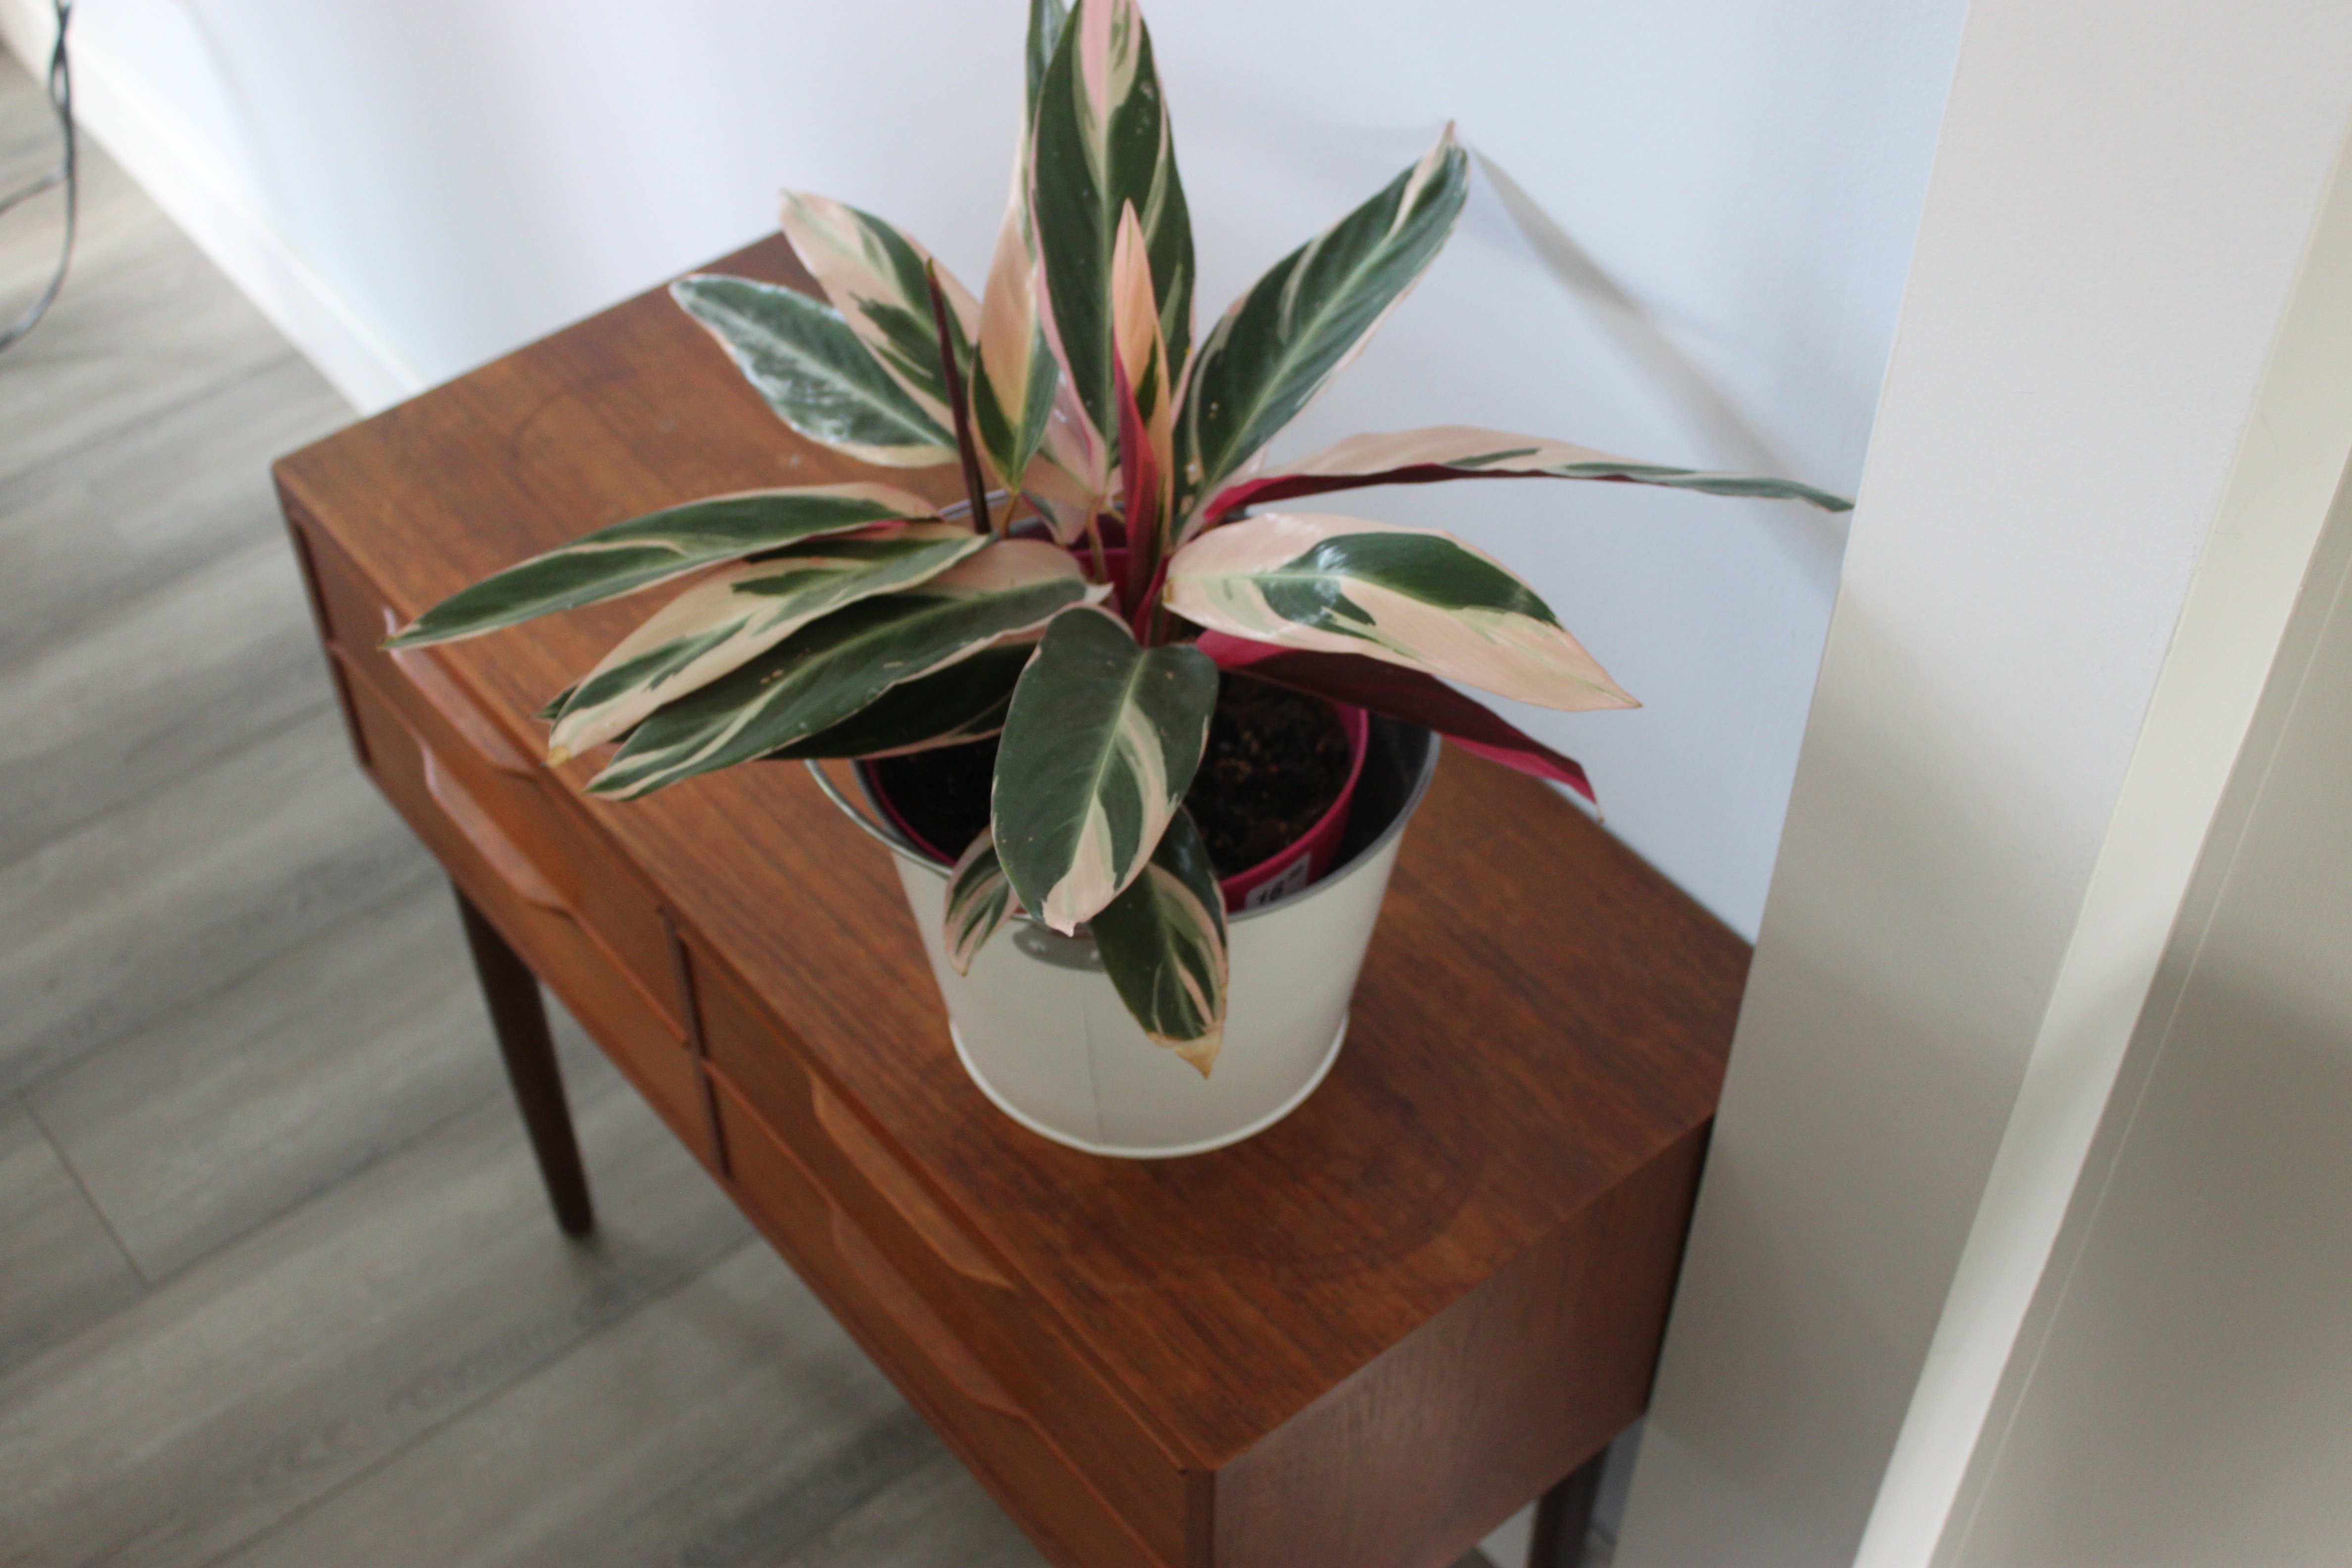
Stromanthe Triostar – I just bought this. I was wanting to add something to my indoor house plants that I picked out and bought for myself.  These plants were ALL over our resort in Mexico.  When I saw it at the local garden center it was definitely coming home with me.

I’ve already noticed, this is my new plant “baby”. Seriously, this plant loves LOTS OF WATER. Oh, at least my kids think this parts fun, it needs to be misted. At least I have helpers, “mom did you mist the plant today?”.

Here’s The blog post about our recent trip to Mexico.  Don’t worry,  it was before the world literally shut down.

One of the light bulb moments I had that realized my blogging niche is Home and Garden. I took as much pictures of the plants ( videos of the Stromanthe in particular) then time with my family.

Farmhouse Inspired -DIY Pot for Indoor Plants!

Items you will need:

  • Dollar Store metal pot with handle.
  • White Spray Paint
  • Painters Tape

IMG_1731

Steps for preparing the pot for paint:

  • Tape the TOP EDGE of the pot and the HANDLE.
  • Tape any extra metal sides, where you don’t want paint.  Like the handle piece connected to the pot on mine.
  • Paint in a open area for over spray.
  • Paint 2 coats. Once dry remove the tape!

IMG_1733

Allow the paint to ‘gas off’ before coming the house. And set it in it’s new home.

IMG_1734

Additional TIPS for Indoor House Plants:

If you are just starting out or a beginner, start small like I did with 2 or three plants.  If you have too many to start, it can be overwhelming. Plus I had to consider, kids and now a dog. Yes – My oldest we learned is allergic to Easter Lily’s.

Each plant has it’s own spot in the house it”ll like.  Plus it took time for me to learn the signs of stress in the plants or when I forgot to water. I noticed over time my spider plant was fussy. I learned to pay attention to the leaves color. Dull – needs water. Bright – well watered.  I also moved it around a LOT to find it’s “happy” spot in the living room.

My Pemperima was/is a great beginner plant, I’ve moved it downstairs with less sun for a while and it did just fine.

Fresh Flowers – From the Garden

IMG_1747

I’m having so much fun creating fresh flower bouquets. My fave is the peonies!

Fresh Flowers from the Garden beat Fake Flowers from the Dollar Store

I’m already busy planting more cut flowers in my new garden I made last year along our fence. I’ve been blessed with flowers from the previous owners like these peonies.

IMG_9534

Ok – I think you might have noticed I’m loving finally being able to get to this place now and share this with you.

How about you?

What do you have for Indoor Plants?

Are you a beginner or have had plants for a long time?

Carrie


Setting up an Outdoor Patio

Setting up an
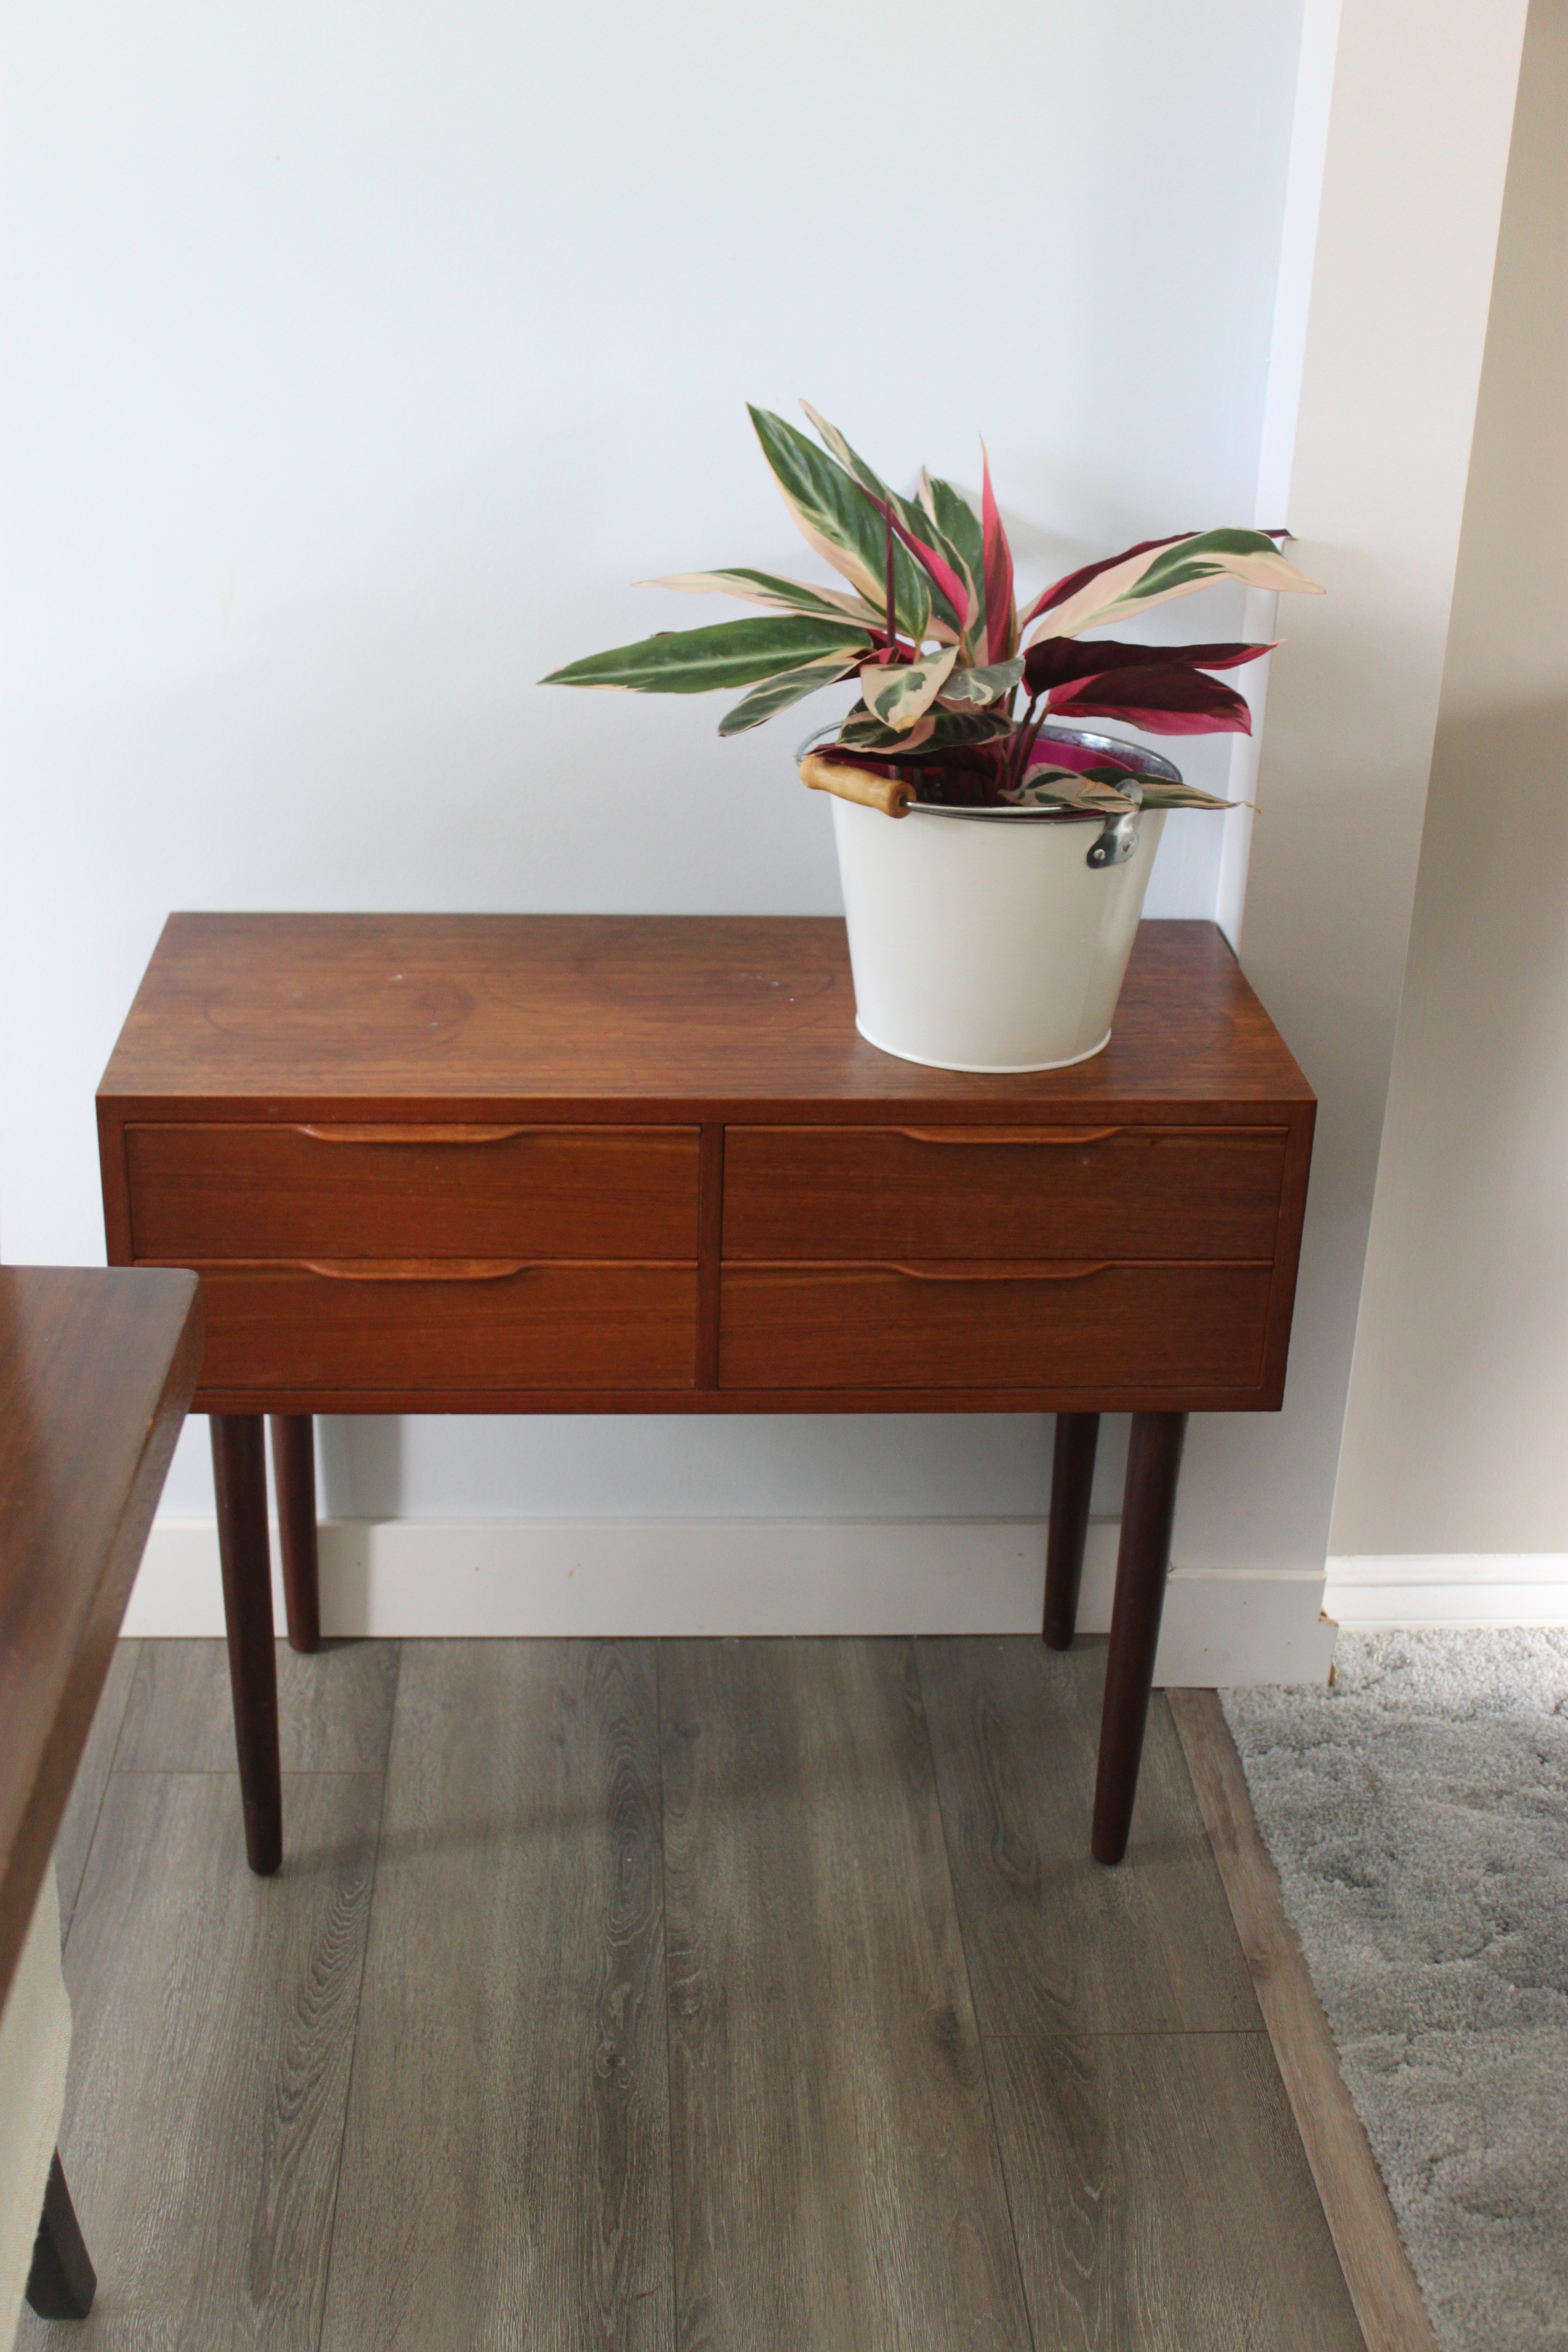
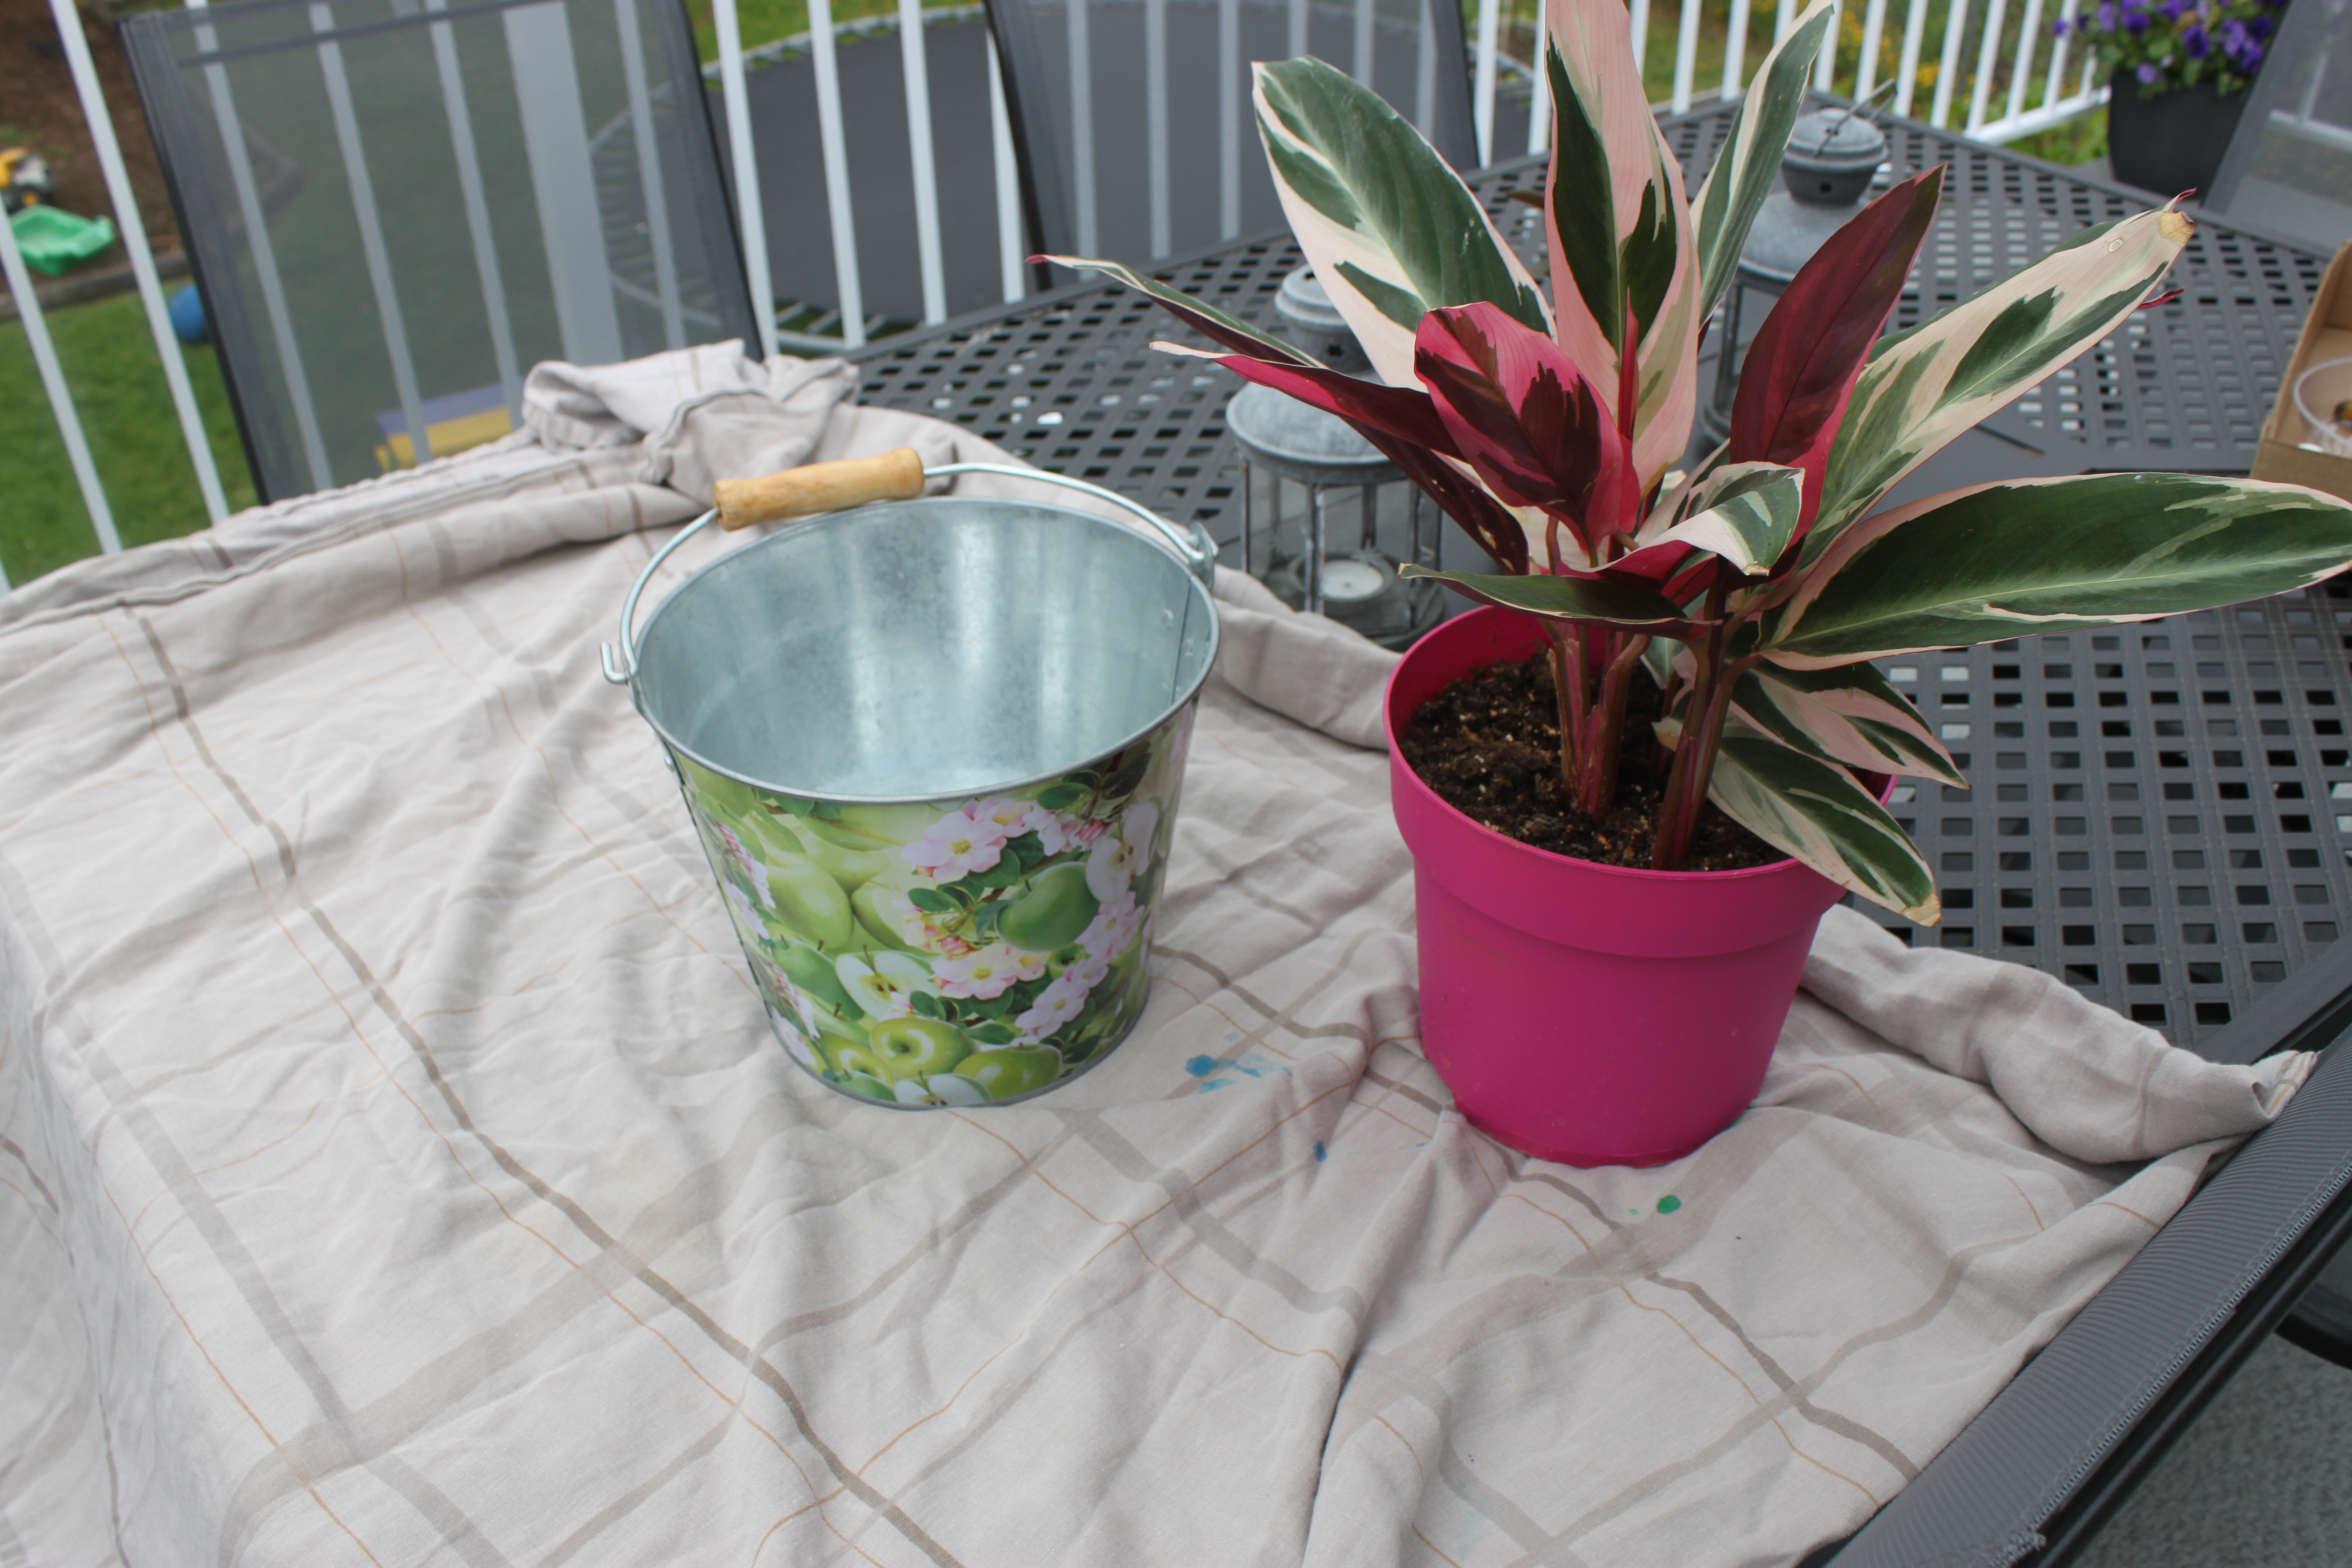
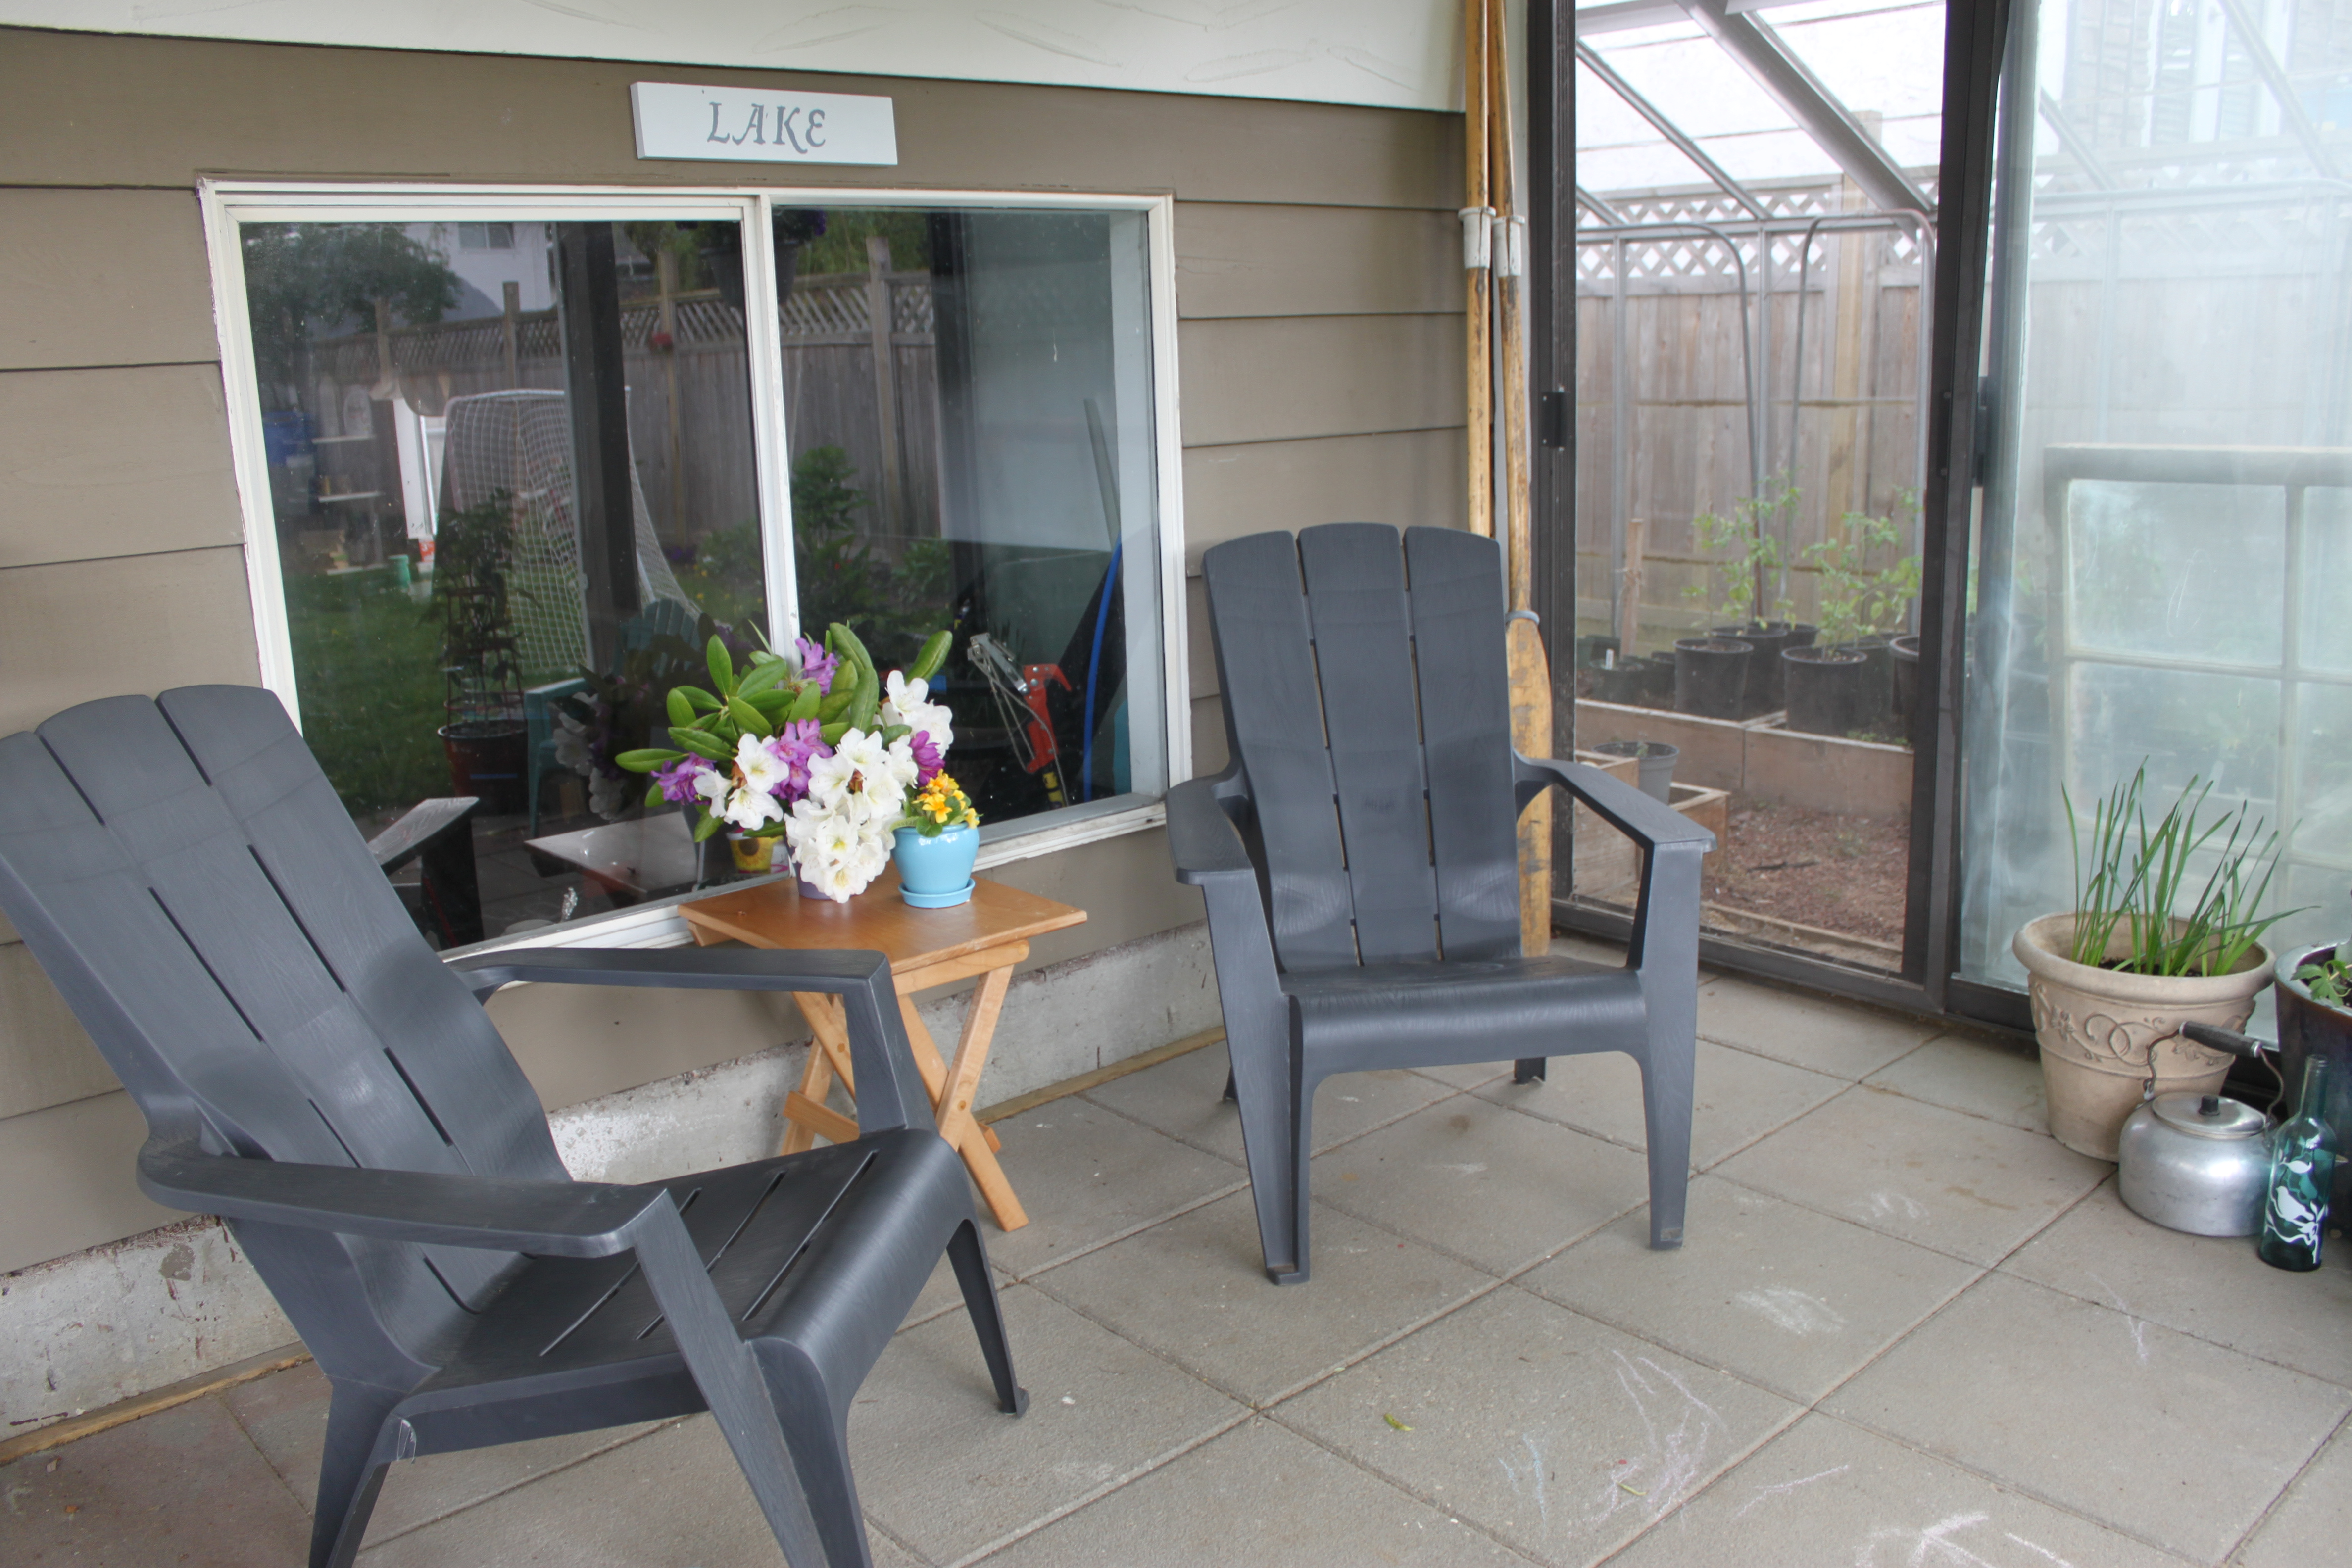
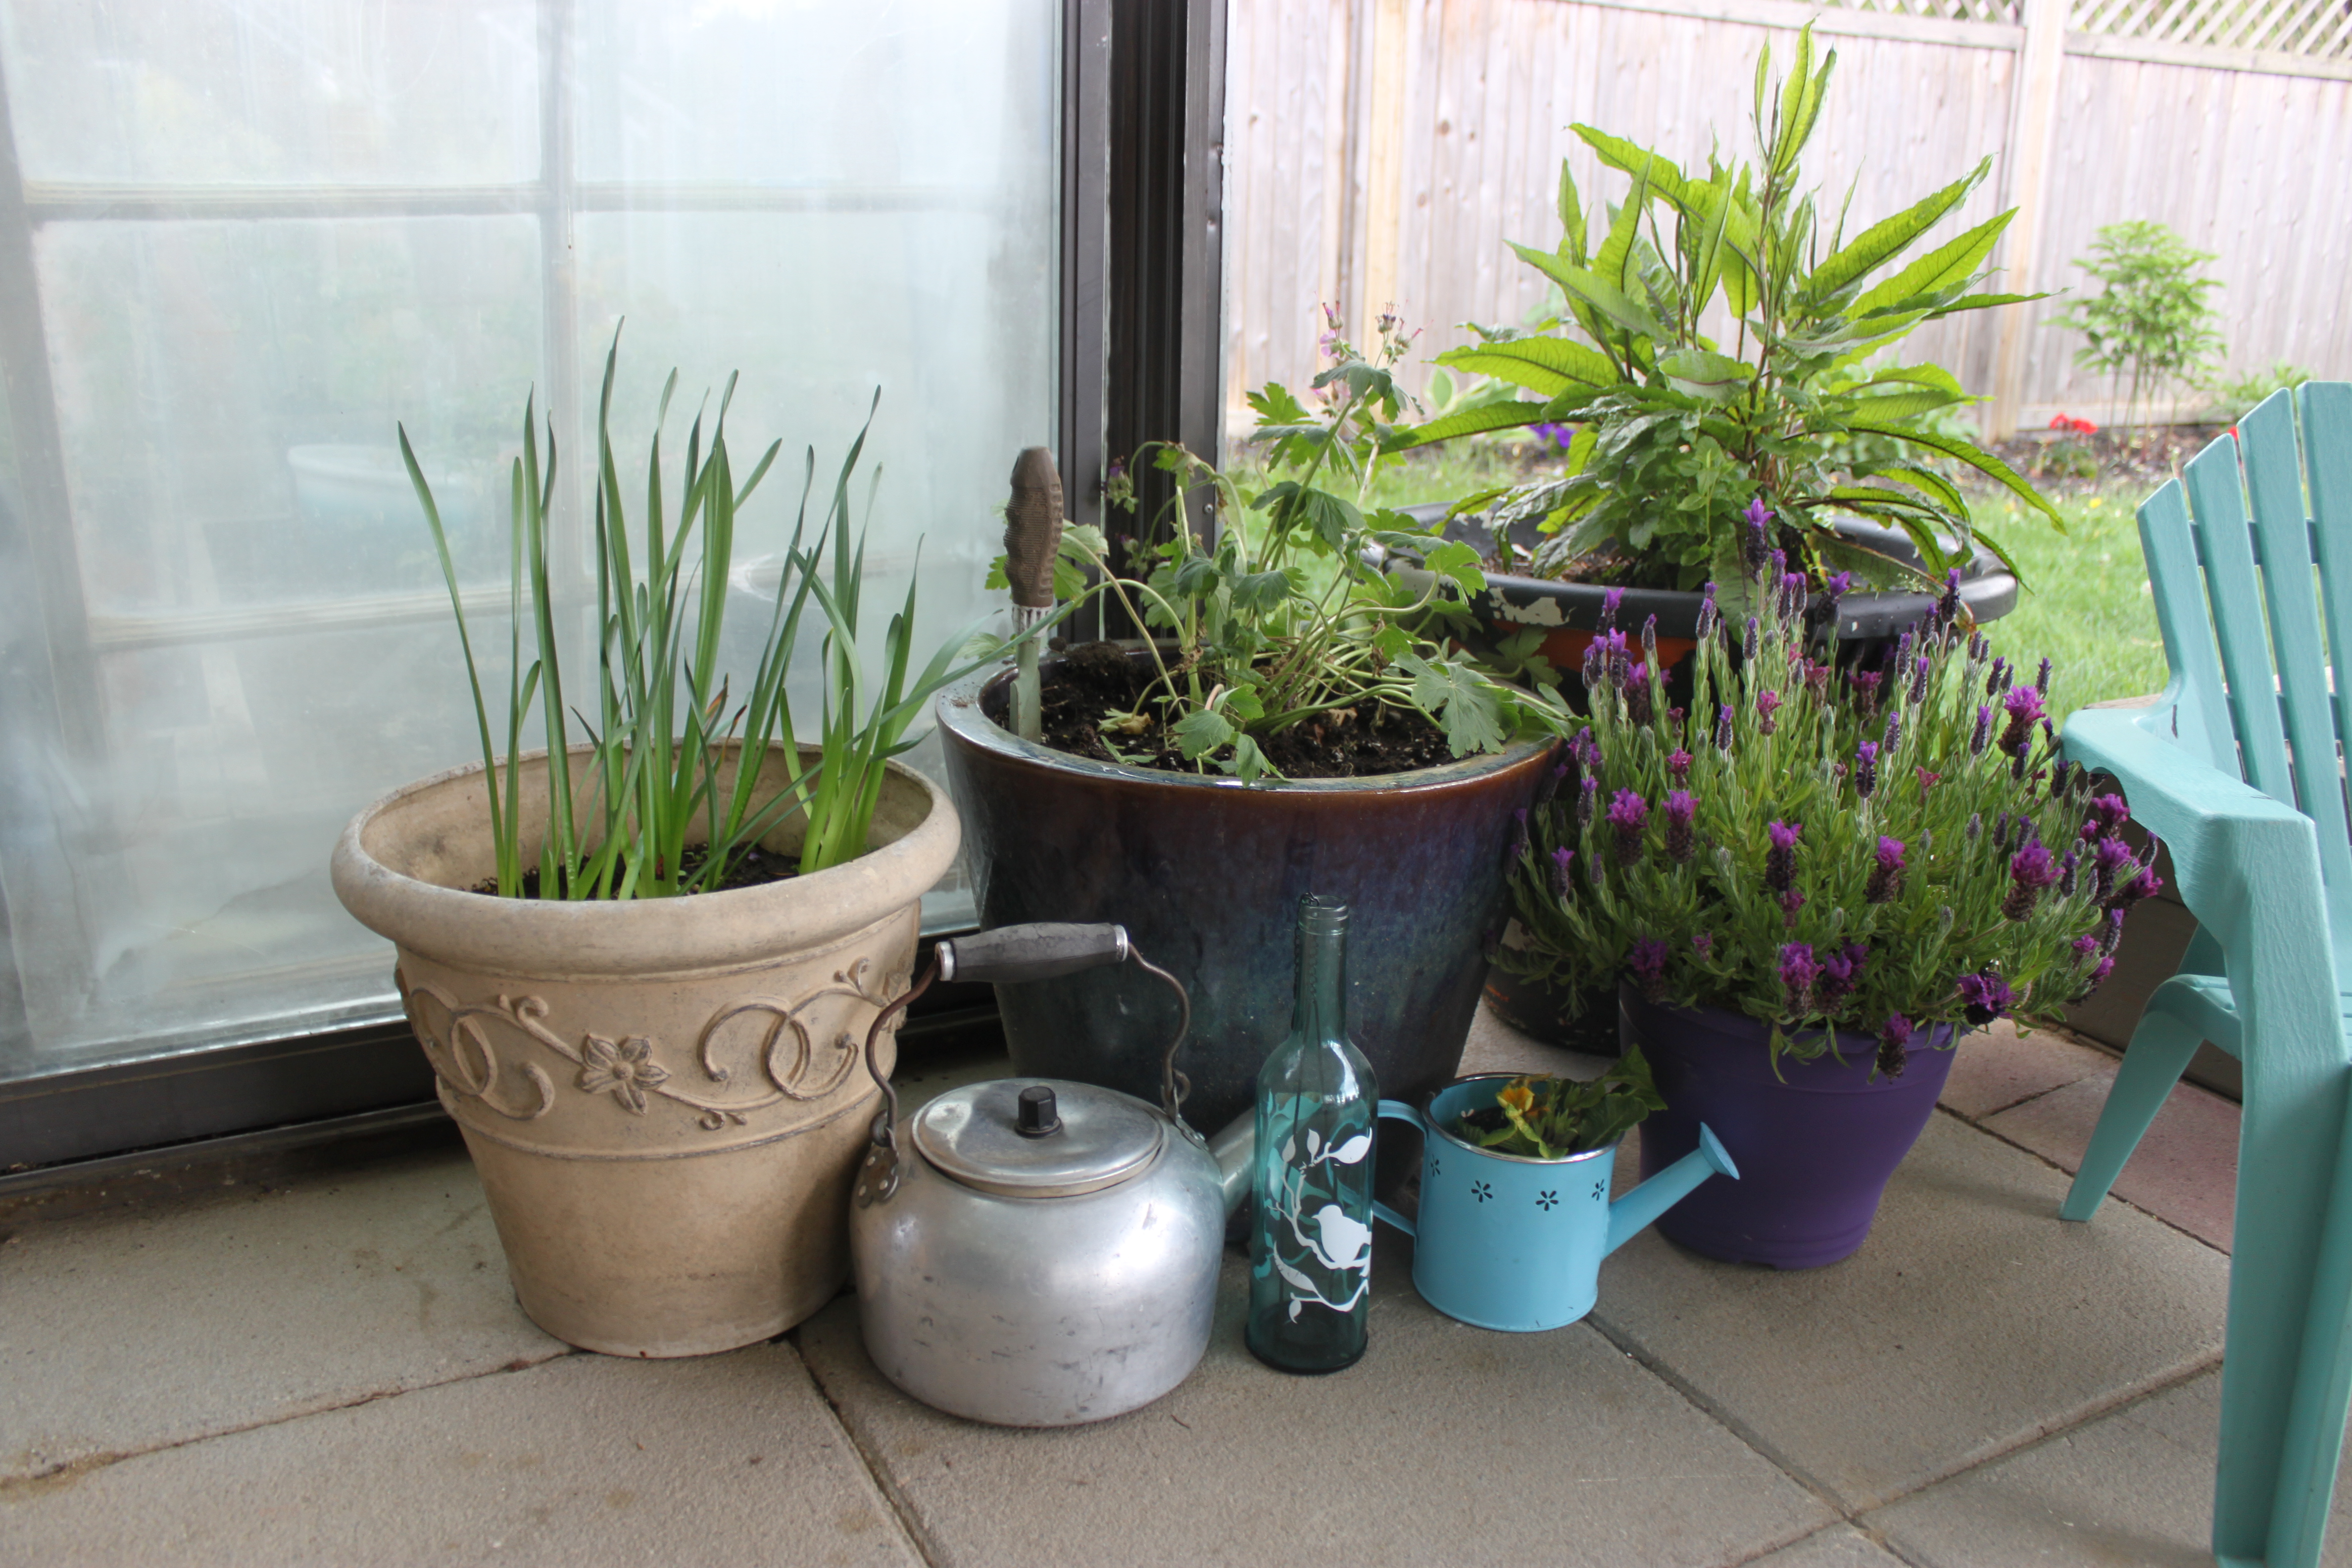
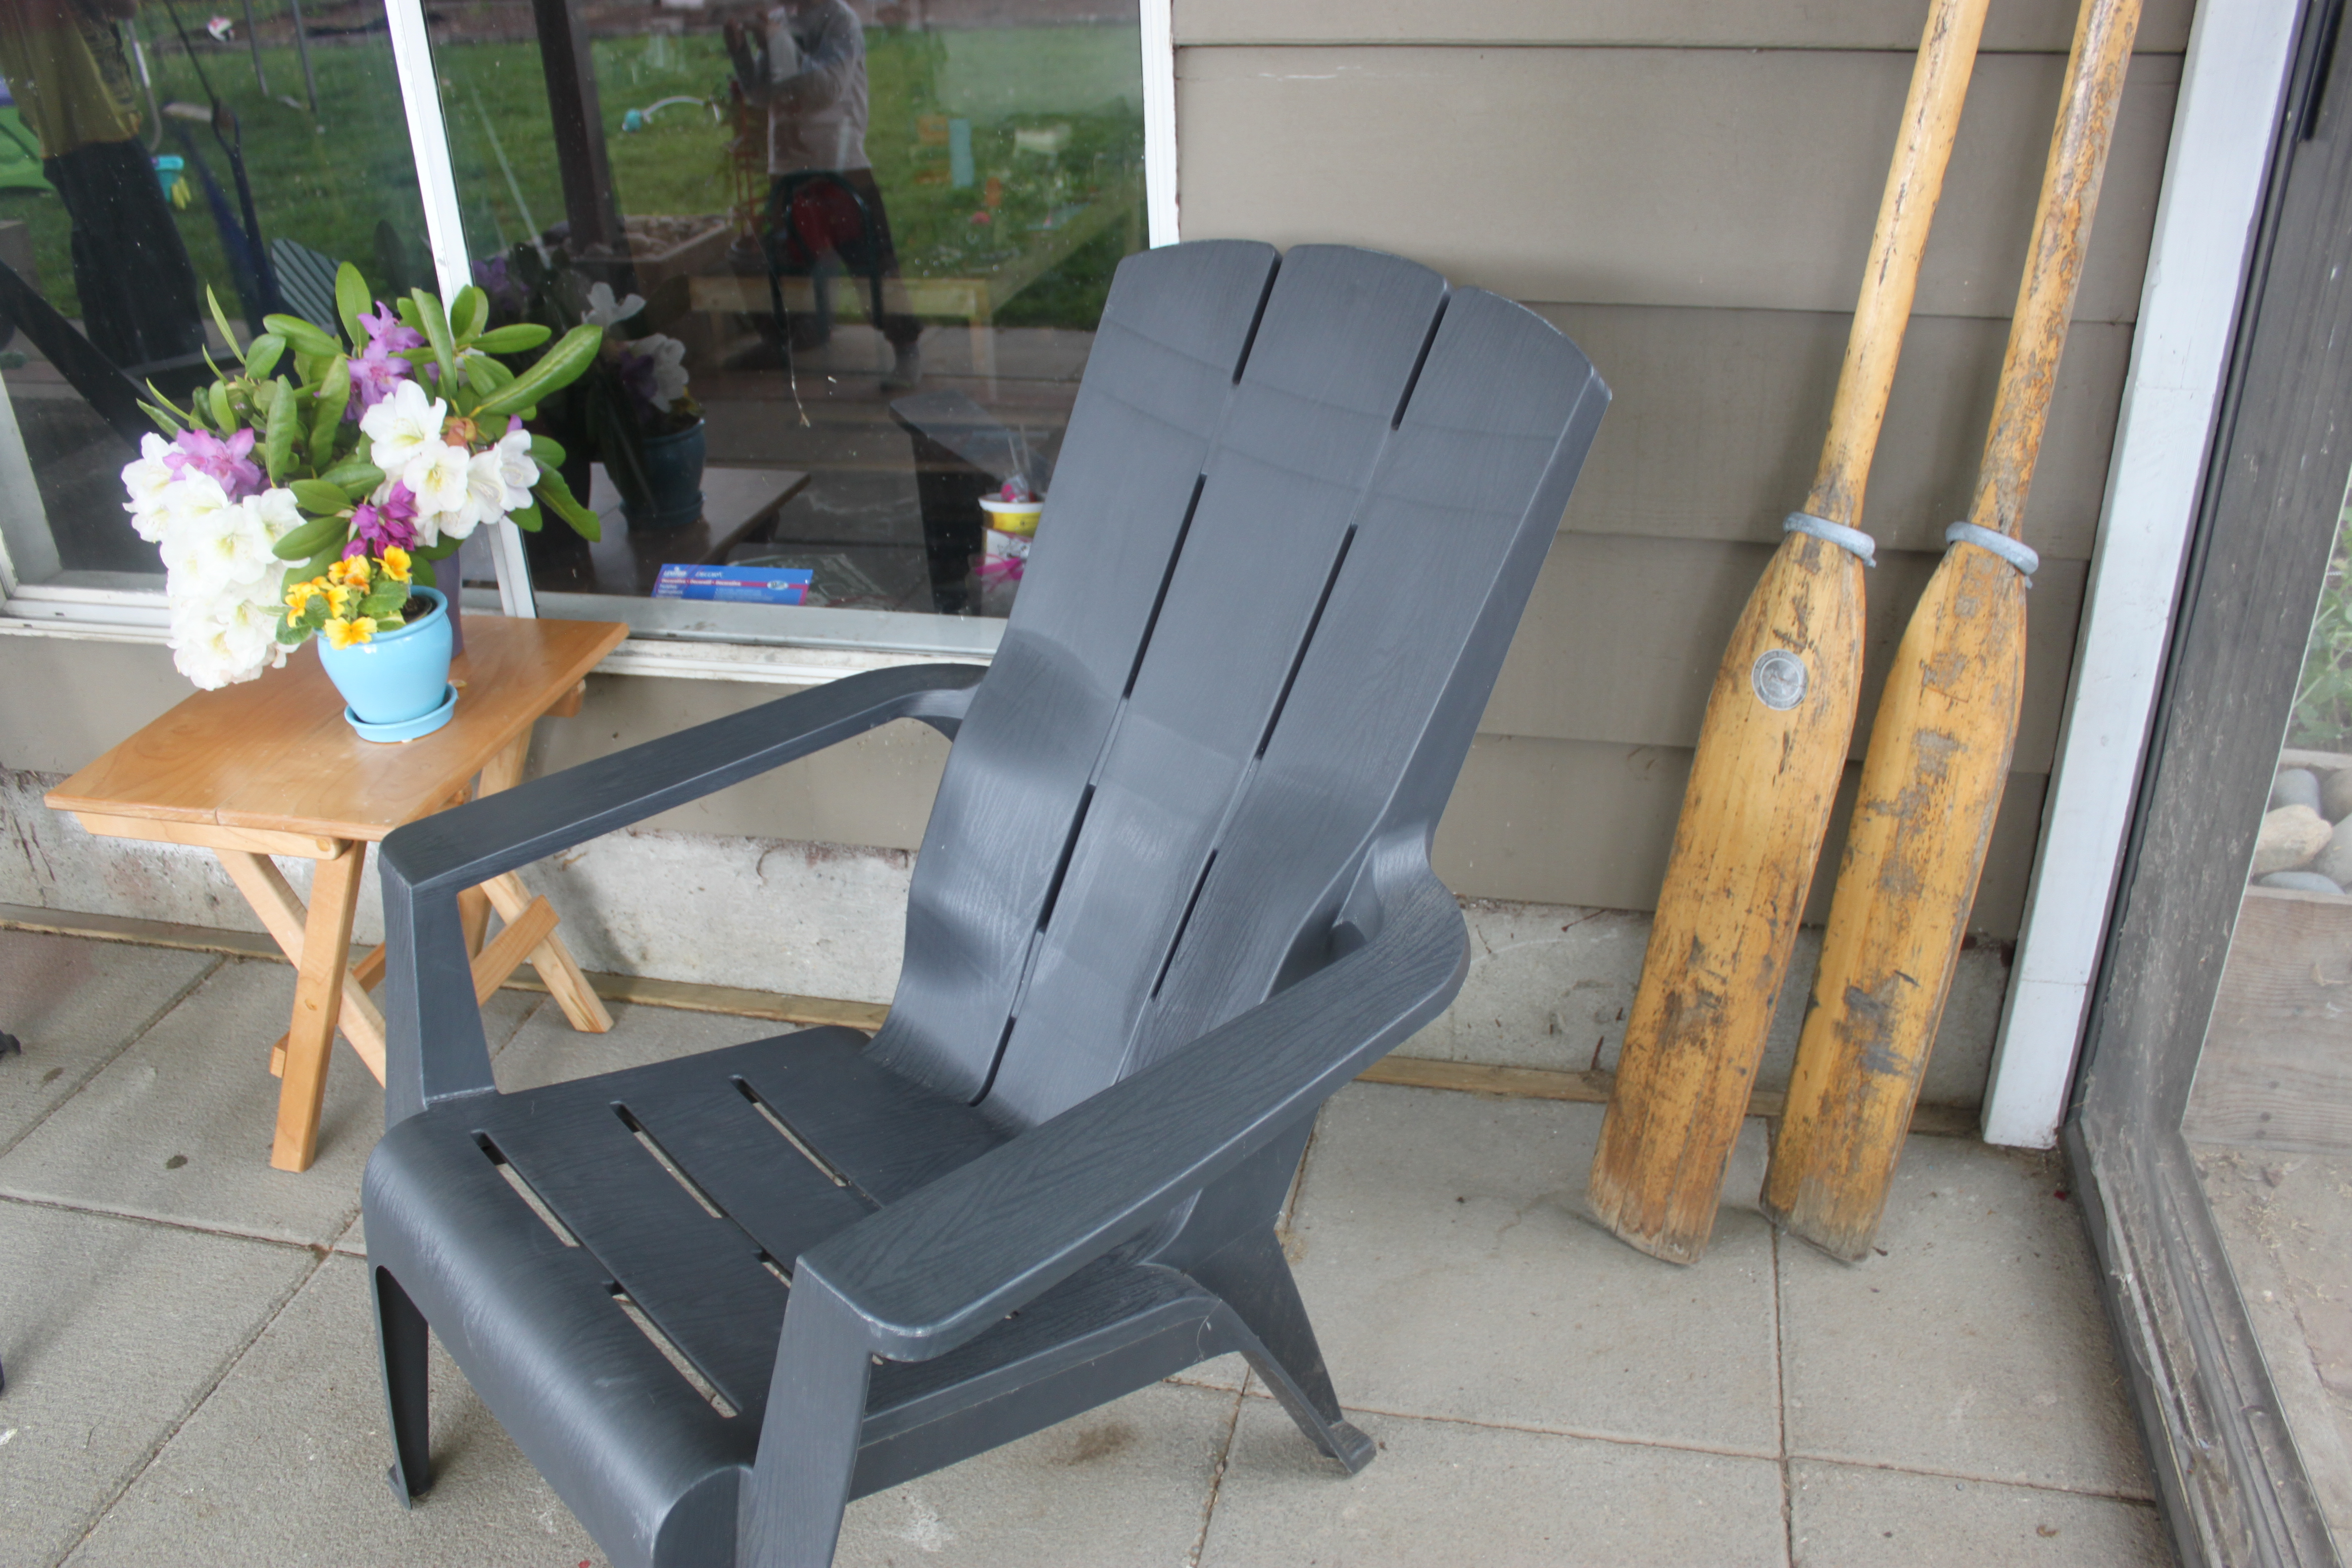
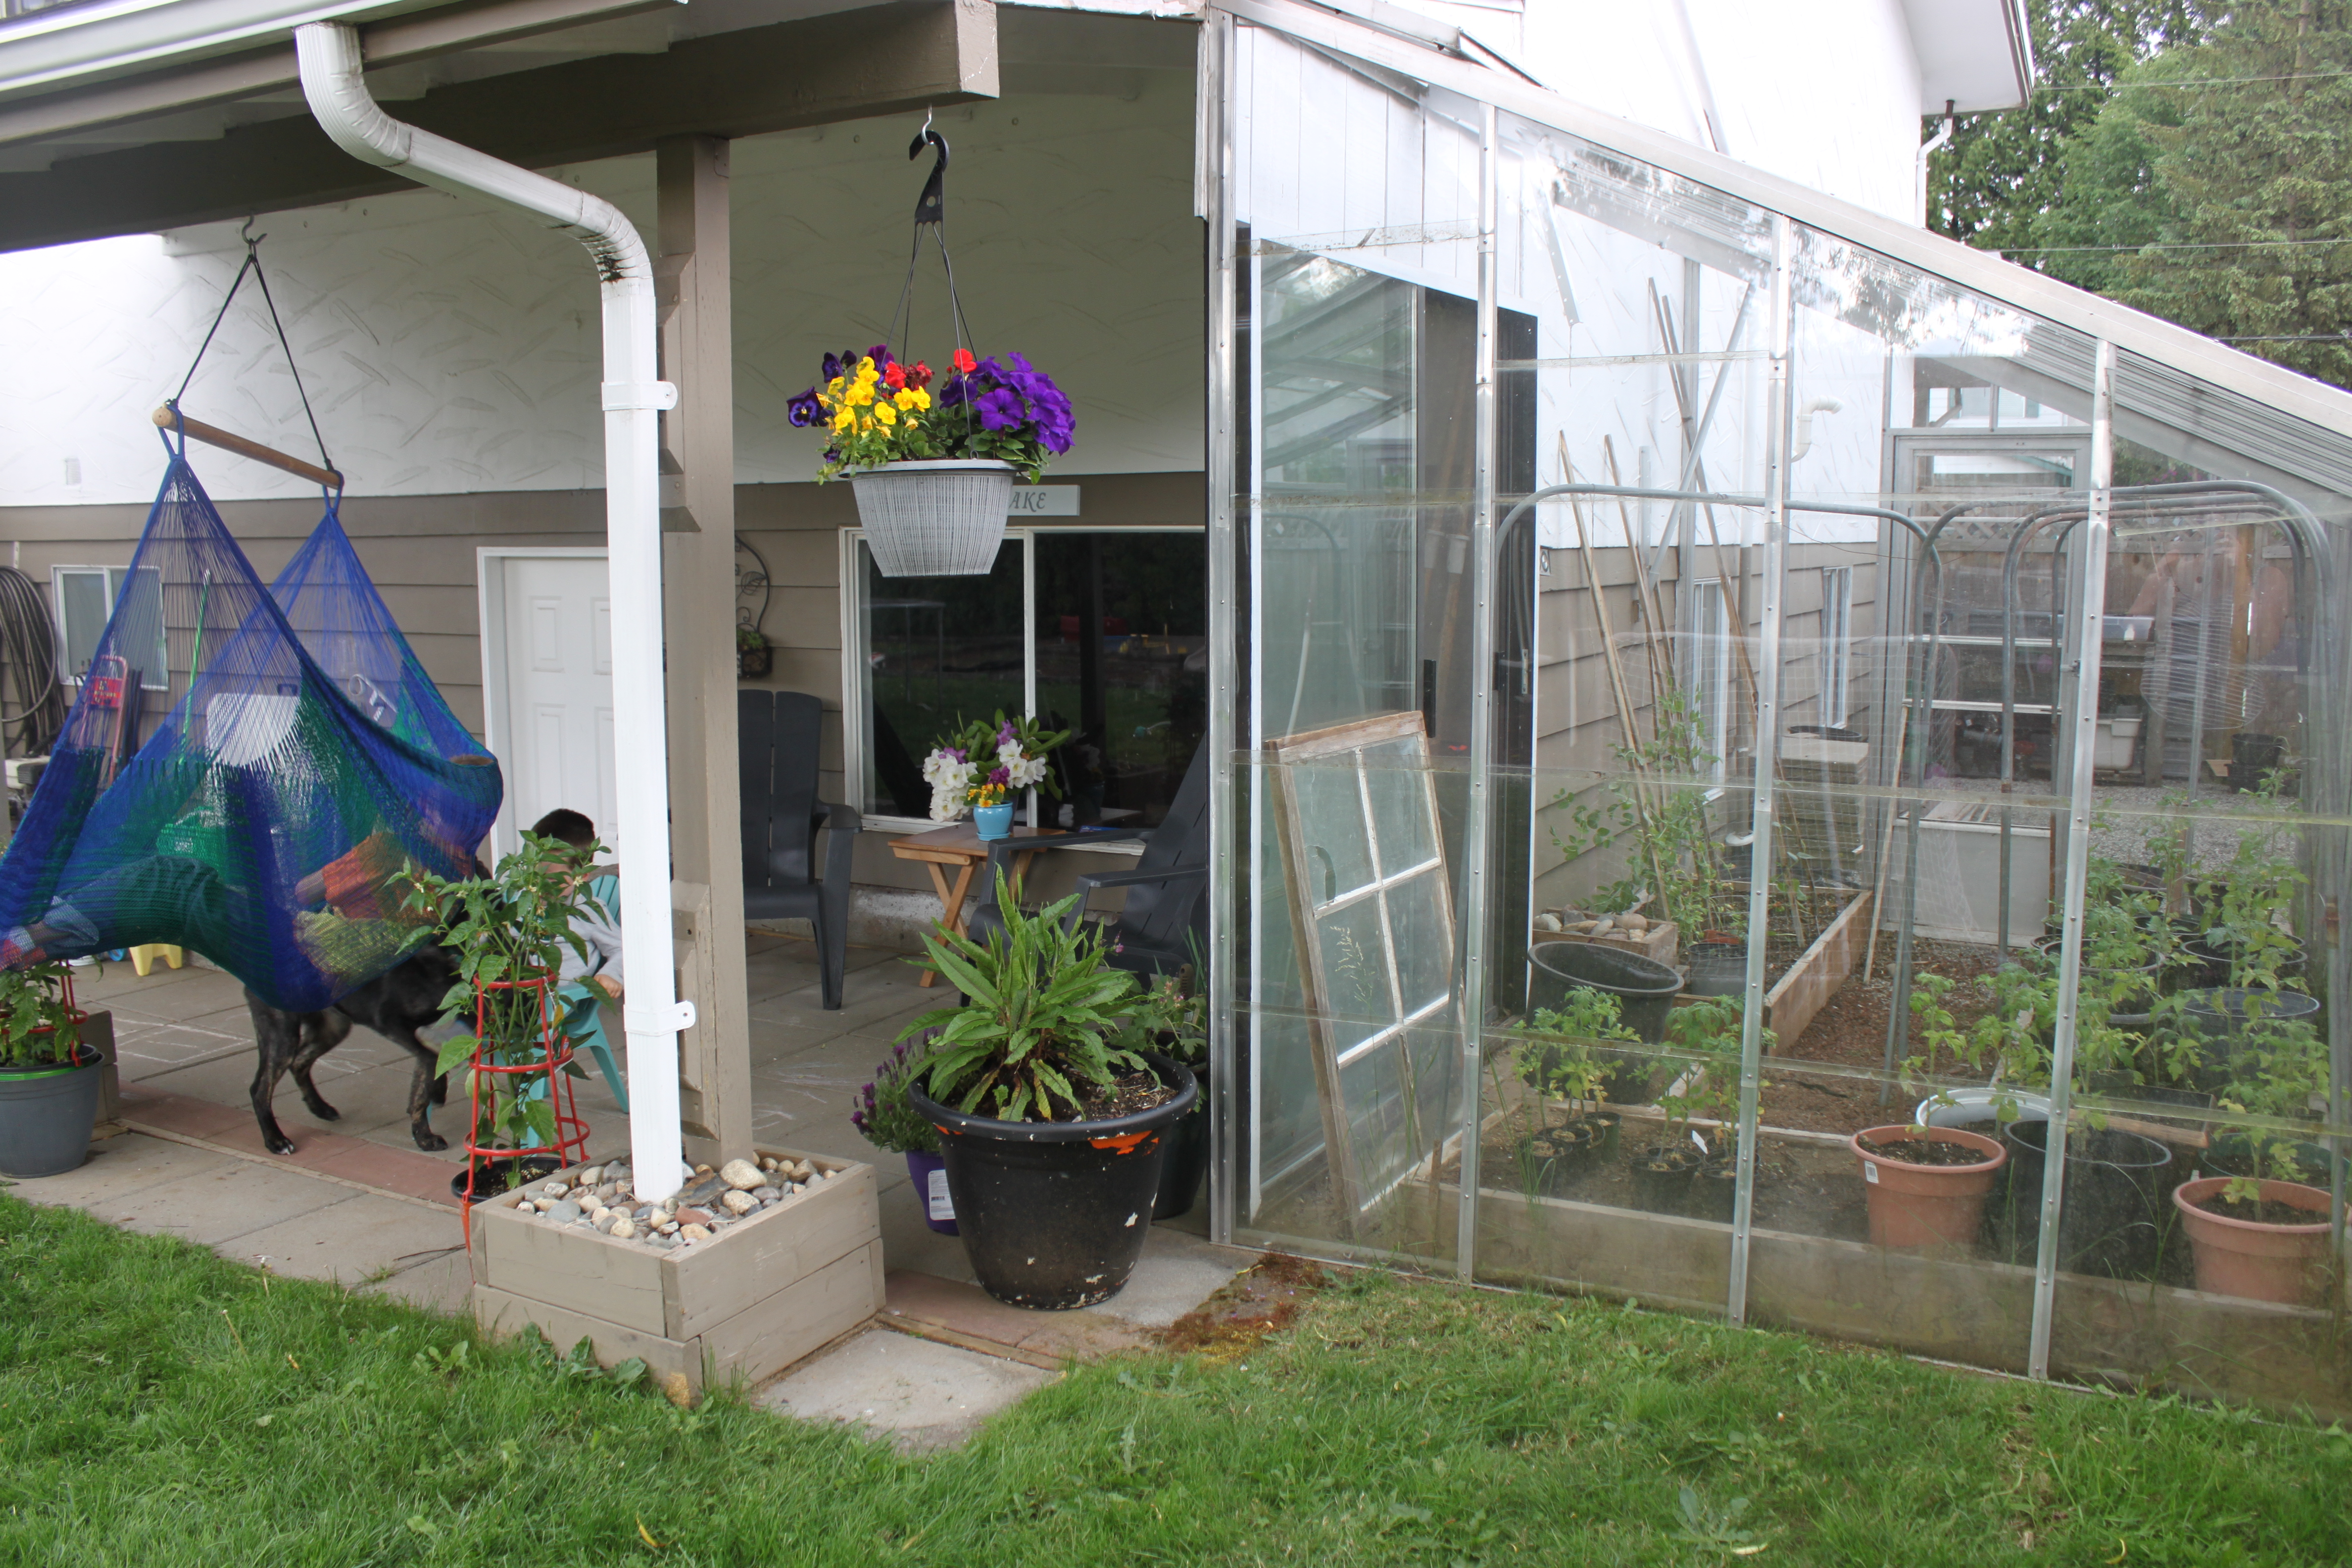
When a moment happens that something you’ve wanted to do or create for a long time comes together.  That’s what happened today for me.  I’ve long since loved reading magazines like Style at Home and just LOVE all the outdoor spaces people make.

Today was the first of many patio set ups for our home!

It’s May Long Weekend and our Trailer is still in the driveway.  Not something we are excited about.  We do plan to sleep in it one of the nights this weekend. Plus we get to install a new awning!

I hustled yesterday to get this space ready. I was inspired by a local lady and her “She Shed”. Here’s my version on my Patio.

Setting up our Patio Space:

IMG_1630

Creating a patio space for me includes things that inspire you for the outdoors.  Here we have Adirondack (plastic, mind you), Rowing paddles tucked in the corner and of course lots of plants.

2 big bonuses on our property is the greenhouse AND a covered patio. It’s a double win in my mind.

IMG_1632

I grabbed out folding side table from the trailer, painted a sign from an old sign we had in the house and put the word “LAKE” on it and hung my succulent planter.

Simple touches that help make the space become a relaxing zone at anytime of the day.

IMG_1633

Lots of personal touches like, decor, fresh cut flowers on the table and lots of different colored and sized pots.

IMG_1635

I think every gardener has a story to tell about their pots.  Beige pot I bought when I was renting. The next 2 come from my husbands family. The water pot his grandparents and parents used for camping.  We used it too for many camping trips to boil water. The big colorful pot is from his grandparents.  The little wine bottle lantern I got for a birthday present from my Sister-in-law. I had to more it for the kids, they might break it.

IMG_1644

I see a future painting project in this picture. I can’t wait to paint this little table. I love running out to cut the rhodo’s that line our property.  I’ll have more fresh flowers this summer going here for sure.

IMG_1636

These Paddles, I saved them.  My hubby was ready to let them go.  I was like, nope, decor, and took them back. I do those kinda things. FYI – Made by the Canadian Paddle Company.

IMG_1641

Here’s a side shot with the greenhouse. We have a swing the kids love to hang out it. I also have my hanging baskets growing.  I would love to extend the patio bricks in front of the greenhouse, but that’s a project for another day.

IMG_1642

Now off to pour some wine and enjoy the propane fire pit we have going in our new patio space to enjoy the long weekend.

Our puppy loves to curl up at our feet and the kids loved the s’mores tonight.

Do you have a patio space?

How are you spending the May Long Weekend?


Raised Garden Beds Mistakes

Rasied Beds Mistakes UPDATED

Hold on, WordPress just let me know it’s been 3 years since I registered this blog.  Wow.

Thanks to everyone who follow along with me on my blogging journey.

Ok – It’s still spring and now that things are growing it’s just maintenance and preparing for the harvest at this point.  Might be my last Gardening post for a bit. Which makes me excited to share about our home coming up.

Raised Garden Beds Mistakes

I follow a local gardening group and seeing lots of people in our area making raised beds.  I see people across Canada that I follow getting into theirs.  So I thought it would be a good time to share my experience.

Spring 2019

We built our raised garden beds in 2019.  I had great success with them the first year and this year I’m taking a different approach.

Gardening is lots of growing and learning your knowledge. Mistakes happen and that’s how we learn.

Mistake 1: Not preparing the ground

Here’s what we started with before we built the Raised Beds. I was fighting so many weeds.  It was exhausting.

IMG_5283

I remember my husband saying our Garden was too big.  It’s half the size of my mom’s garden. I didn’t feel it was big enough.  I should have spent time knowing where the major weed infestation was to deal with the ground before building.

Mistake 2: Not Preparing the BOTTOM of the Raised Garden Beds

IMG_7001

We built these in the end of March in 2019.  We made sure the Lawn Mower could go in between for mowing. We kinda guessed, never researched the size they should be.

Again, we didn’t prepare the base or the bottom of the boxes. I’m fighting WEEDS, and left over invasive plants that aggressively come up. Cardboard or landscape cloth would have been a huge help here.

3: Not RESEARCHING the basics of Raised Garden Beds

IMG_7033

We got a great garden mix from a local garden center and filled the boxes.  They look so clean in this picture. However, looking back on it, I wish I did what we learned the hard way with other projects and did our research.

Spring 2020

We had a decent Harvest last year.  I shared about that in this blog post.

Mistake 4: Planning ahead for planting seeds and plants

IMG_1590

I forget to split my Rhubarb this year.  It’s overtaking this first raised garden bed, even since I shot these pictures.  Plus I realized last year that it was TOO BIG for the boxes.

There’s a gardening thing to do with companion gardening. Umm, yah, didn’t take that into consideration. My second box I’m trying to stagger plant.  My attempt to start seeds early this year went sideways.

Mistake 5: Labeling your plants

Carrie, really?  This is like Gardening 101 here.  I planted 3 Varieties of garlic…and didn’t label them. Oops. I kept the packages and at least still know the names.

I told myself I would remember….yah no.  I was in a rush and thought I was late getting the bulbs in the ground in the fall. Turns out I was just fine and should have taken the extra few minutes to make labels.

IMG_1595

Mistake 6: Critter protection

Critters as in Animals.

IMG_1600

I woke up one morning, walked out on the deck to see a perfect, cat poop mound in this raised garden bed. I took care of the mess and pealed some oranges and put them in the box.

THEN, our puppy thought it was fun to dig in this box, hence the make shift roll of fencing.  I need to think about a plan to deal with this box here soon. Any ideas would be appreciated?

Harvest 2020

I’m already loving running to the Raised Garden beds and getting fresh chives, parsley and rhubarb.  Already made Rhubarb Compote, it was amazing with mothers day breakfast on waffles and homemade bread the other day.

IMG_1599

Just a note to add – I’m out here daily dealing with weeds.  It’s a gardeners job to keep on top of it.  I get that.  However bindweed from the hedge and the corner of the yard is INTENSE. Including the buttercups that cover between the beds and the fence line.

I took these photos a few weeks back.  Now…it’s everywhere.  I’m glad I took pictures before the weeds took over.

IMG_1597

Happy Planting!

Don’t make these mistakes like we did. I hope this post is helpful to know what can happen.

I LOVE the Raised Garden beds, the difference in my gardening has been amazing.

If we built more to add to this side of the yard we will not make the same mistakes again.


Raised Cedar Planter Box

how to DIY
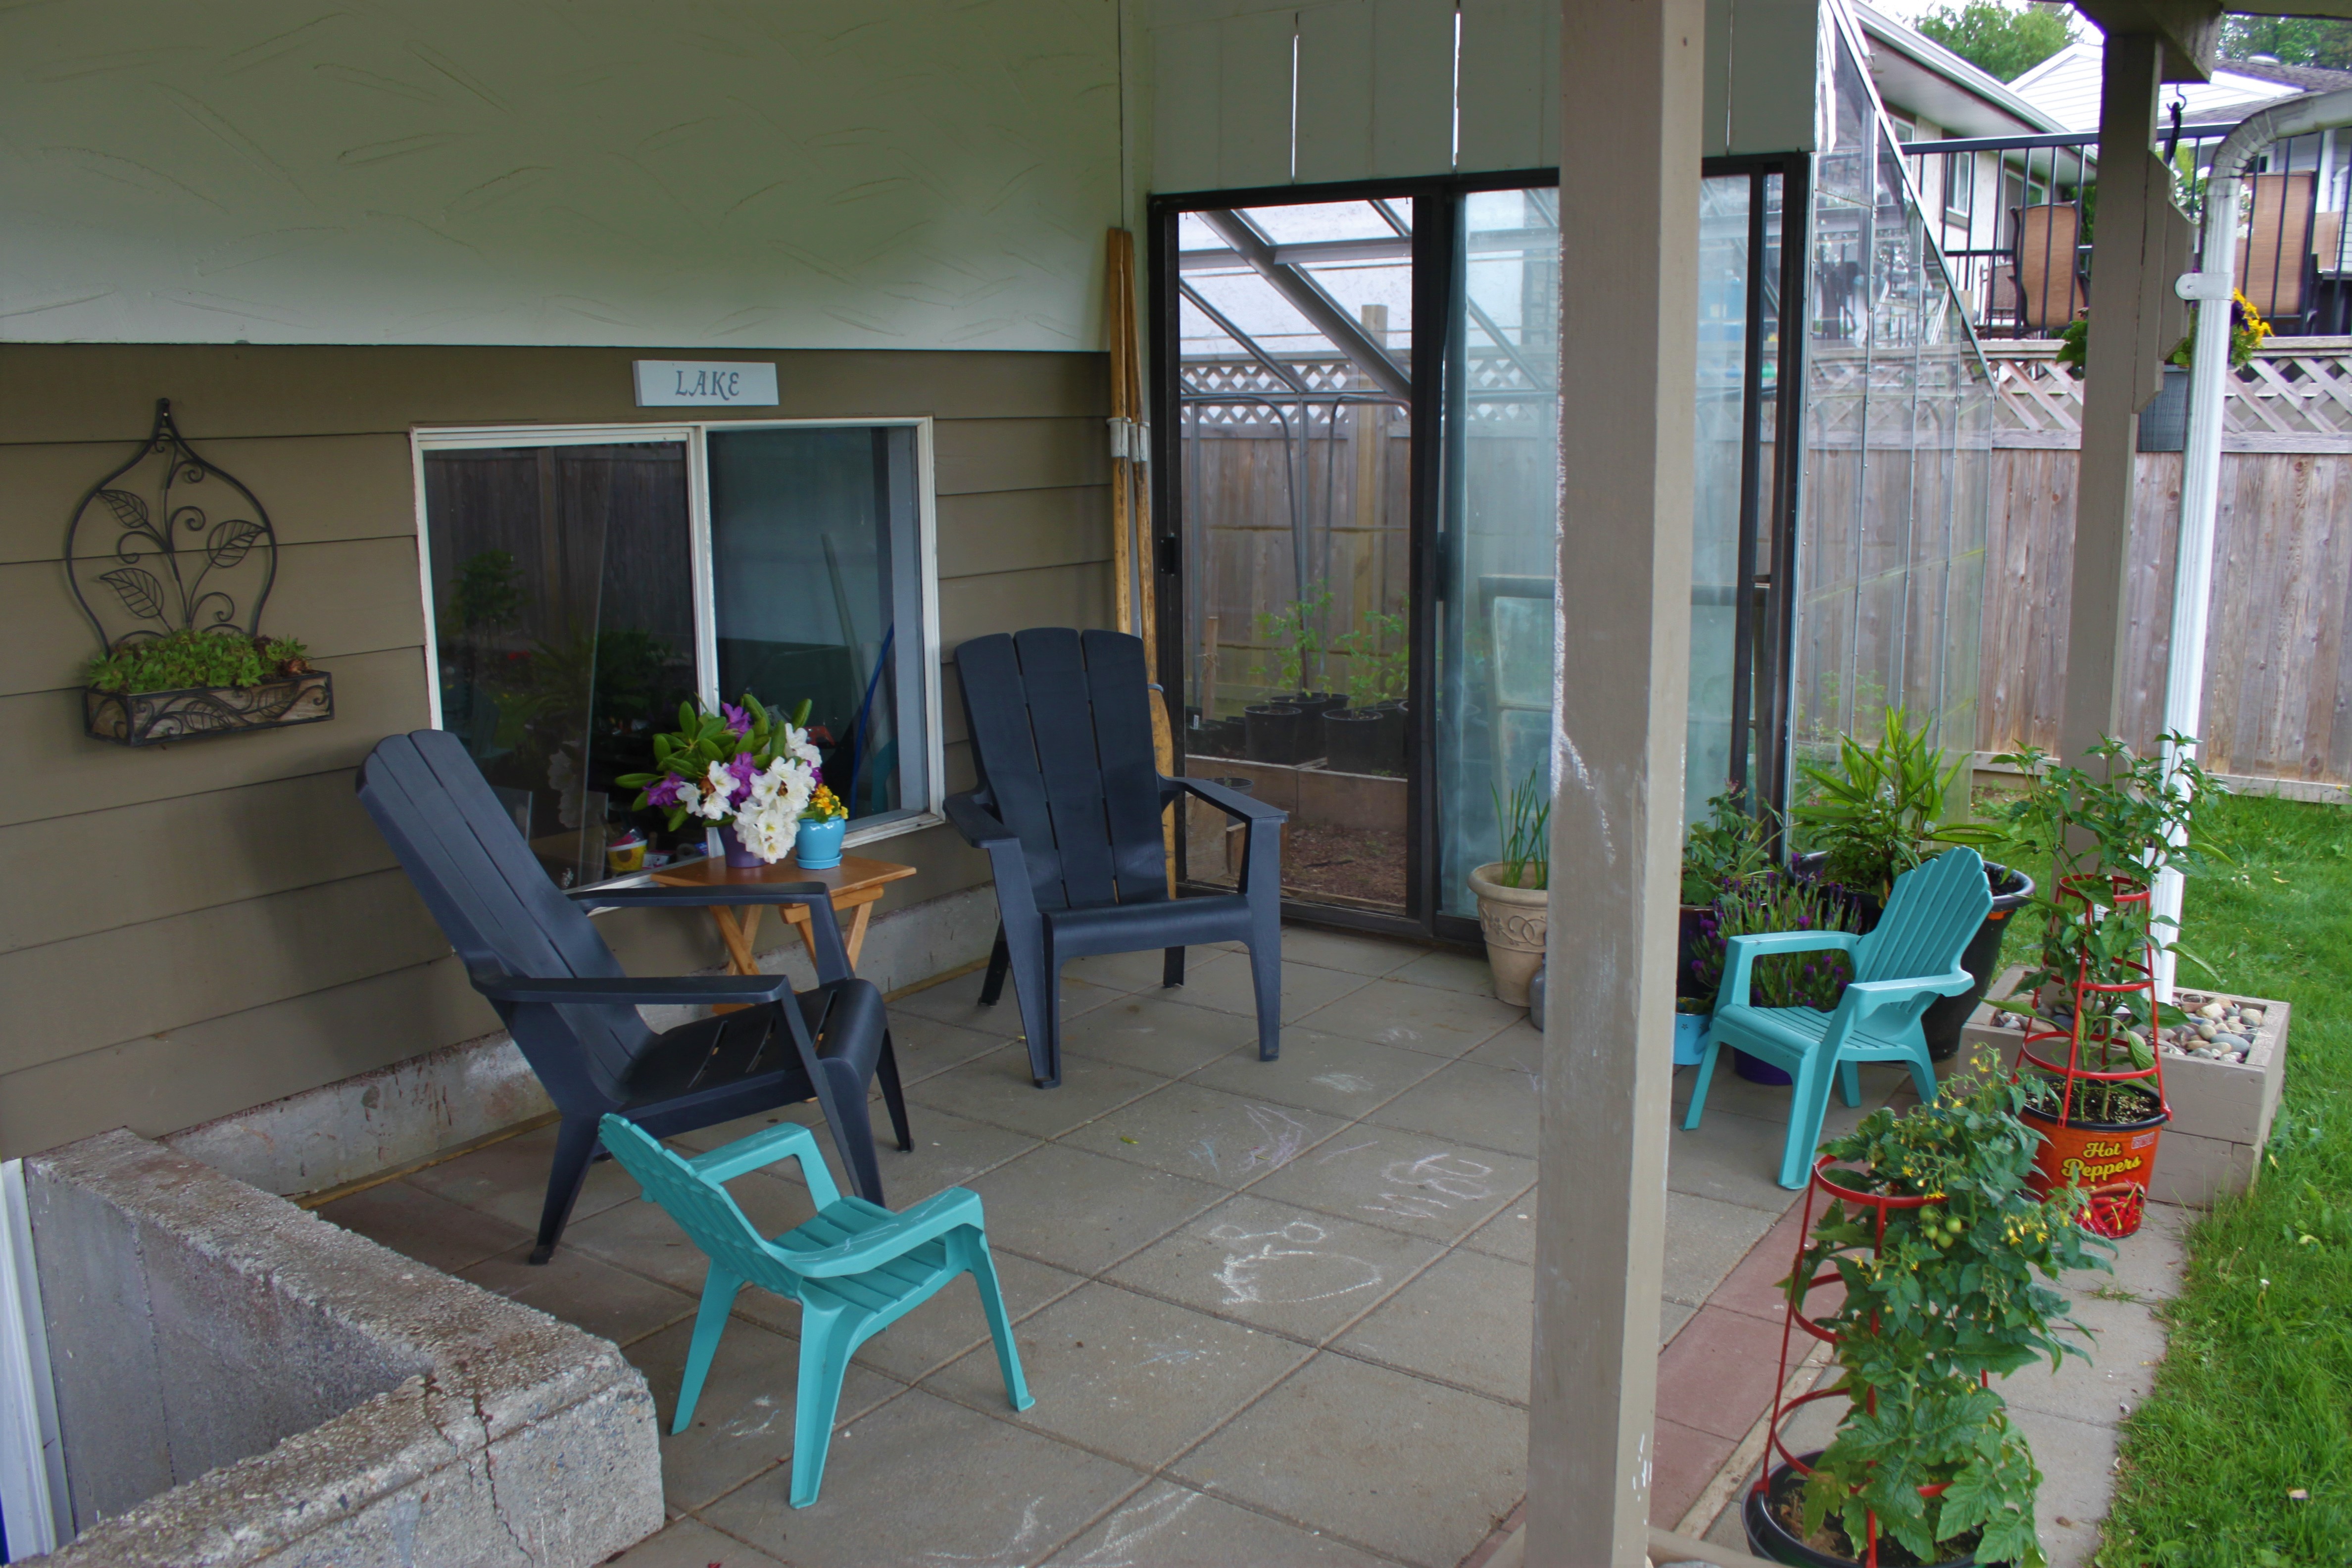
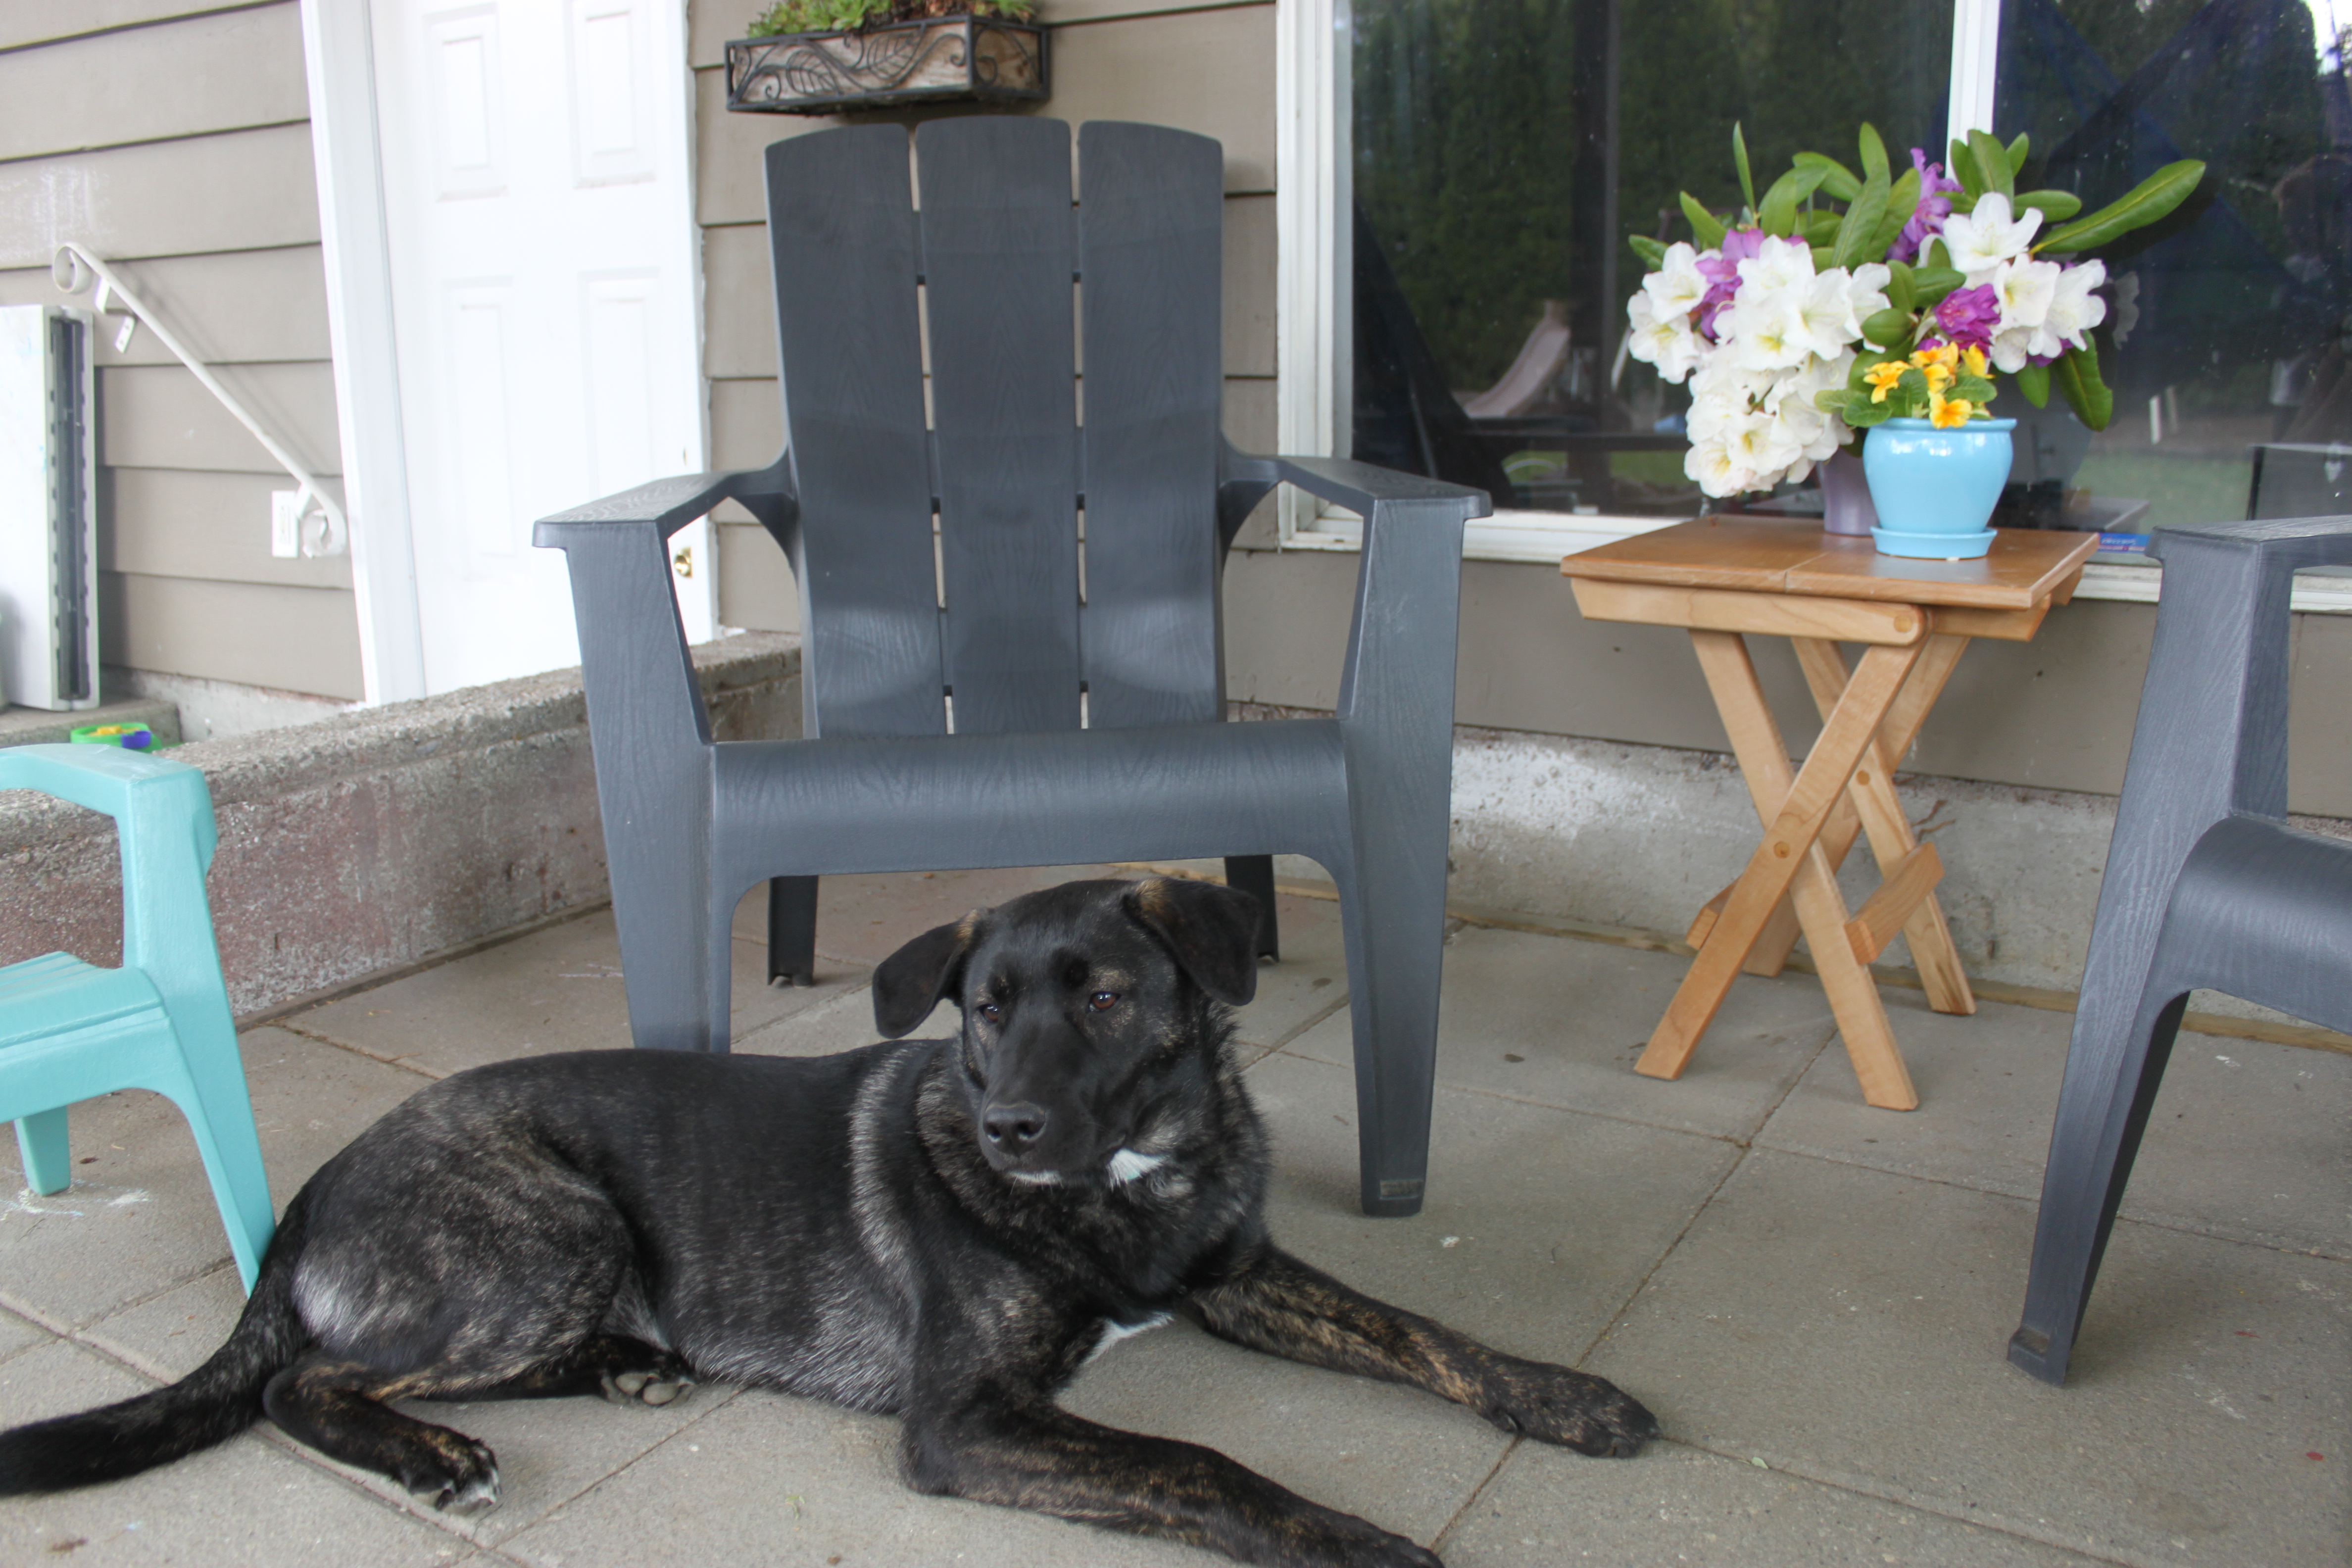
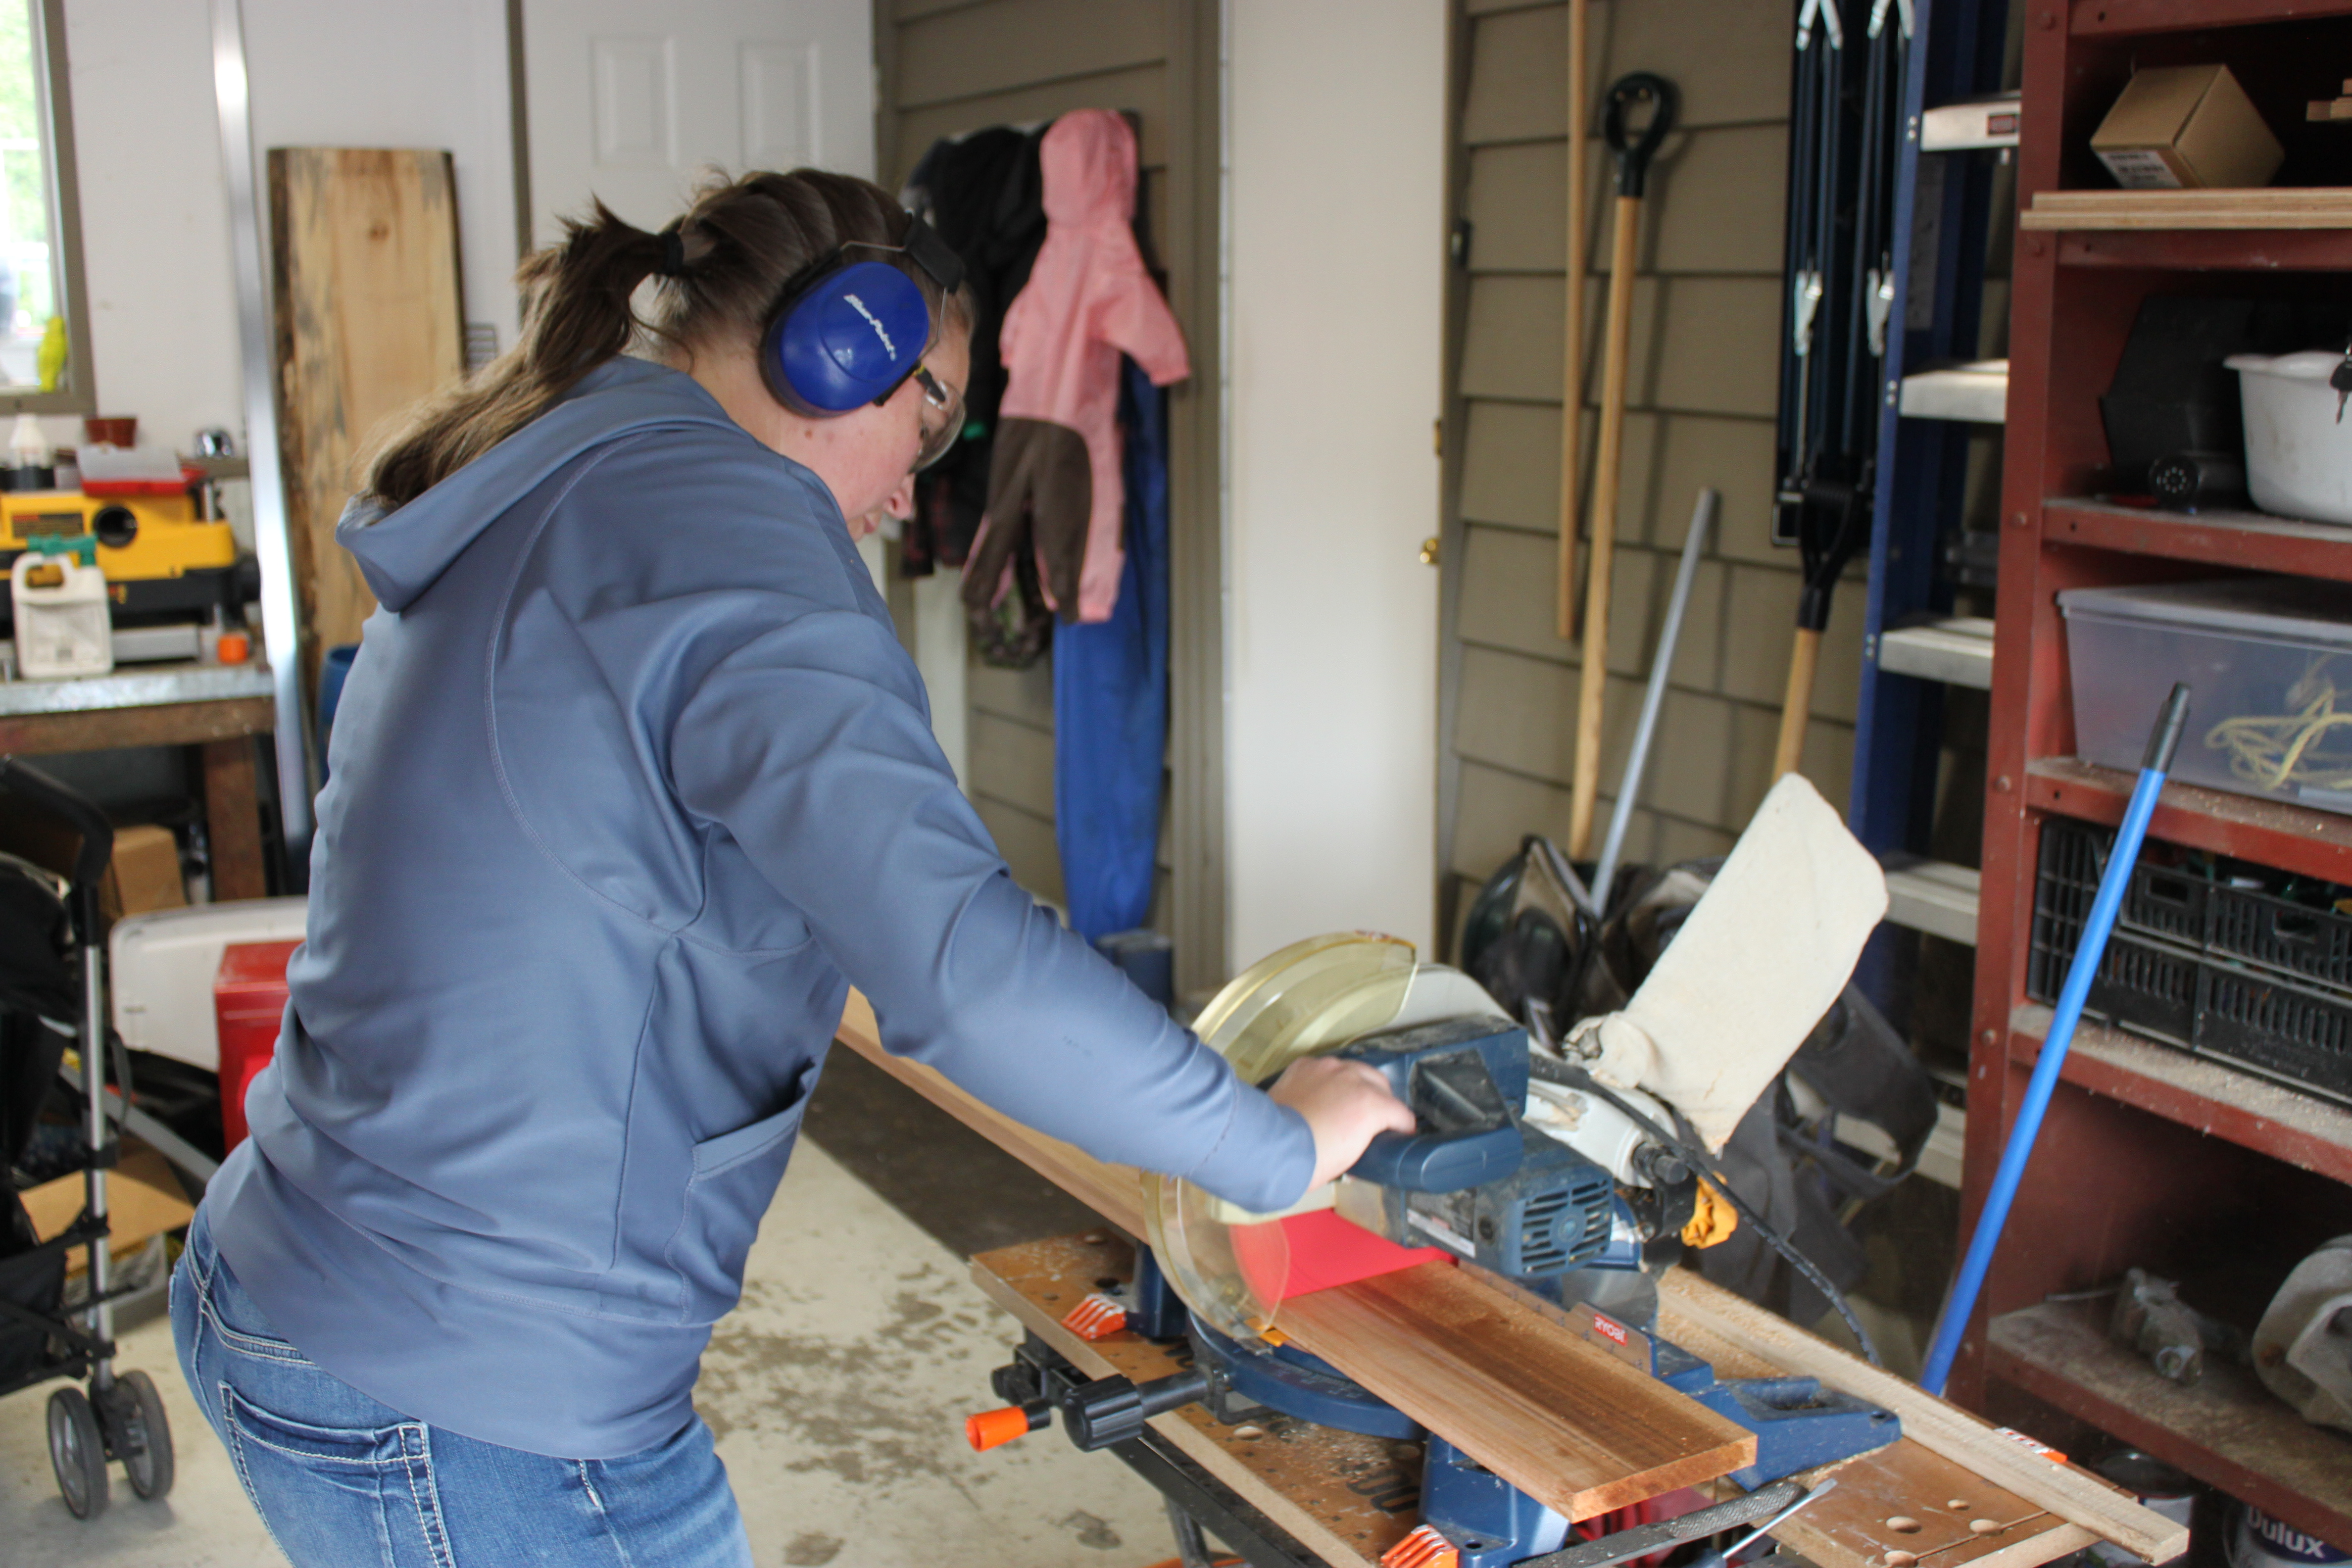
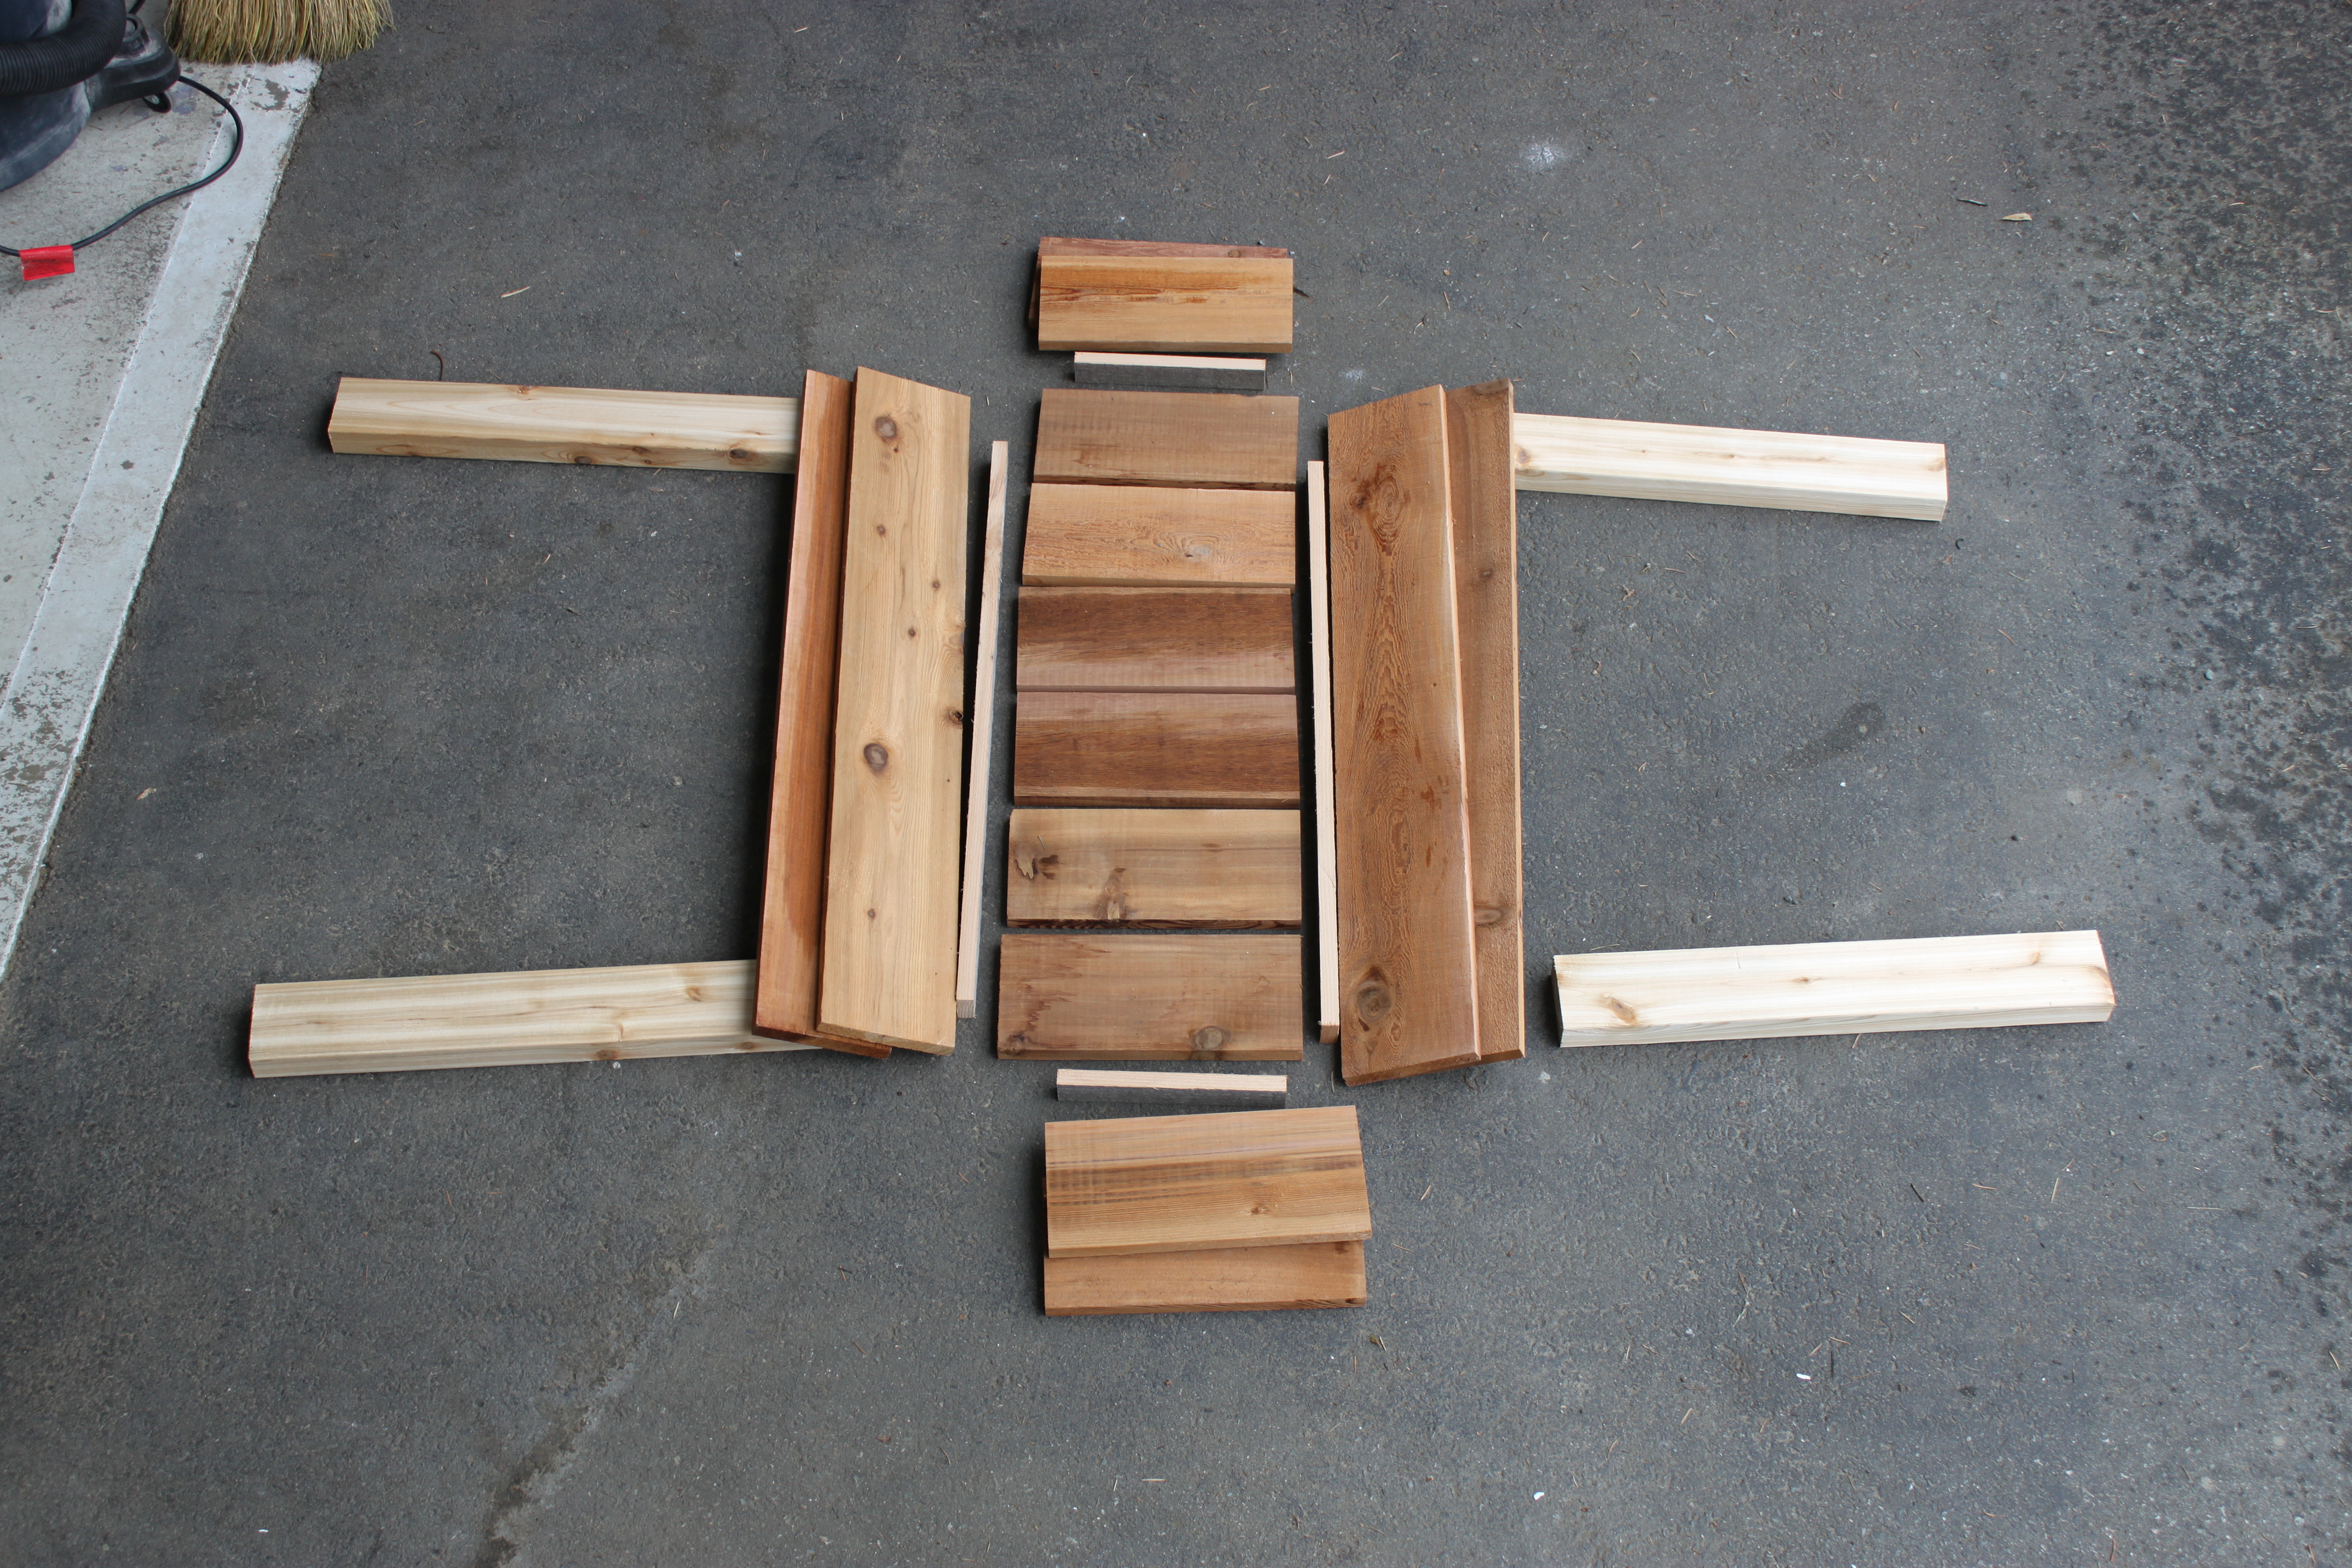
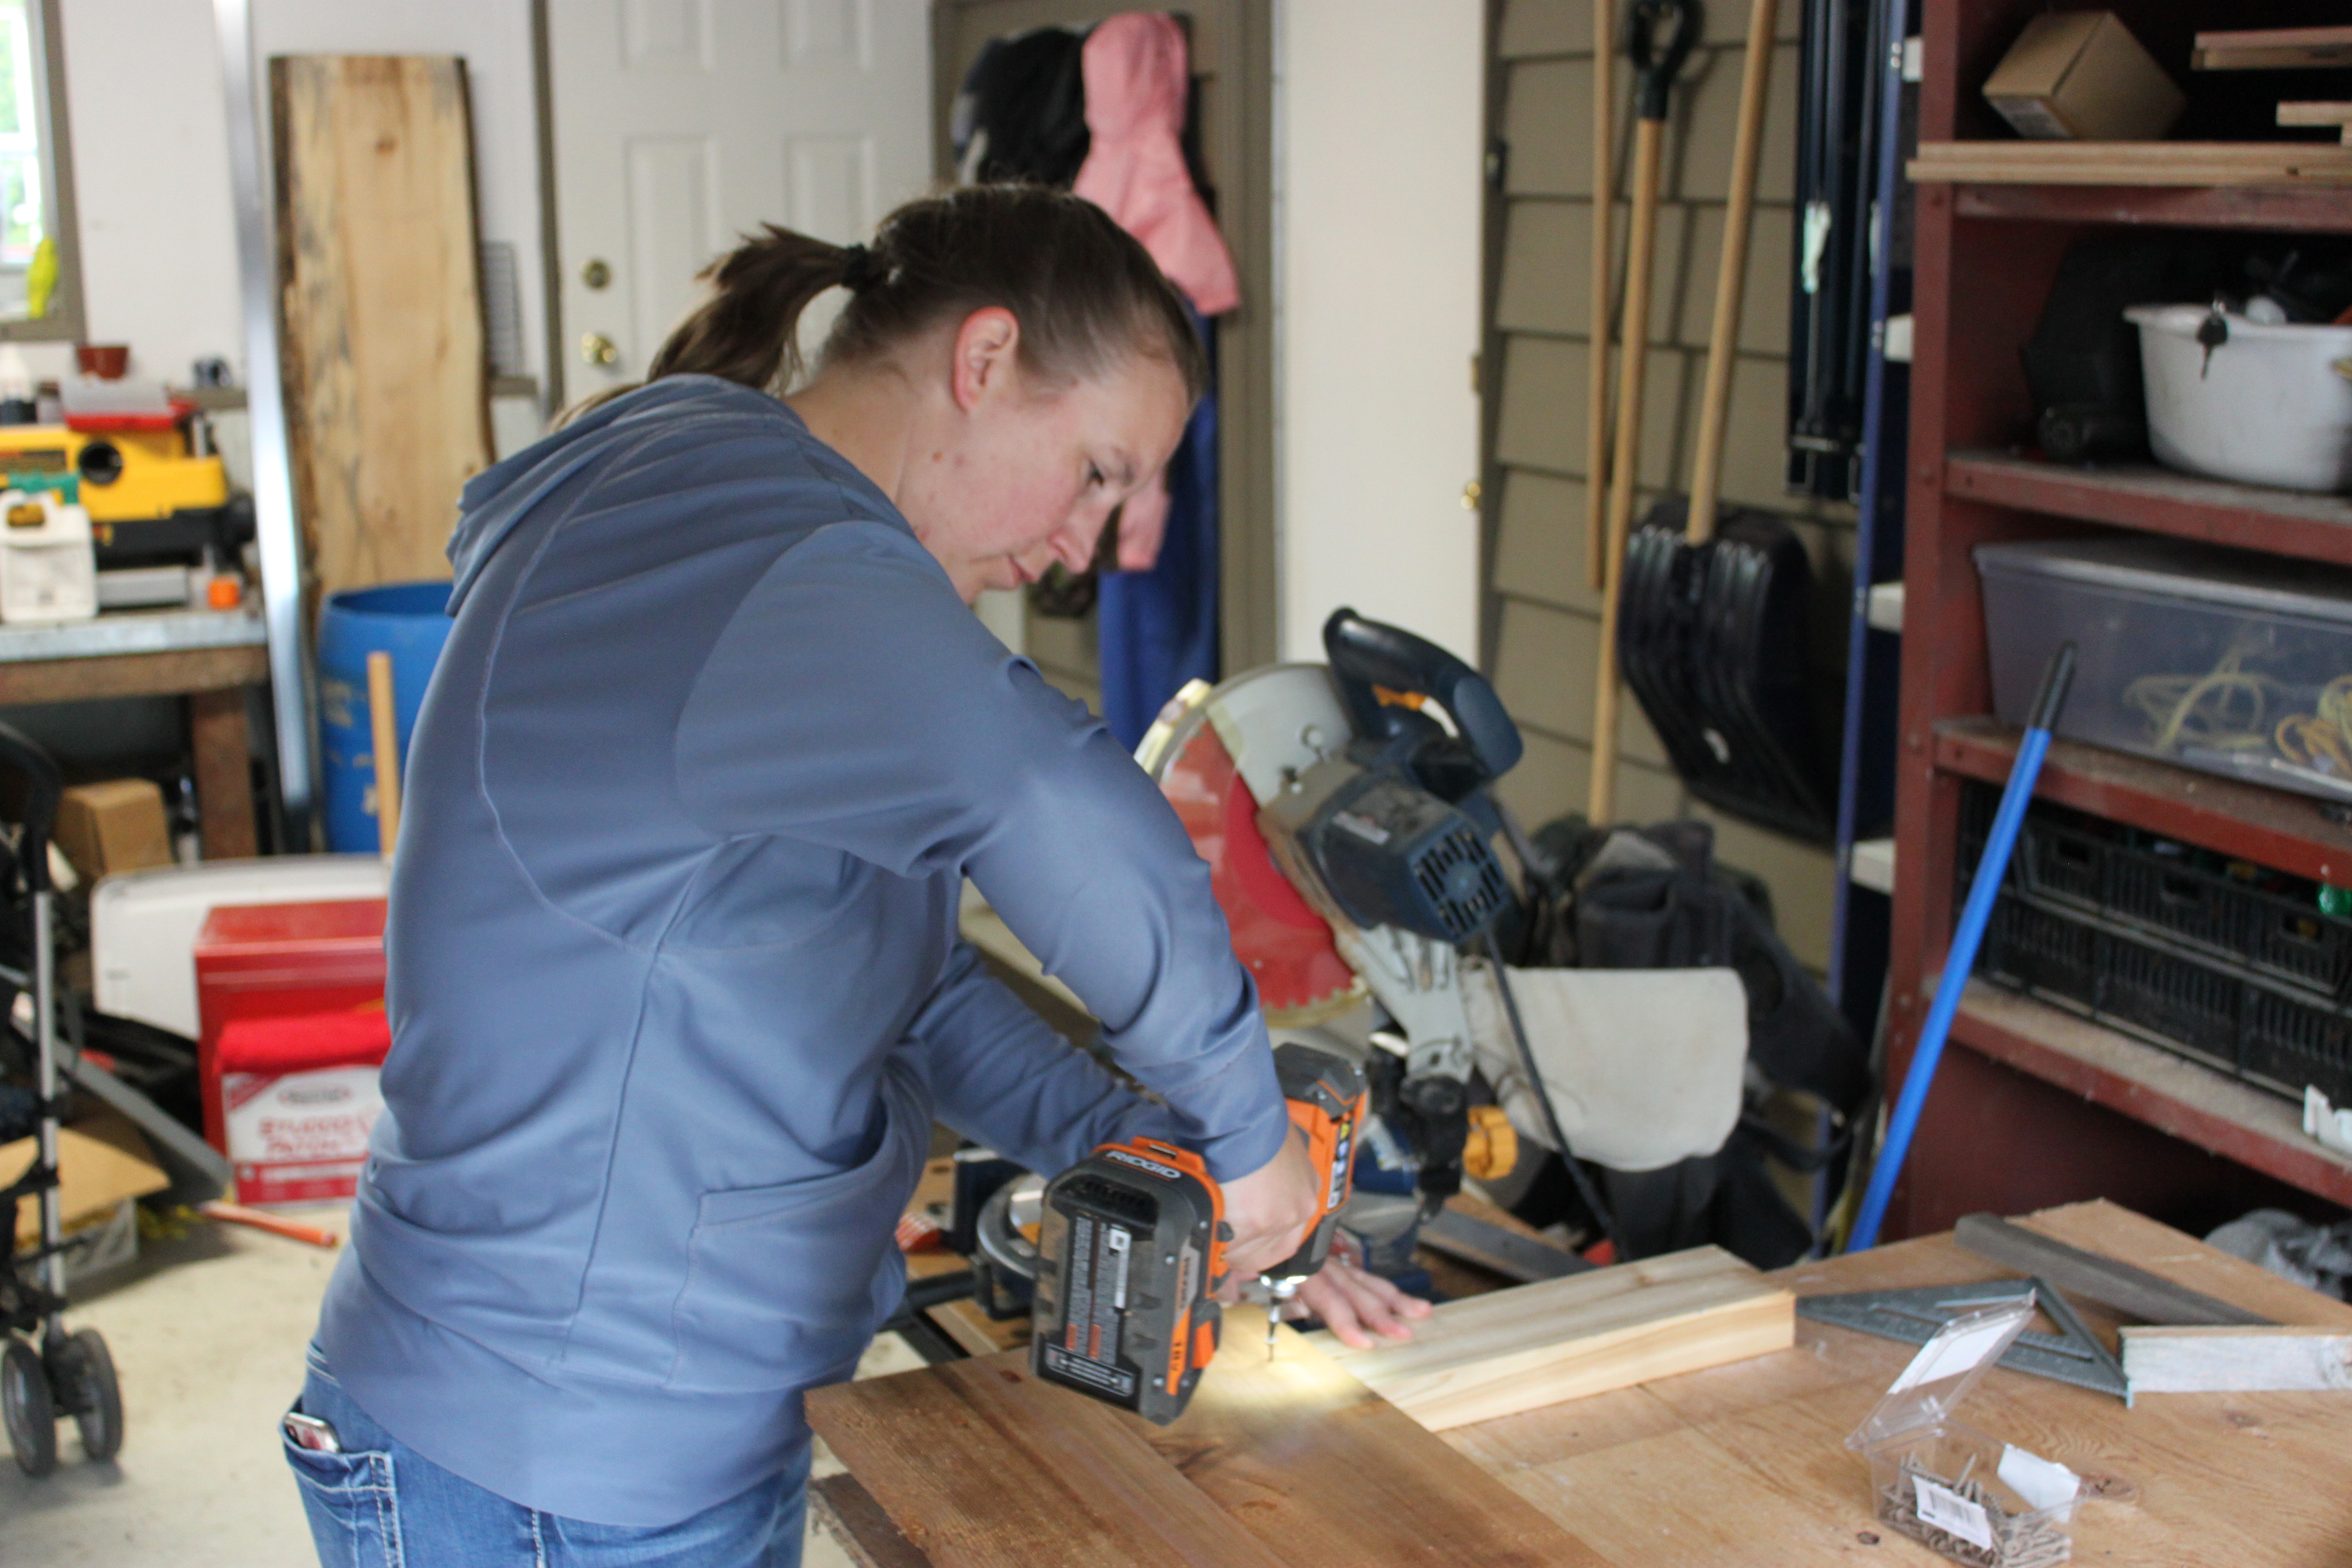
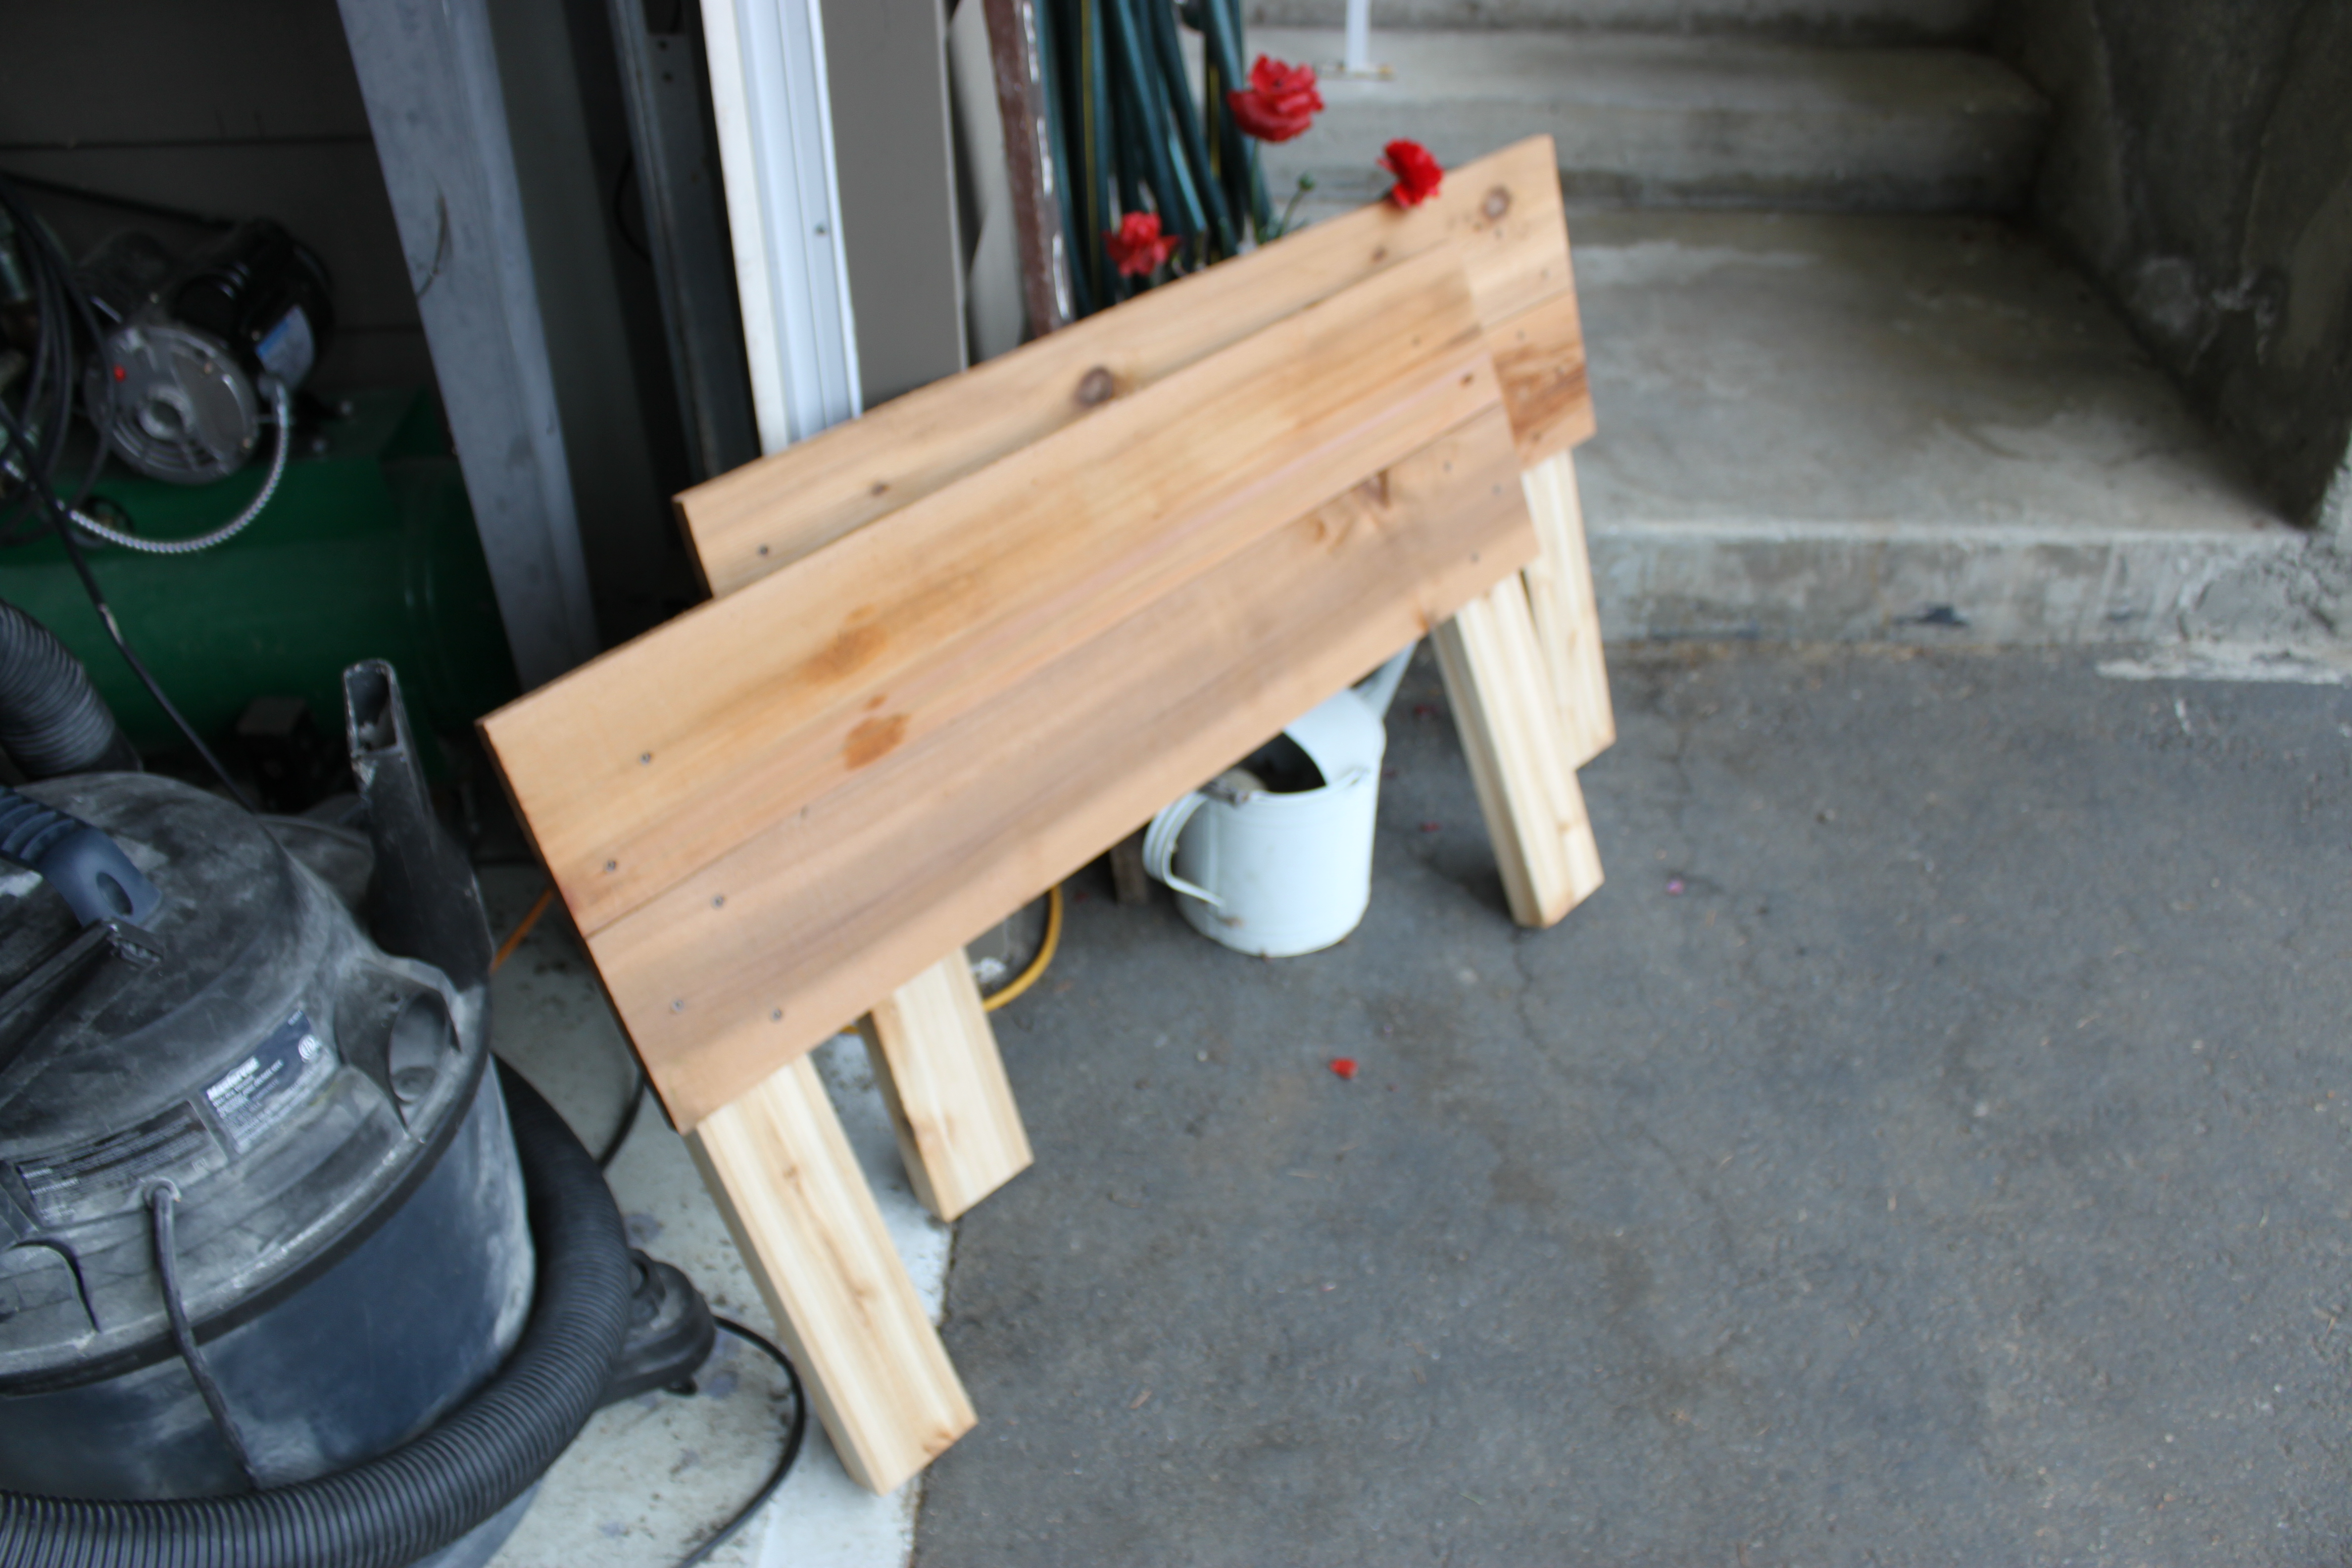
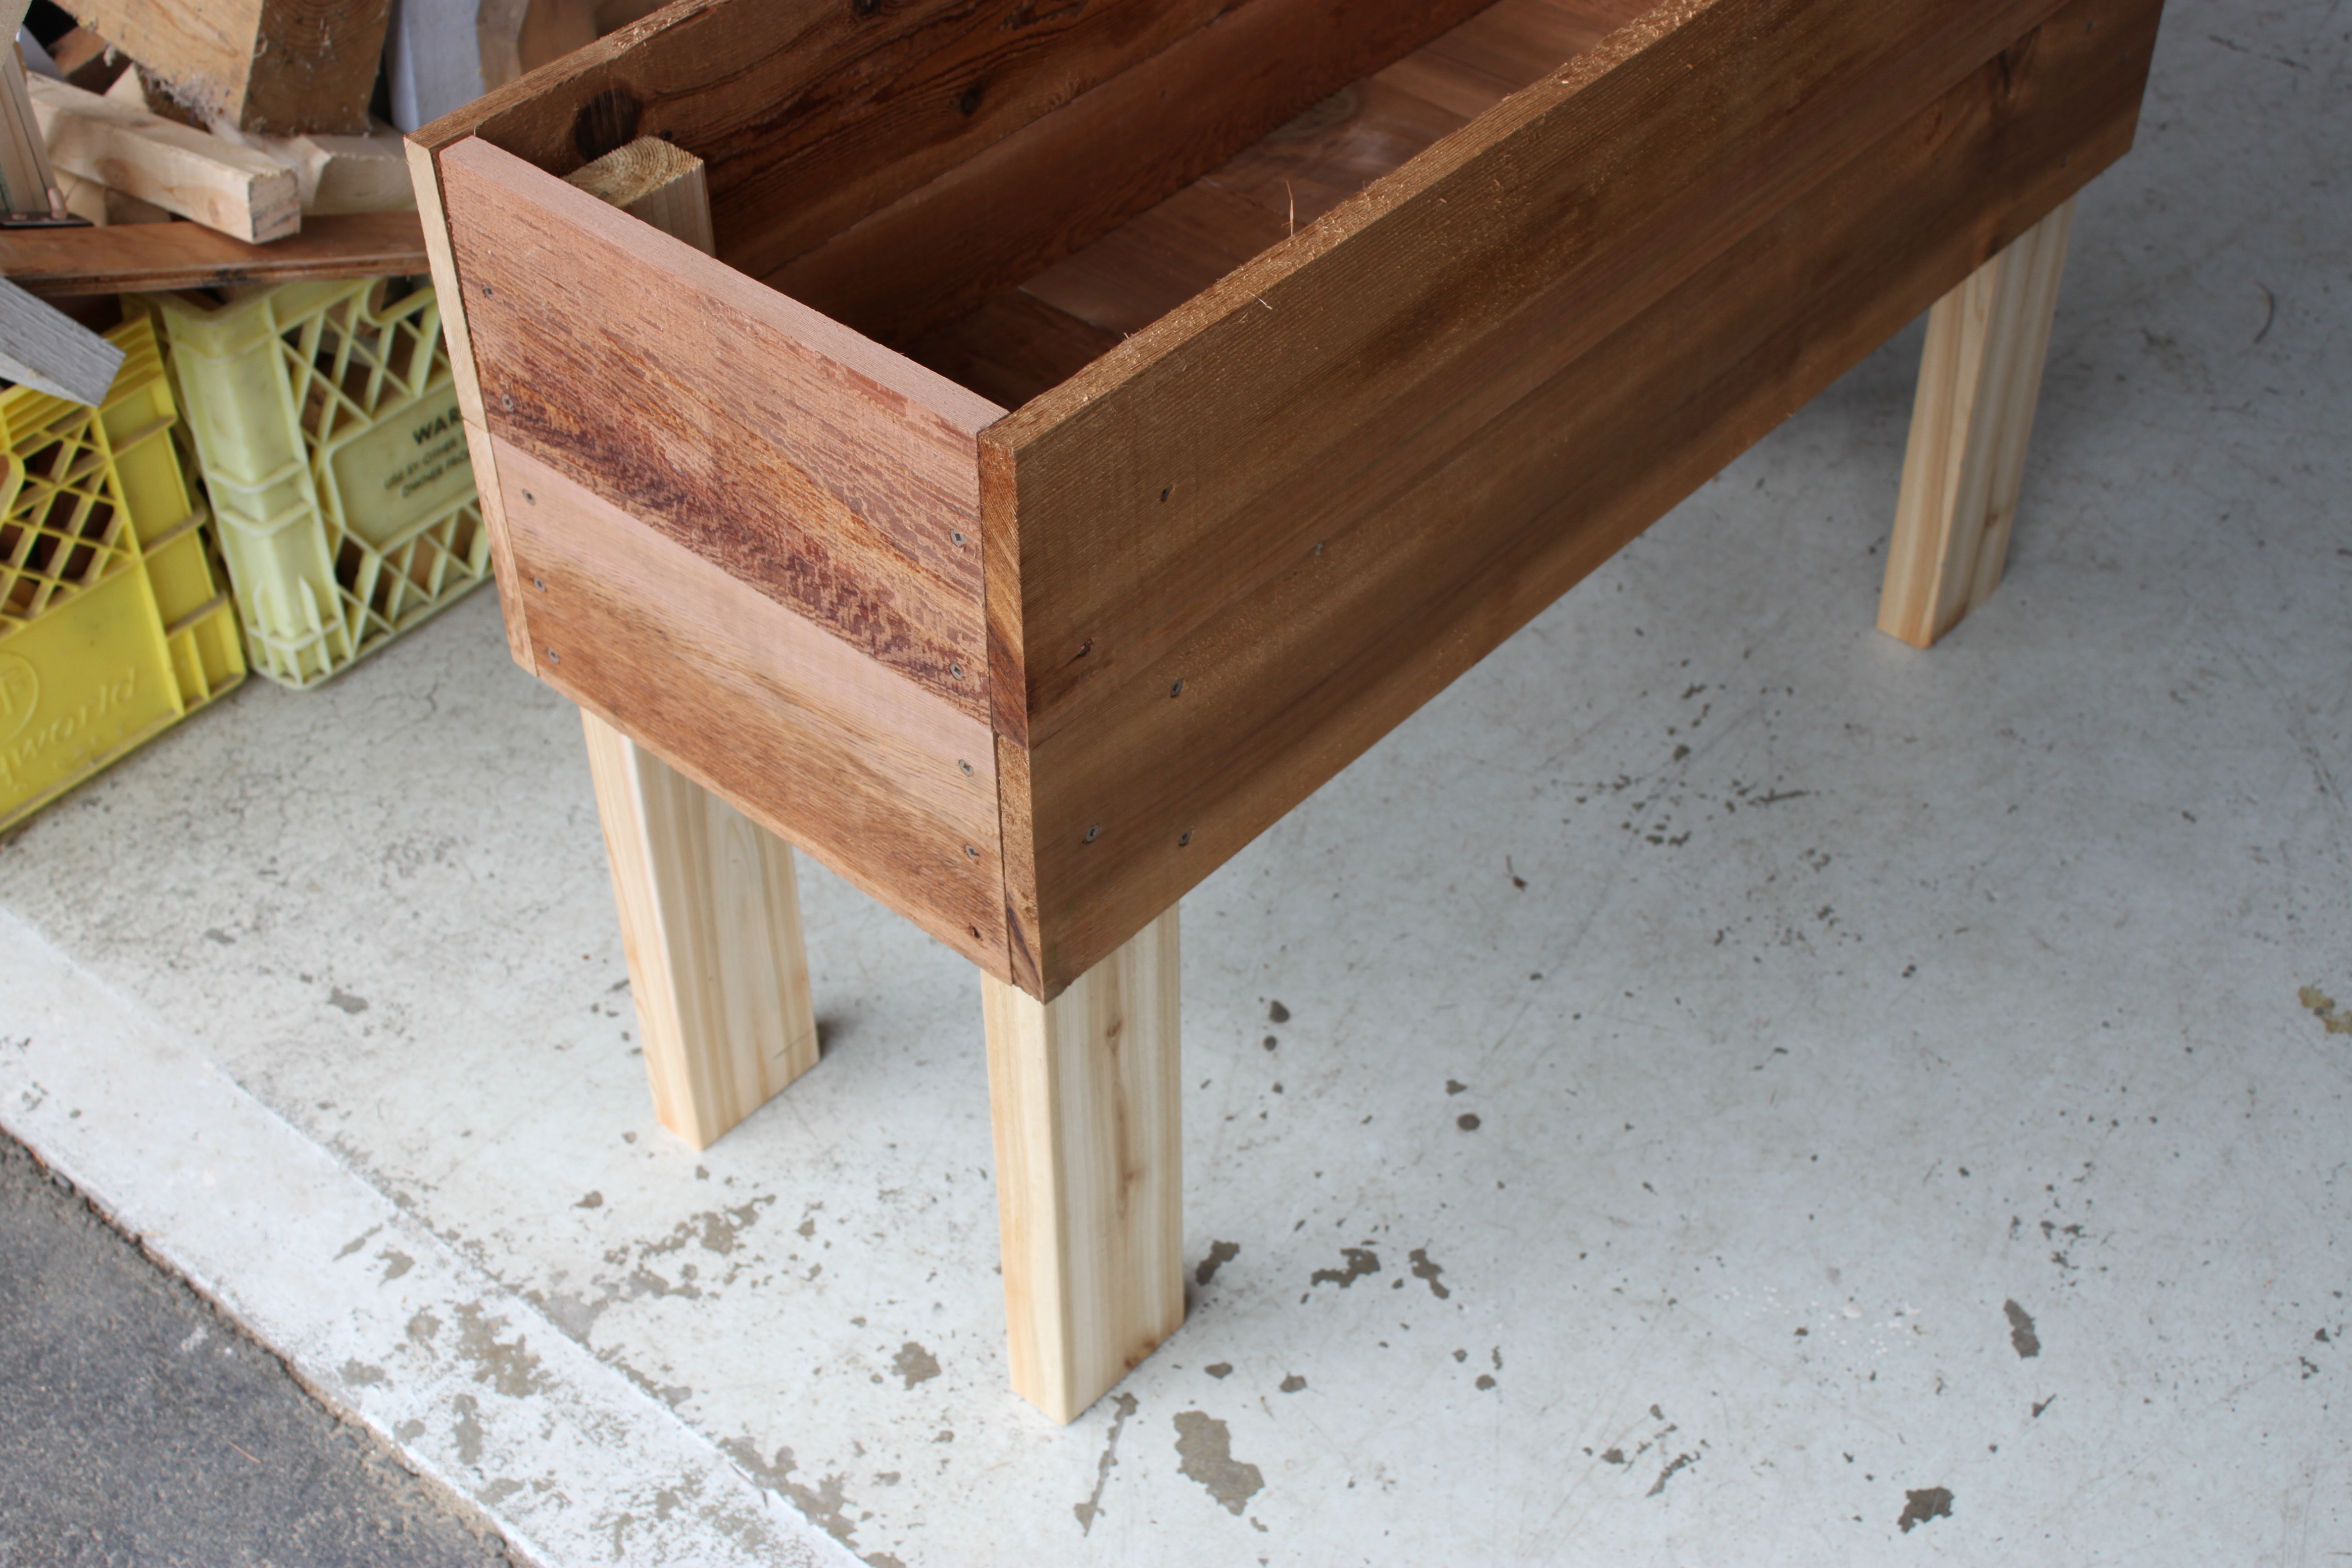
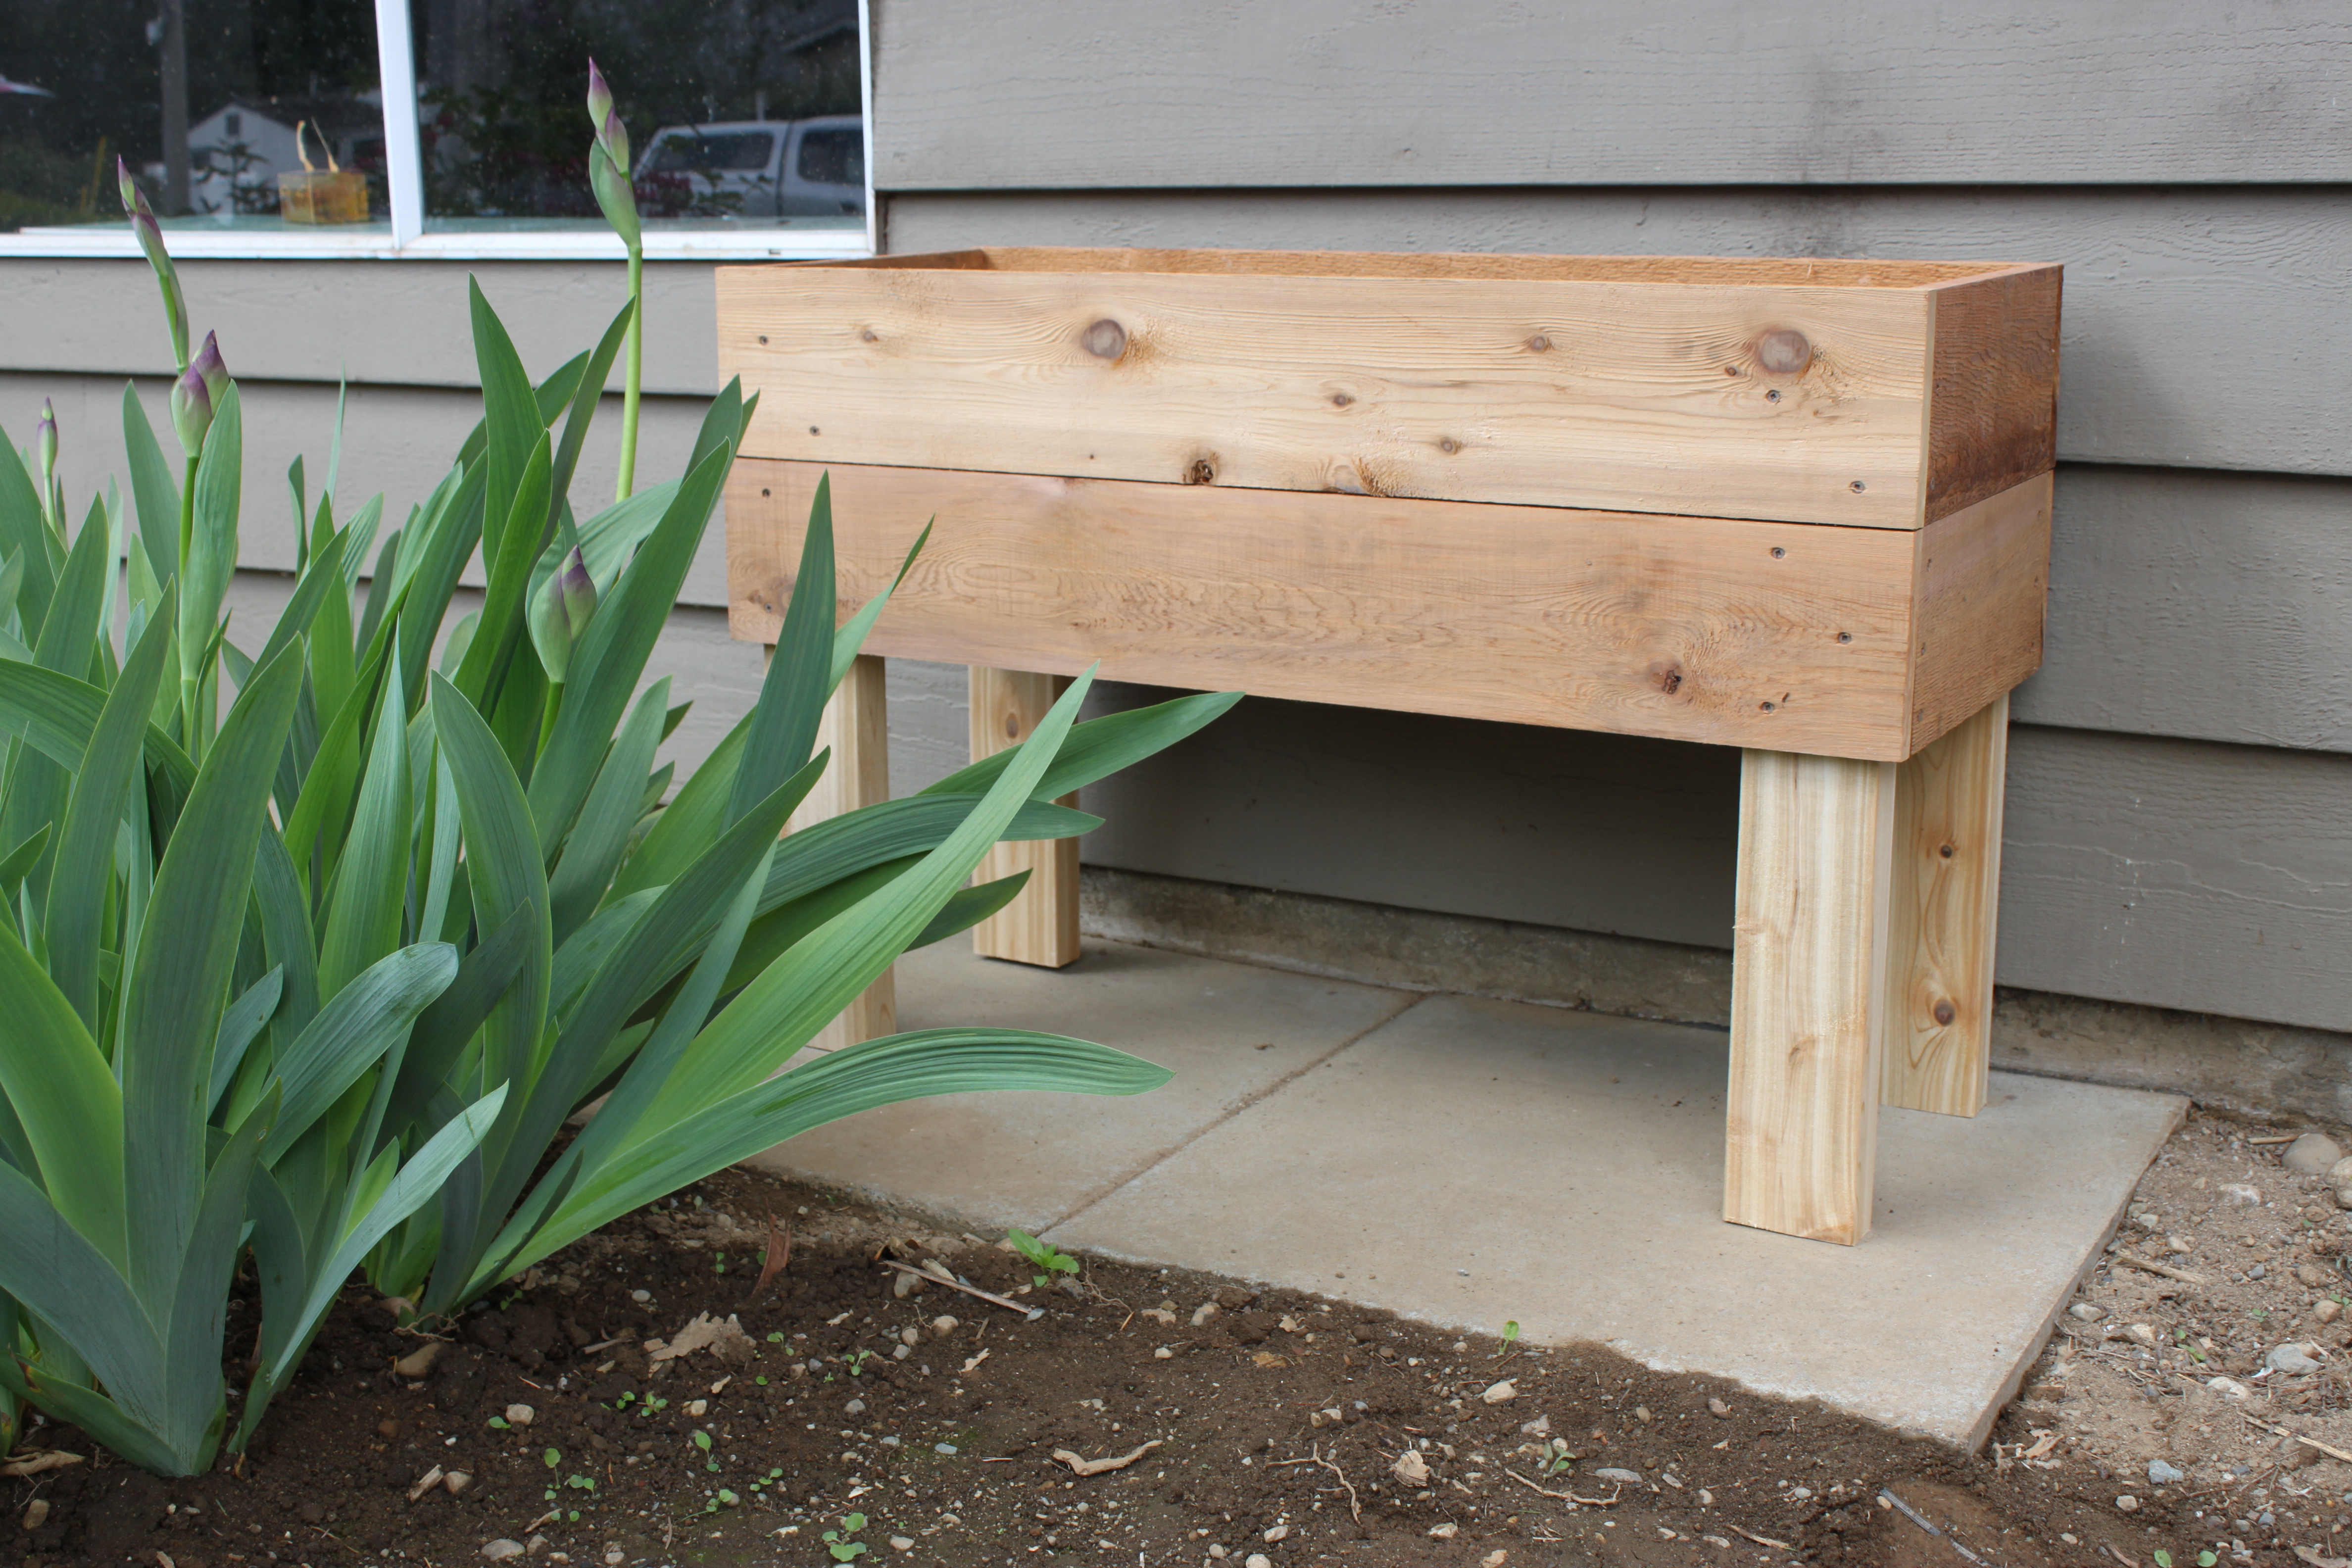
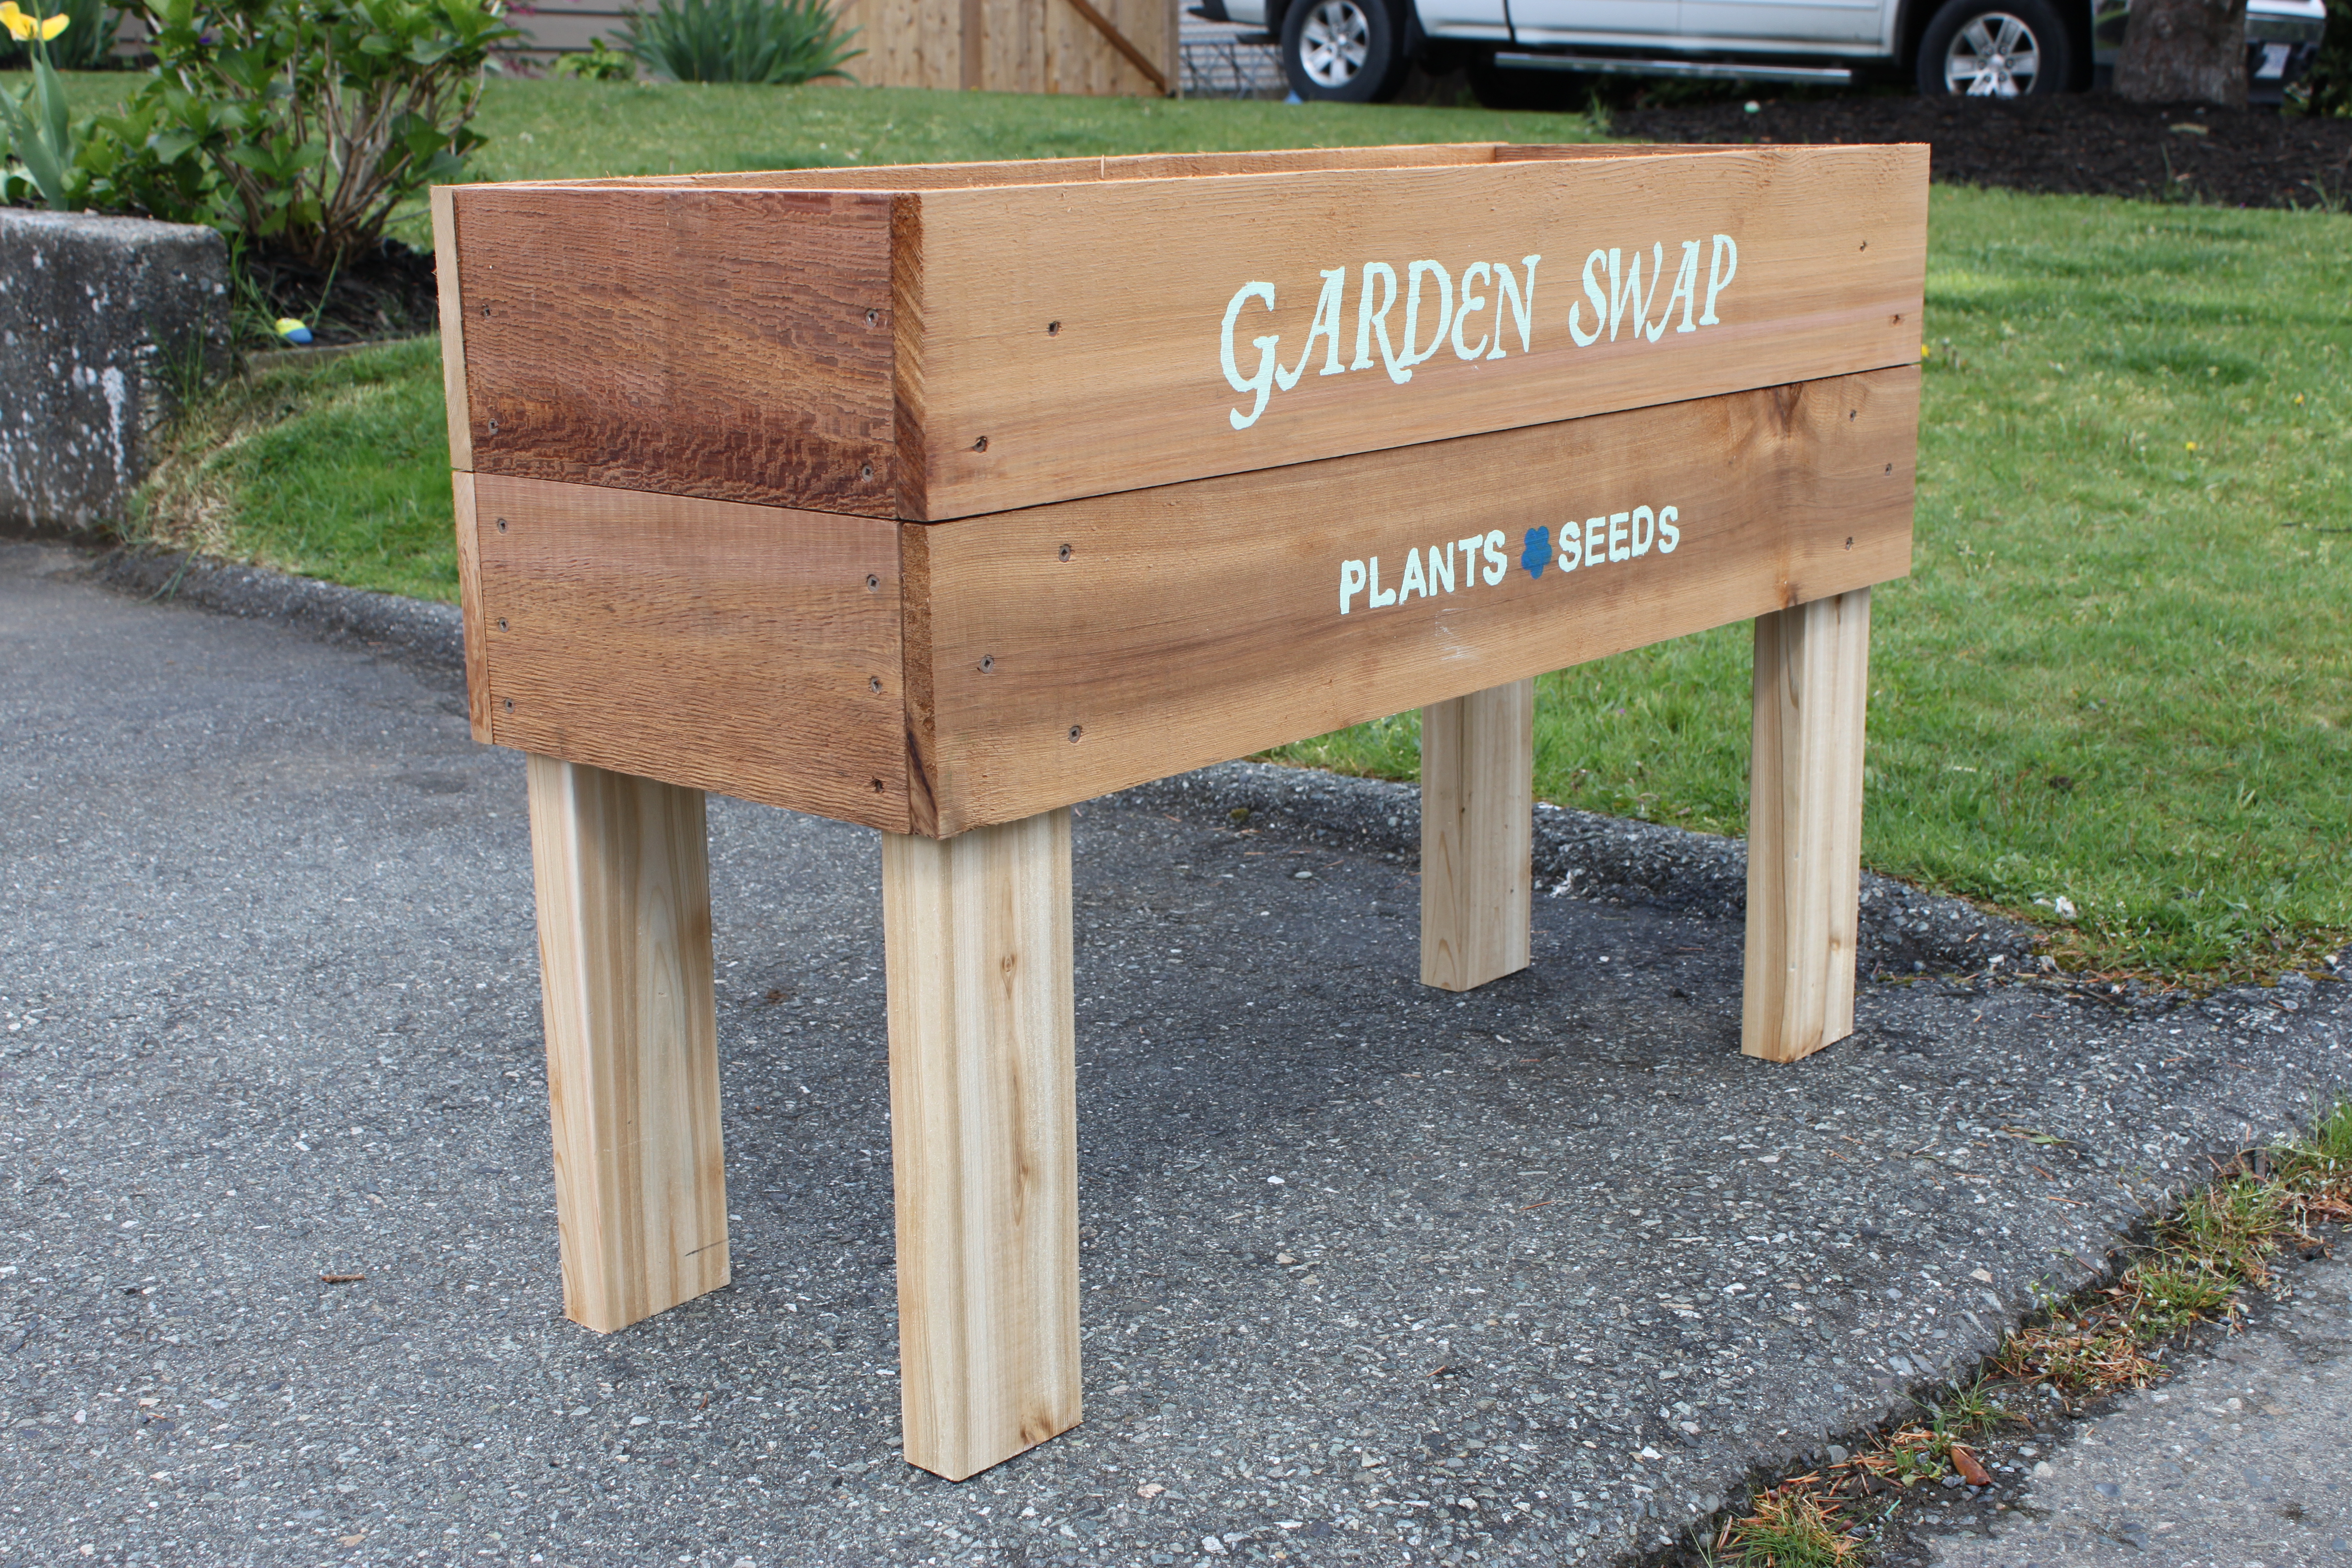
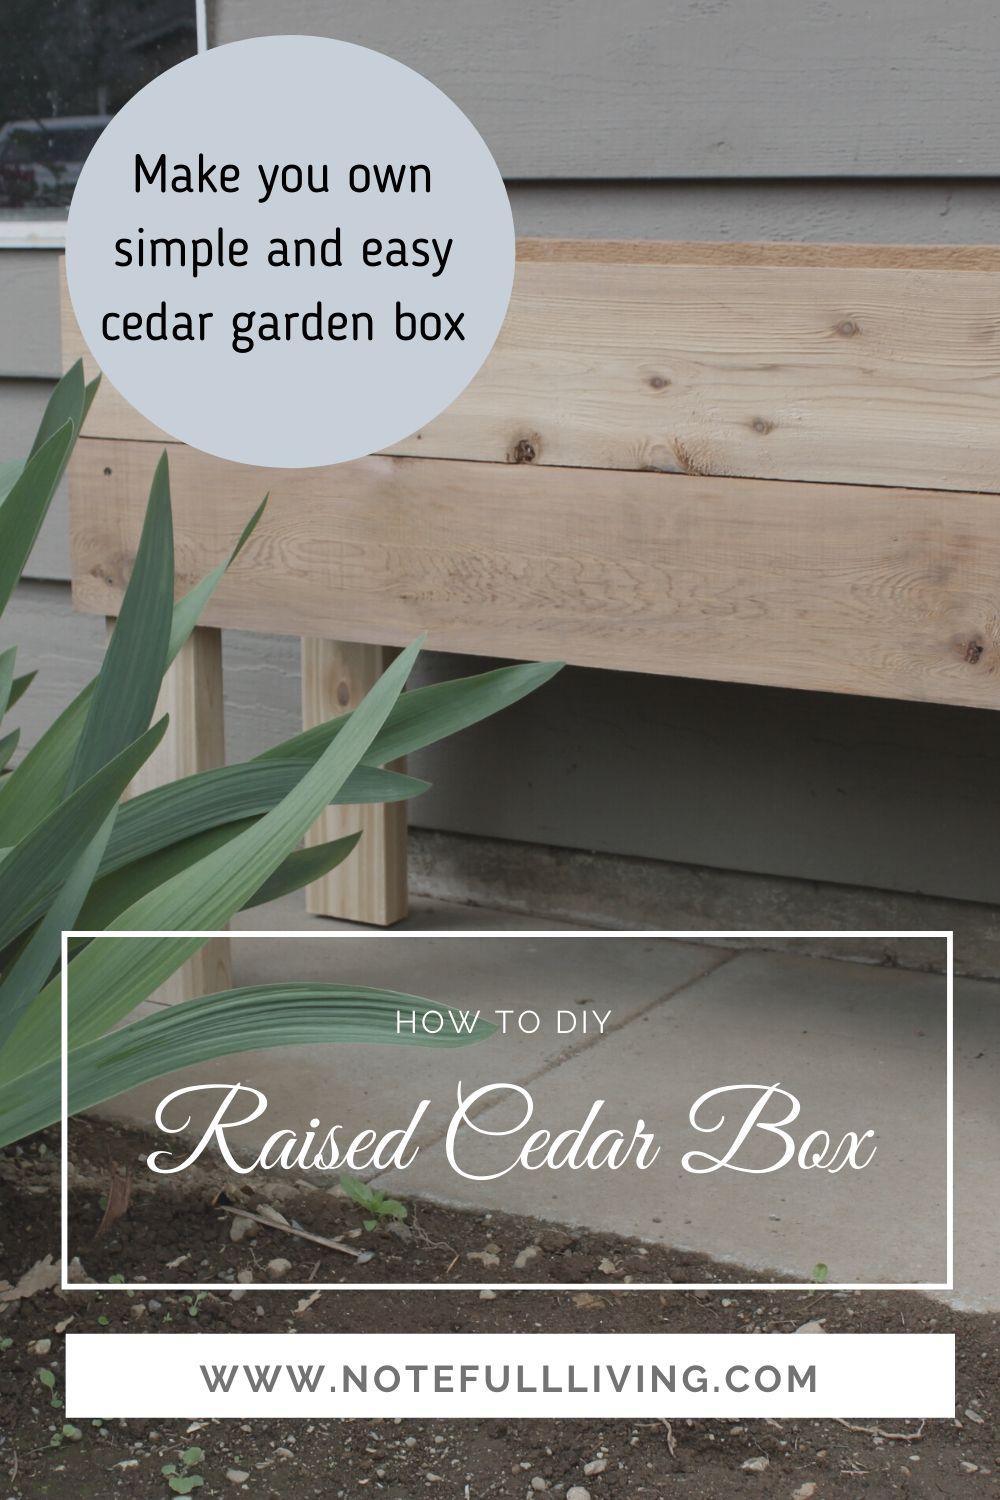
I had to take a step back from my blog for a bit.  Why?  Been busy making cedar boxes and delivering them.  Among taking care of 3 kids, a puppy and maintaining social distances.

My recent blog post sparked a lot of attention. Here’s my Community Garden Box .

Do to a request for a box, this last weekend my husband and I built a raised cedar planter box.  It took longer then he would have liked as I was busy taking the camera and asking for certain shots. Plus I want in on the action with the tools too!

Raised Cedar Planter Box

Here’s the step by step guide with how we built it.

Step 1: Buy Materials – Ours cost just over $40 Canadian.

Materials List:

  • 1:  2″x 4″ x 8′ Cut to 23″
  • 1: 1″ x 2″ x 8′
  • 6: 1″ x 6″ x 4′ Cut at 36″ Extra 12″ becomes the ends

Additional notes: See in Pictures in Step 5 for a visual.

  • Legs are 1.5″ down from top board when your screwing them together.
  • 1″ x 2″ is cut to support bottom boards.

Step 2: Cut all the boards to the lengths above.

IMG_1610

IMG_1611

Step 3: Assemble and using screws put the LONG sides together.

IMG_1614

IMG_1615

Optional: You can use a Pin Nailer – the box won’t hold together for very long if you use this method.

Step 4: Assemble short sides to the legs

IMG_1616

Step 5: Cut and assemble the BOTTOM with boards spaced apart.

IMG_1619

End boards on the bottom need to be notched out to fit.

Finished Raised Garden Box:

IMG_1622

If putting soil in the box, put in a liner, plastic or fabric with staples. Can also fit a few pots with plants in it, if desired.

Optional: Turn it into dual purpose, a community garden swap box.

IMG_1623

This box design is super simple and easy to make. The original raised garden box was made for a garden party we had for a wedding reception.  My mother in law made it. Rough cedar is cheaper, price all depends on which type of cedar boards you buy.

Interested in making one?

Let me know in the comments.

Carrie